Baking with Whole Grains {Nutrimill Review}
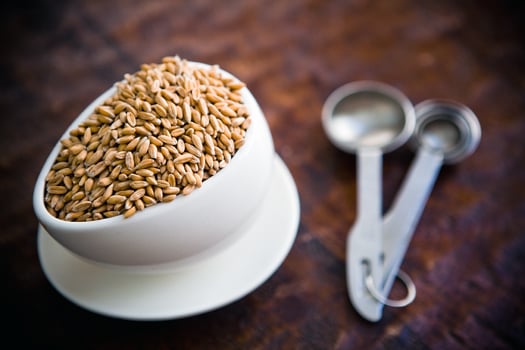
I’ve been wanting to start incorporating more whole grains into my baking. Especially since Logan is such a picky eater, but he will eat lots of baked goodies, I thought that would be a great way to get some extra nutrition in him. Enter the Nutrimill Grain Mill.
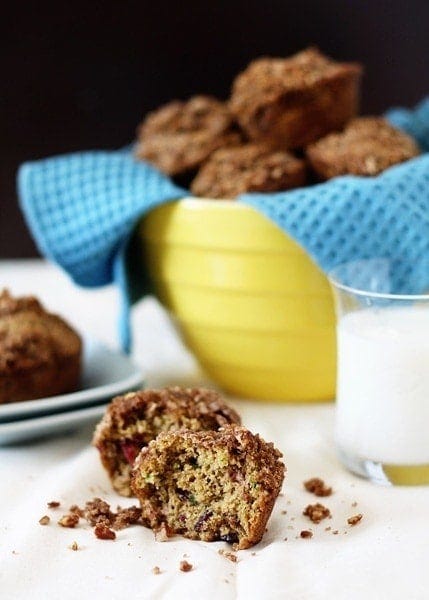
I had heard about this mill from my Aunt who’s been using it for the same reason. I thought, wow, this sounds perfect! I should really look into getting one of these. Think of how much more nutritious my Zucchini Apple Spice muffins would be for Logan if I could use whole grain flour! And cookies and brownies! All things he loves that range in how good (or not good) they are for you. So I shamelessly wrote Kitchen Resource to ask if they’d be interested in a product review. They weren’t able to participate at this time, but were nice enough to point me in the direction of an online retailer – Pleasant Hill Grain – who might be interested. And guess what? They were interested! Within a week I recieved my very own refurbished Nutrimill Grain Mill along with several 1 lb. samples of the different grains they sell.
The machine itself has some great features that just make for a really smart design. Like how the spot where you insert the bowl that catches all the ground grain has a little “yes” and “no” double check so you know if the bowl is inserted properly. Hint: if it lines up with the “no,” you’re going to have flour spraying all over the place when you turn the machine on.
Another convenient feature I love is the way the cord stores inside the machine itself. There’s nothing I like less than I mess of appliance cords all tangled up in my kitchen cabinets.
Besides the design being so smart, the machine is super easy to use! Easy to understand instructions for operating make it a breeze to learn how to use the Nutrimill. Are you curious about what grains you can and cannot grind in the machine? There’s a great list in the book, so no guess work on your part. What about how many cups of flour are produced for each cup of grain? It tells you that too! The actual process of grinding the grain is really straight forward.
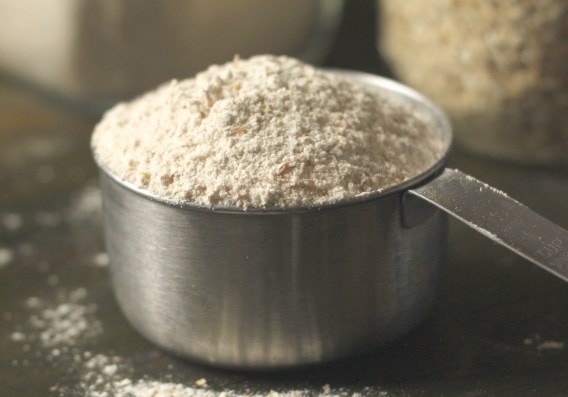
Assemble the machine, place grain in the hopper, put the lid on, turn the machine on and select how coarse you want the grain ground. And then you get beautiful, freshly ground flour! Doesn’t that sound easy?
My only complaint is that it does make a little bit of the mess on the counters. Luckily I had set up right next to the kitchen sink – and I think I’ll keep doing that in the future – so I just swept the excess into the sink when I was done.
If you don’t have storage space, that might be an issue if you’re considering the Nutrimill (or probably any grain mill too). It takes up about as much space as a Kitchen Aid stand mixer would. I have a shelving unit in my garage right by the door, so that’s where I plan to store the Nutrimill.
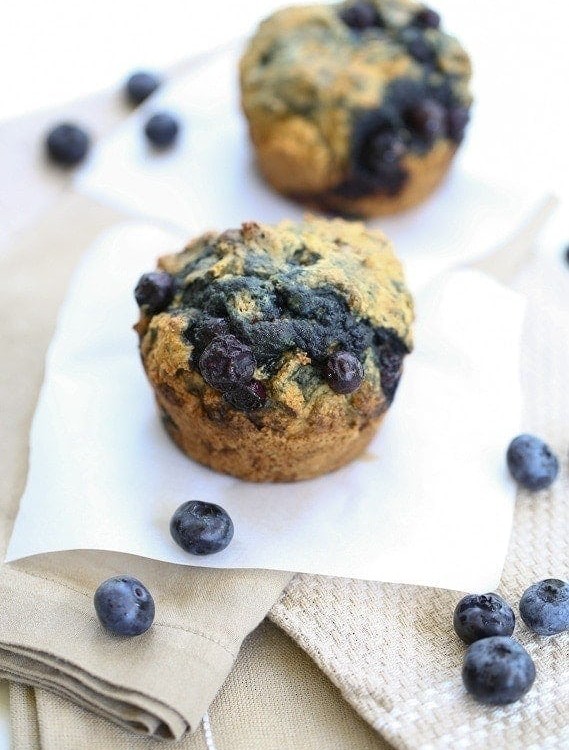
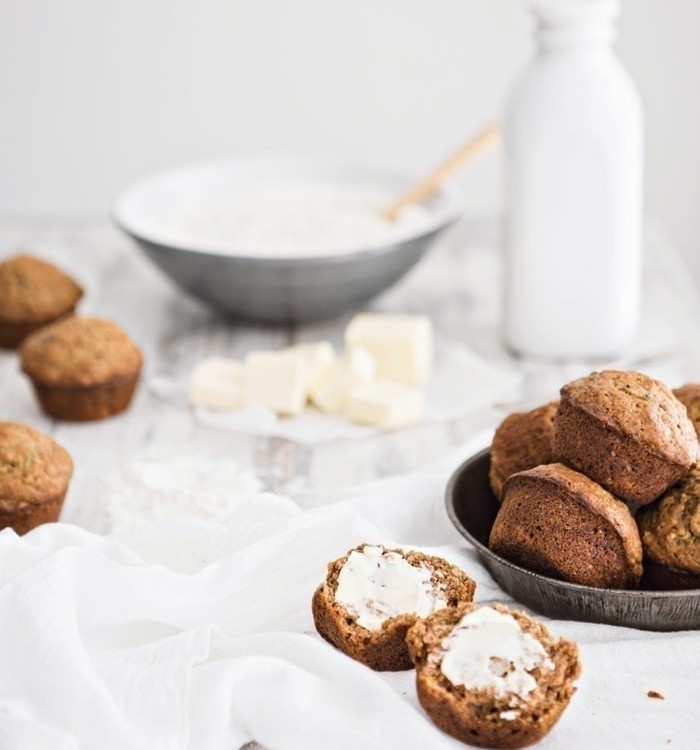
And how do baked goods taste with freshly ground flour? Wonderful! The zucchini apple muffins are still a hit and you can’t even tell a difference. My favorite Rustic Bread tastes a bit earthier, but so delicious and really hit the spot for grilled cheese with homemade bread and a bowl of roasted tomato soup after last night’s cold weather.
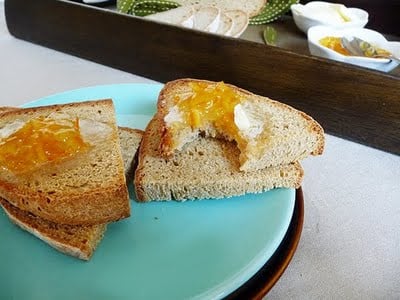
This morning for breakfast I had a simple toast using bread made with the hard white wheat flour. It was hearty without being heavy and a great, fast breakfast (when the bread is already made) for a busy Saturday morning.
Thanks, Pleasant Hill Grain, for the opportunity to try out the Nutrimill. I love it!

Rustic Whole Wheat Bread
Forming rustic bread loaves on a sheet is really fun to do. You never know what you'll end up with, but I can guarantee the taste will be on point! Using whole grains makes it healthy too.
Ingredients
- 2 cups warm tap water, about 110 degrees
- 1/4 c olive oil
- 2 1/2 teaspoons (1 envelope) active dry yeast
- 5 1/4 to 5 1/2 cups hard white wheat flour
- 4 teaspoons salt
- 2 Tbs flour for dusting
- Cornmeal for the pans
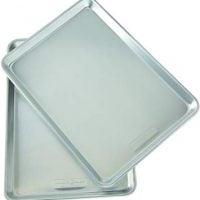
- 1 cookie sheets or a large (at least 11×17-inch) jelly roll pan
- pizza stone, optional
Instructions
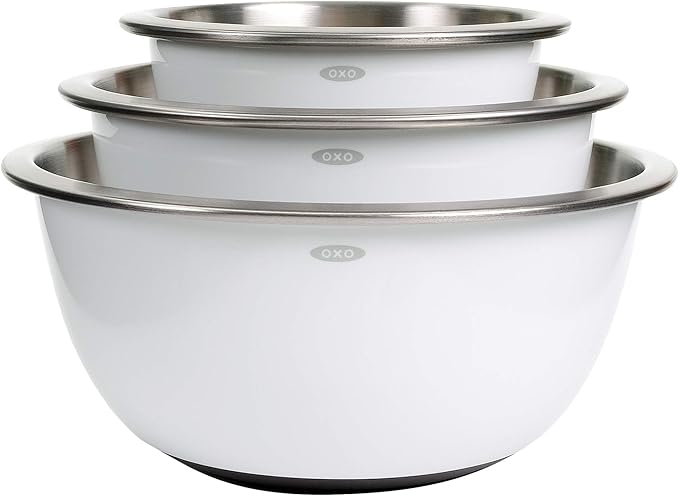
- To make the dough, in a 3-quart mixing bowl place water and sprinkle yeast on surface, allowing it to stand for five minutes before whisking. After five minutes, whisk in the oil.
- To mix dough in a heavy-duty mixer, place smaller amount of flour and salt in bowl of mixer fitted with a dough hook.
- Add water and yeast and mix on low speed to form a smooth, elastic and slightly sticky dough, about 5 minutes. Incorporate the remaining flour a tablespoon at time if the dough is too soft.
- Place dough in an oiled bowl and turn dough over so top is oiled. Cover bowl with plastic wrap and allow dough to rise at room temperature until doubled.
- To shape loaves, scrape risen dough onto a lightly floured surface and press it to deflate it. Press dough into a square, then roll it up tightly.
- Rotate cylinder of dough 90 degrees and roll up again from short end. Arrange dough seam side down, cover with plastic or a towel and let it rest of 5 minutes.
- Dust pan with cornmeal. Roll dough under palms of your hands to elongate it. Work from middle of loaf outward, pointing the ends slightly. Loaf should be a wide oval shape. Place loaf seam side down on cookie sheet and dust each loaf heavily with flour, using about 2 Tbs in all. Cover with plastic or a towel and allow to rise until doubled.
- About 30 minutes before you intend to bake the loaves, preheat oven to 500 degrees F and set rack at the lower middle level. (I decided to bake my bread on my pizza stone, so I set that in at this time to preheat – otherwise, you can bake the bread on the cookie sheet that it’s rising on)
- Holding a razor blade or the point of a very sharp knife at a 30-degree angle to the top of the loaf, make 3 to 4 diagonal slashes across the top.
- Immediately place loaves in oven and lower temperature 450 degrees F. (I slide the loaf off of the cookie sheet onto the pizza stone)
- After baking for 25 minutes, lower temperature to 350 degrees F and continue baking about 25 to 35 minutes longer, until bread reaches an internal temperature of about 220 degrees F.
- Remove from oven and cool on a rack for at least an hour.
Notes
adapted from Rustic White Bread
Recommended Products
As an Amazon Associate and member of other affiliate programs, I earn from qualifying purchases.
Nutrition Information:
Yield: 24 Serving Size: 1Amount Per Serving: Calories: 611Total Fat: 5gSaturated Fat: 1gTrans Fat: 0gUnsaturated Fat: 3gCholesterol: 1mgSodium: 395mgCarbohydrates: 122gFiber: 5gSugar: 1gProtein: 17g
GoodLifeEats.com offers recipe nutritional information as a courtesy and is an estimate only. This information comes from online calculators. Although GoodLifeEats.com makes every effort to provide accurate information, these figures are only estimates.





Rebekah says
How do you clean out your filters? I can't find a good way to get them clean.
Lauri says
I am a big fan of my nutrimill. I guess you didn't go to the class Andrea and I taught before I moved about using wheat grinders and making bread. I am totally sold on making my own bread with the nutrimill. AND fyi, in our move something happened to my mill and it wouldn't work anymore so I called the company and they gave me a place in UT to send it to and they fixed it. It is warrantied for life. For free. Can't beat that. But I sure missed it for those ten days that it was in repair! Glad you caught the grinder bug! Try banana bread with white wheat. It is the best!!!!!! Snickerdoodles too…..
Madame Sucre says
new to me!! but i love to bake whole wheat breads.. its very loved here at my home.. more than white.. maybe its time to use other things like oats and bran etc. 🙂
Mrs Ergül says
How cool is that?! I have never heard about it before this 🙂
Mixing Bowl Mama says
Wow…what a great little product. Thank you for introducing it to me. I'll have to see if it's available in Canada.
The Boehme Family says
I have had one of these for several years. It will also grind other things: corn, oats, bran, blah blah blah. I make almost EVERYTHING with wheat – cookies, cakes, brownies… My favorite are my cinnamon rolls. Check out everydayfoodstorage.net for some great wheat recipes also.
Steph says
Very cool!
Tasty Eats At Home says
What a cool tool. If Santa would bring me one, I could make my own rice flours for gluten-free baking…and everyone knows rice is cheap!
Barbara Bakes says
I've been buying whole wheat pastry flour. This would save me a ton of money!
Ann Kroeker says
My friend uses hers every single day to make their family's supply of homemade bread. SO healthy! I'd love one. I can dream about it for Christmas, perhaps….(meanwhile, my sweet friend will grind me some small supplies from time to time as a favor)
Jenny says
oh wow, that bread looks phenomenal :)!
Jenn in GA says
your aunt's probably already told you this, but in case she hasn't, just be aware that freshly ground flour does not keep like the store bought stuff. besides that, all i have to say is YUMMO!
Maria says
I want one! Hubs used to eat white bread but I got him to switch over. I also have been using it in my cookies.