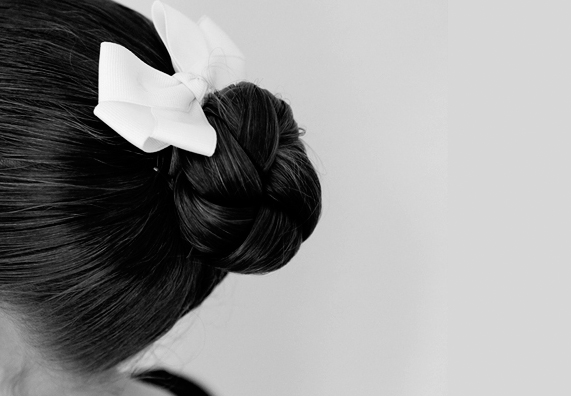
How to Make a Perfect Ballerina Bun
People always comment on Madeline’s hair.
But I guess that’s not surprising.
It’s not everyday that you see a four year old with thick, wavy locks that falls almost to her waist.
I’ve been doing pigtails, braids and other cute styles since she was six months old because my lucky girl was born with as much hair as most babies have when they’re a year old.
Naturally, I’ve learned a few tricks along the way.
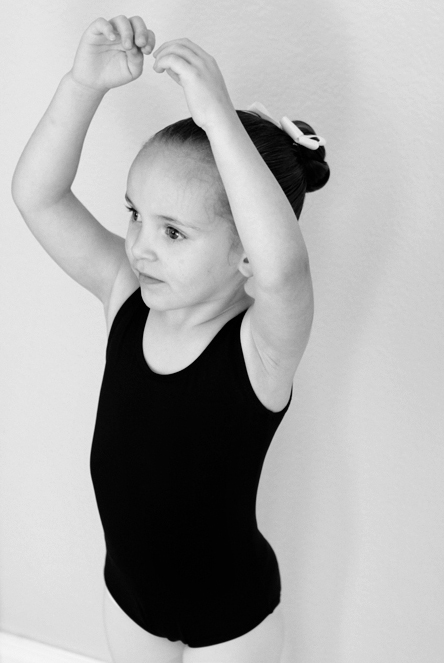
Madeline started Ballet this fall and with that comes gorgeous, tight buns (of the hair variety).
Lots of moms ask me how I get her bun to be so perfect so I thought I’d provide a quick tutorial for ballerina buns.
The following technique was also used to style her Princess Leia Buns for Halloween.
I just parted a straight line down the middle to work two buns instead of one.
5 Easy Steps to a Perfect Ballerina Bun
Before you get started, make sure you gather your supplies. You’ll need:
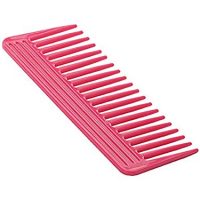
- Wide Tooth Detangling Comb
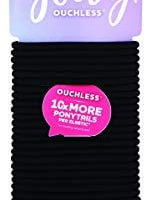
- 2 Hair Ties
- Hair Gel
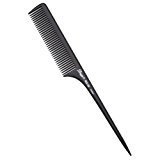
- Fine Tooth Comb
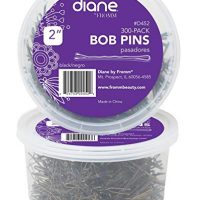
- Bobby Pins
1. Wet the Hair
I like to start with wet hair that has been detangled using a wide tooth combhttps://amzn.to/2D36gTN.
It’s easier to work with because it isn’t so slippery and smooths the fly-aways.
Comb the top through the ends with your favorite hair gel.
This will help the bun hold and keep fly-aways in check.
2. Make a Ponytail
If you want a high ponytail, brush the hair up to the top of the head using a hair brush.
Don’t worry about it being perfect because you’ll smooth it next.
Use a fine tooth comb in the other hand to smooth the top of the hair back while you’re still holding the ponytail.
Secure it with a hair rubber band.
For a lower ponytail, pull the hair back to the base of the head using a brush.
Then, smooth the top of the hair back using a comb and secure with a rubber band.
3. Twist It
Divide the ponytail into two pieces and twice them around one another until you reach the end.
Alternatively, you can braid the ponytail.
4. Form a Bun
Circle the twist or the braid around the base of the ponytail where the rubber band and the head meet.
Wrap it around until you’ve used the entire length.
Tuck the end of the twist or braid underneath the bun.
5. Secure the Bun with Bobby Pins
Insert several bobby pins around the bun to secure the it to the hair close to the scalp.
Thicker buns will require several pins.
I use about 7 bobby pins for Madeline.
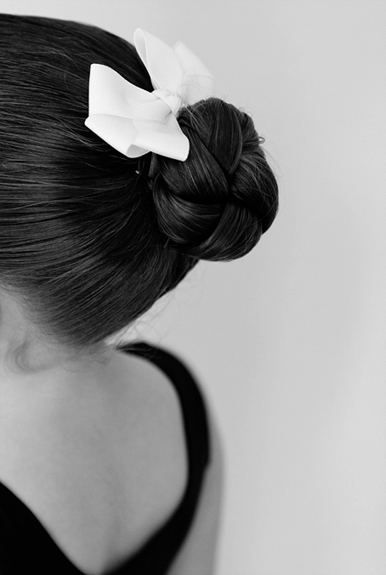
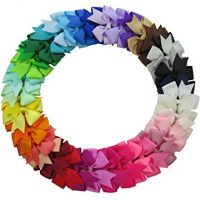
I usually top it off with a bow because it’s cute. I purchase bows from HairBowDepot on Etsy.
Ta-da! Now you have a gorgeous ballerina bun.
How to Make a Perfect Ballerina Bun
5 easy steps to the perfect ballerina bun.
Materials
- 2 Hair Ties
- Hair Gel
Tools
- Wide Tooth Detangling Comb
- Fine Tooth Comb
- Bobby Pins
Instructions
- Wet the Hair. I like to start with wet hair that has been detangled using a wide tooth comb. It’s easier to work with because it isn’t so slippery and smooths the fly-aways. Comb the top through the ends with your favorite hair gel. This will help the bun hold and keep fly-aways in check.
- Make a Ponytail. If you want a high ponytail, brush the hair up to the top of the head using a hair brush. Don’t worry about it being perfect because you’ll smooth it next. Use a fine tooth comb in the other hand to smooth the top of the hair back while you’re still holding the ponytail. Secure it with a hair rubber band. For a lower ponytail, pull the hair back to the base of the head using a brush. Then, smooth the top of the hair back using a comb and secure with a rubber band.
- Twist It. Divide the ponytail into two pieces and twice them around one another until you reach the end. Alternatively, you can braid the ponytail.
- Form a Bun. Circle the twist or the braid around the base of the ponytail where the rubber band and the head meet. Wrap it around until you’ve used the entire length. Tuck the end of the twist or braid underneath the bun.
- Secure the Bun with Bobby Pins. Insert several bobby pins around the bun to secure the it to the hair close to the scalp. Thicker buns will require several pins.
Recommended Products
As an Amazon Associate and member of other affiliate programs, I earn from qualifying purchases.




JessecaRenee says
instead of one braid try two twists. I was a ballerina for 17 years and i have fine hair. damp hair works best. start the twists the same way but on opposites sides of the pony tail and pin as you twist so they lay flat and next too each other. it’ll look like a cinnamon bun. Enjoy!
Rachel @ Baked by Rachel says
So cute! My oldest daughter has fine hair that doesn’t like to stay where I put it. I’ll have to try this sometime. Thanks 🙂
Andrea says
For those not fortunate enough to have long hair, a hairnet wrapped over the bun works wonders to keep the ends from poking out. You will have to wrap it over the bun a few times and then tuck any extra around the base of the bun. Secure with bobbypins.