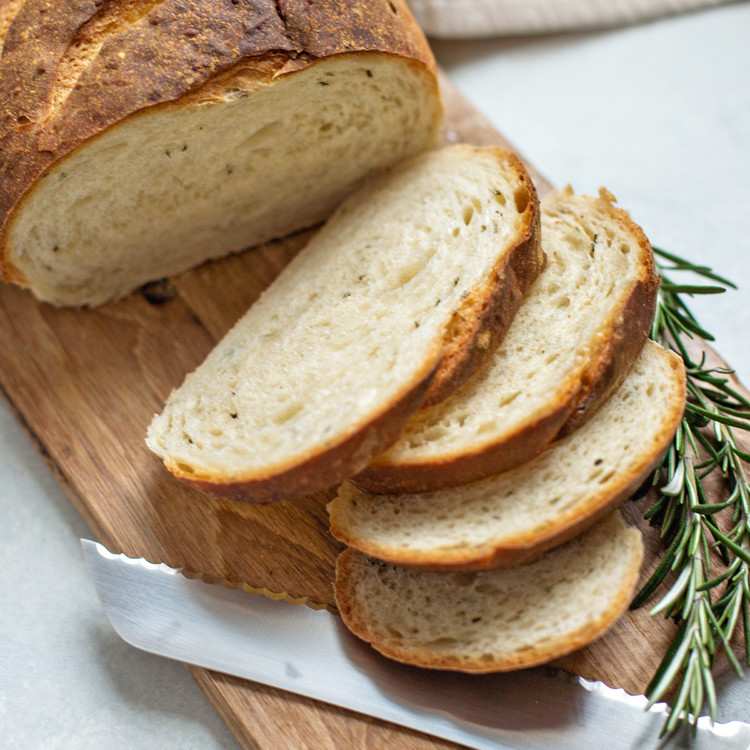
Rustic Rosemary Garlic Bread (Easy and Delicious!)
This Rosemary Garlic Bread is a rustic artisan-style loaf of bread that is easy to make. Read on to learn how to make this delicious homemade bread, tips for making the best rosemary bread, and how to serve it.
This post may include affiliate links. As an Amazon Associate and member of other affiliate programs, I earn a small commission from qualifying purchases.
Creating this Recipe for Rosemary Garlic Bread
I had sandwiches on the menu for dinner last week (Friday), but I never specified what kind we were making. That was just because I didn’t know yet.
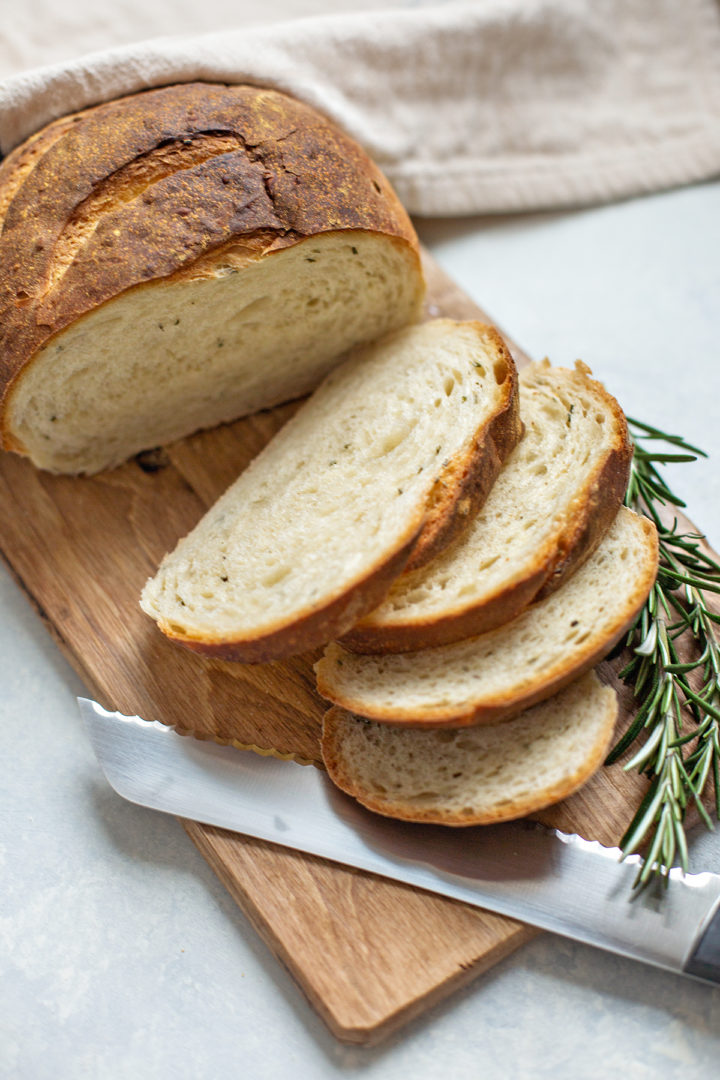
What I ended up making was an open face vegetable sandwich on this delicious Rustic Rosemary Garlic Bread. The sandwich recipe is pretty simple but was very satisfying.
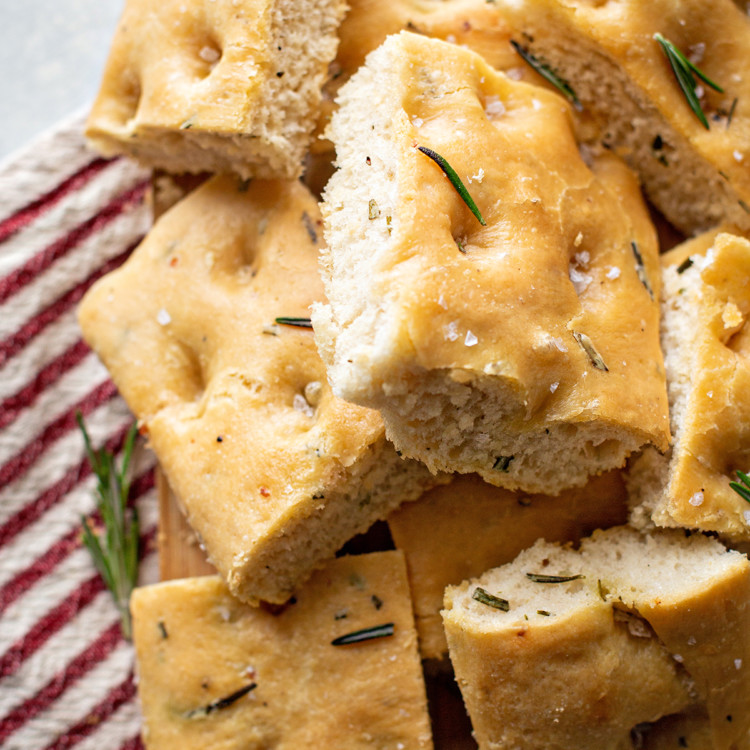
The Rustic Rosemary Garlic Bread was inspired by this Rosemary Focaccia recipe but adapted from this Rustic White Bread recipe.
Making this Rosemary Garlic Bread
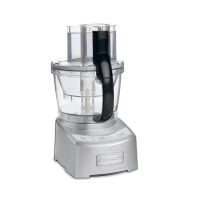
I recently tested out the Cuisinart Elite 12 Cup Food Processor’s ability to make bread dough.
I’ve never used a food processor for bread making before. Just my own two hands or my stand mixer, but I thought this Rustic Rosemary Garlic Bread was the perfect recipe to try.
Madeline helped me and she had an absolute ball. She loves to press any button in the kitchen for me so that was her job in this recipe. Afterward I let her knead the dough a little bit.

She likes patting dough and playing with it and I figured a 3 year old doesn’t really have the strength to overwork dough. It’s been really fun being home with just her during the day now that Logan is in kindergarten.
We didn’t have a lot of mommy-daughter kitchen opportunities before, and she’s at the age where it is super fun and she is actually helpful.
I thought the Cuisinart Elite 12 Cup Food Processor performed wonderfully at making the bread dough for this Rustic Rosemary Garlic Bread.
The whole process is pretty straight forward so I won’t explain that, but I did find it neat that the unit came with a specific dough blade (plastic, not metal and not sharp like the typical blade).
The loaves turned out great, so I can tell that the machine didn’t overwork the dough (nor did Madeline).
Even though the processor is a bit messier to clean up (more parts than a stand mixer), it did keep the mess well contained where sometimes flour spills out of the stand mixer bowl.
Tools to Make this Delicious Bread
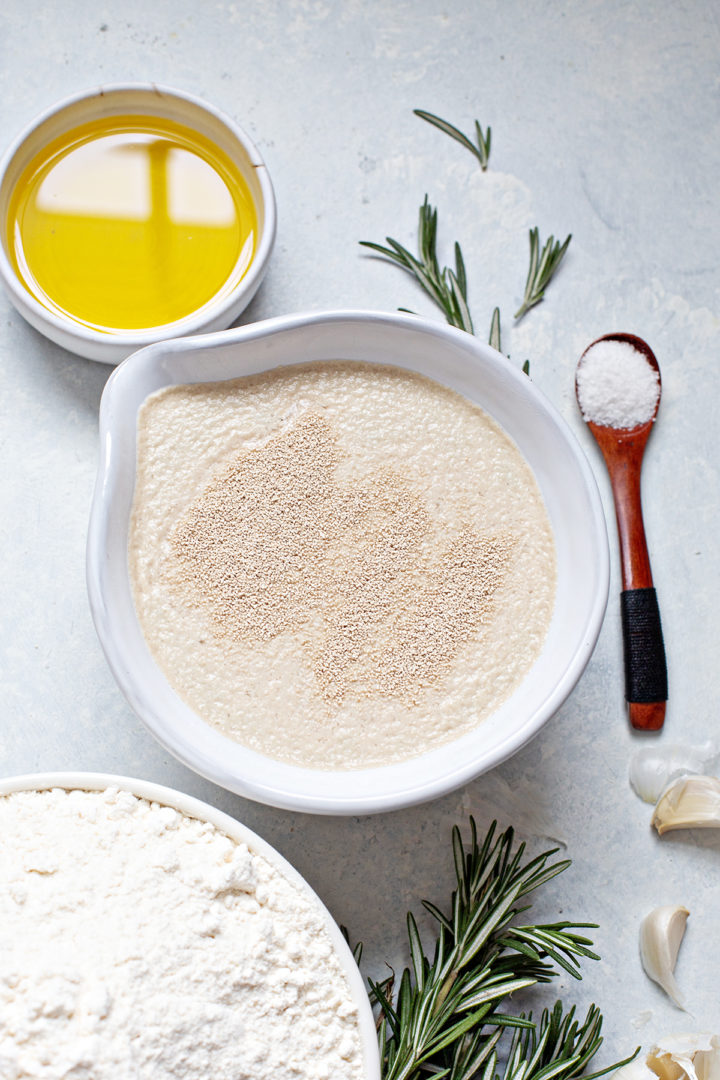
Here’s a quick overview of some of the kitchen tools that I like to have on hand when making this garlic and rosemary flavor bread:
- Measuring Cups and Spoons – to measure the ingredients for this rustic rosemary bread. You can also use a kitchen scale.
- Large Glass Measuring Cup – or other 4-8 cup sized bowl to combine the water and yeast in.
- Whisk – to whisk the dissolved yeast into the water.
- Stand Mixer – I like to use a stand mixer with the paddle attachment and dough hook to make this fresh bread. You can also use a food processor (instructions included) or knead bread dough by hand.
- Silicone Spatula – to scrape the dough down from the sides of the bowl as needed.
- Large Mixing Bowl – you’ll place the dough ball in an oiled bowl covered with plastic wrap or a damp towel for the first rise.
- Silicone Pastry Mat – I like to use a silicone pastry mat as my lightly floured surface for shaping the loaves.
- Sharp Knife or Bread Lame – to slash the top of the dough on the loaves before baking.
- Rimmed Baking Sheet or Pizza Stone – for baking the artisan loaves on.
Ingredients in this Recipe for Rosemary Garlic Bread
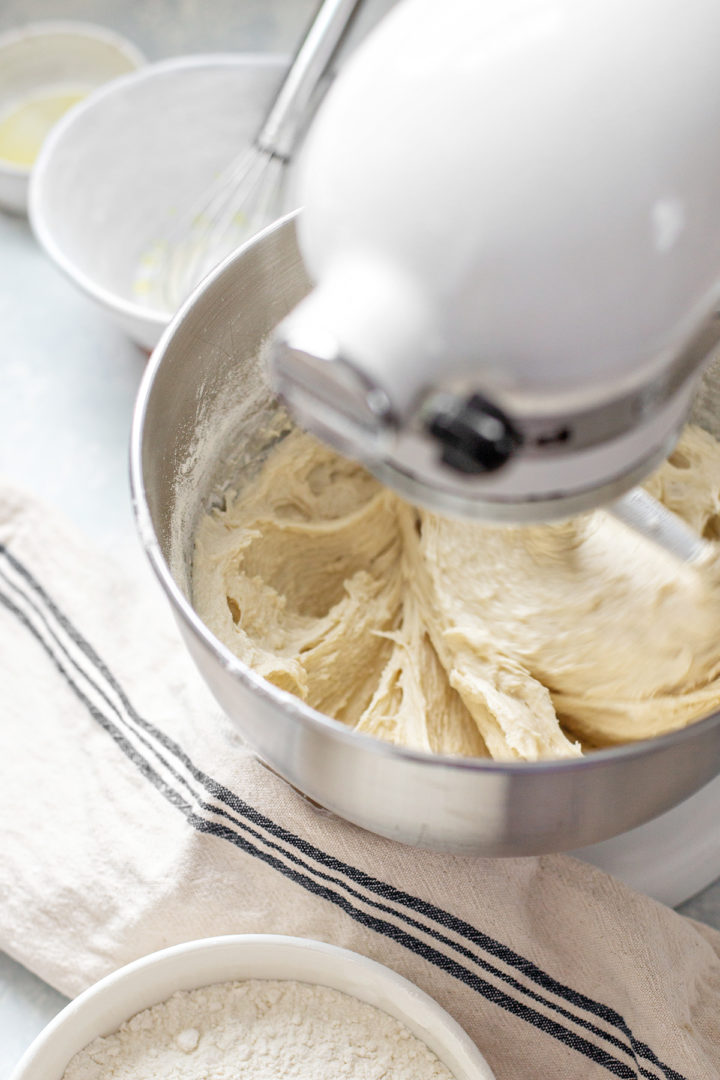
I hope you’ll try this delicious free-form rustic bread. It’s great as a snack, with soup, or to make sandwiches or a panini with. And it is part all-purpose and part whole wheat, so you’ll be able to sneak some extra nutrients into your mouth with this bread.
- Warm Water
- Olive Oil
- Active Dry Yeast
- All-Purpose Flour
- Garlic Cloves
- Fresh Rosemary
- Sea Salt
- Cornmeal
For the complete ingredient list and detailed instructions, scroll to the bottom of this post for the FREE printable recipe card.
Ingredient Substitutes
I’ve included a Frequently Asked Questions section below where I answer questions related to ingredient substitutes.
Typically I don’t recommend making a bunch of substitutions when preparing a new recipe. When making substitutes, you won’t know if you don’t like the recipe or if the recipe didn’t turn out due to a preparation mistake, an ill effect from the substitute, or something else.
However, if you do choose to make substitutions in a recipe, I recommend only making one substitute at a time so you don’t have a building effect of multiple poor substitutions.
How to Make Rosemary Garlic Bread
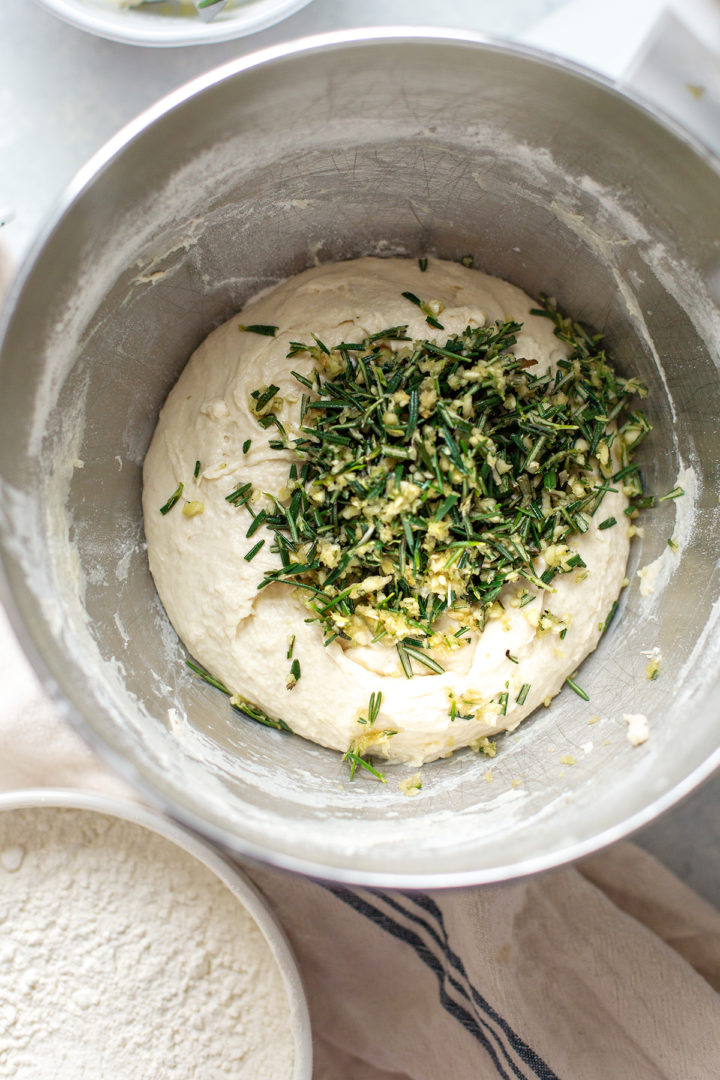
- To make the dough, add the warm water to a small bowl and sprinkle yeast on top. After the yeast dissolves, stir to combine and whisk in the oil.
- Add the yeast mixture to the bowl of a stand mixer fitted with the paddle attachment. Add half of the all purpose flour, while the mixer stirs on low speed. Then, add the garlic, rosemary, and salt
- Scrape down the sides of the bowl with a spatula and swap the paddle attachment for the dough hook.
- Add the rest of the flour 1/2 cup at a time, while the dough hook kneads on medium-low speed.
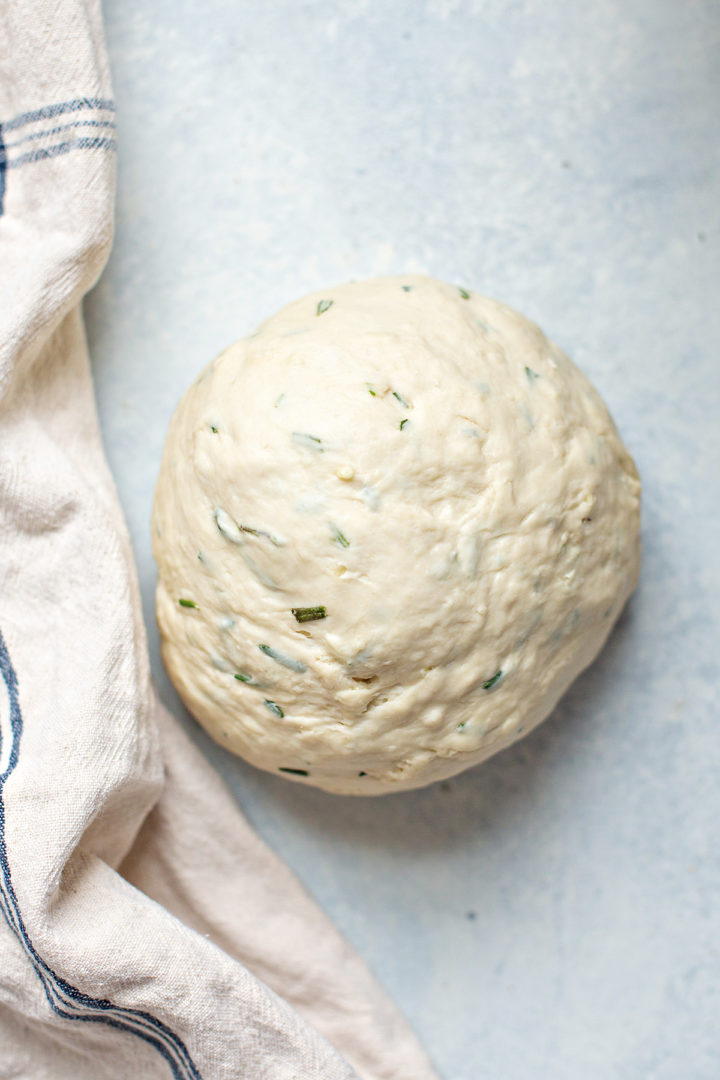
- Continue kneading using the dough hook until you have a smooth, elastic dough.
- Place dough in a large bowl and cover bowl with plastic wrap and let it rise until doubled in bulk.
- After the first rise, punch dough down, then transfer dough to a floured surface. Divide dough in half and shape one piece at a time and place on a cornmeal dusted surface (such as a rimless cookie sheet or pizza peel) for the second rise.
- Preheat the oven to 500 degrees F. Then, using a sharp knife, make 4 diagonal slashes in each loaf, and transfer bread to a baking stone in the hot oven to bake. Decrease temperature to 450 degrees F.
- After 20 minutes, decrease temperature to 350 degrees F and bake until the loaves are golden brown.
The above is simply a quick summary of this recipe. Check out the full recipe in the free printable recipe card at the bottom of this post for all the detailed instructions.
Tips for Making the Best Rosemary Garlic Bread
Homemade bread isn’t difficult to make, but these tips will help you achieve the best results:
- Use Fresh Rosemary. This rosemary bread recipe will not be as good if you substitute dried herbs in place of fresh.
- Add the flour one scoop at a time. You may not need the full amount depending on how full your measuring cups were. Judge by the consistency of the dough. Too sticky = not enough flour. Too stiff = too much flour and your bread will be dry and tough.
- Let the rosemary garlic bread dough rise in a warm place. If your kitchen is cold, then the rise will take longer.
- New to baking with yeast? Check out these tips for baking with yeast.
- Bake the dough until it is done. You can test for doneness by using a thermometer. The internal temperature of the bread will be between 200-210 degrees F.
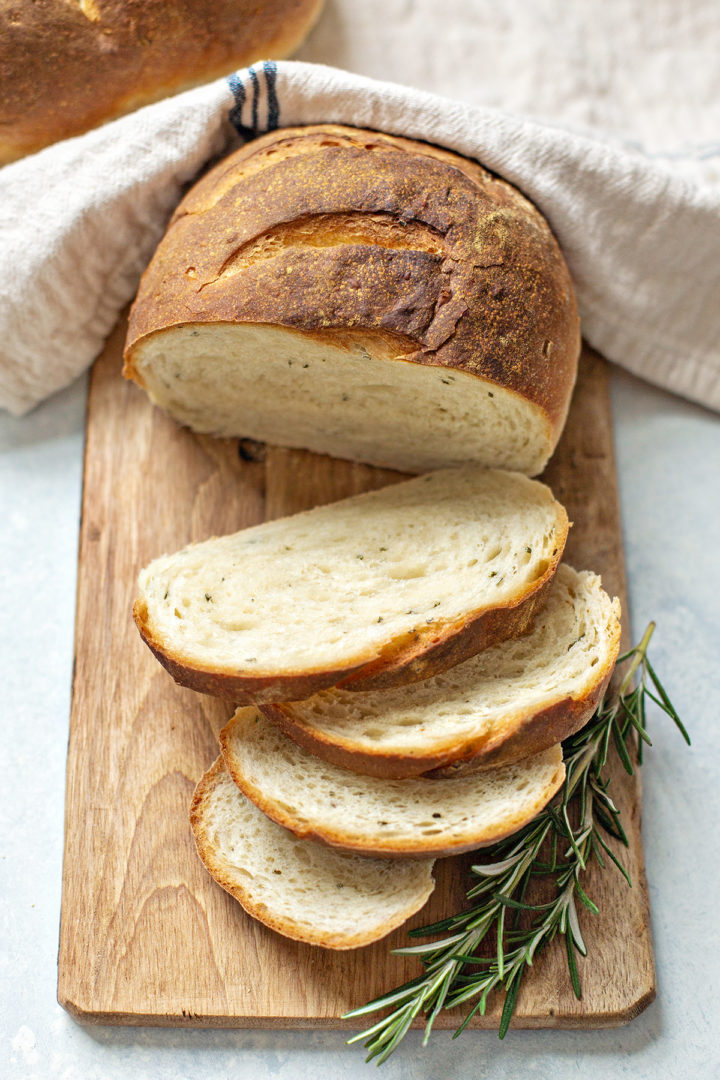
- Don’t cut into the bread immediately after baking. It needs time to cool to room temperature (or just slightly warmer) so that the inside texture is perfect, otherwise you can end up with a gummy bread.
Rosemary Bread FAQ
Can I Use Whole Wheat Flour?
I wouldn’t substitute more than half of the flour in this bread recipe with whole wheat flour.
For my whole wheat flour I used freshly ground hard white wheat. Alternatively, you can purchase already ground white whole wheat flour from King Arthur when making this Rustic Rosemary Bread.
Can I Use Different Fresh Herbs?
You can experiment with a variety of fresh herbs. Oregano, Majoram, or thyme would be great choices in place of rosemary. Or, you can try a combination of two or three.
Is it ok to Substitute Roasted Garlic?
Yes! Feel free to use roasted garlic in place of fresh garlic cloves. This Garlic Rosemary Bread tastes delicious when prepared this way.
Can I Add Anything Else to this Bread Recipe?
I have made this adding parmesan cheese as well as adding chopped sun dried tomatoes.
I don’t remember the exact measurements because it has been a while, but just start with a small amount and add according to your preferences.
Can I Bake this Rosemary Bread in a Different Shape?
Yes! You can shape your loaves into rounds, thinner oblong shapes, etc. You’ll need to keep an eye on the crust and baking time as smaller or thinner loaves will bake more quickly.
How to Serve this Rosemary Bread Recipe
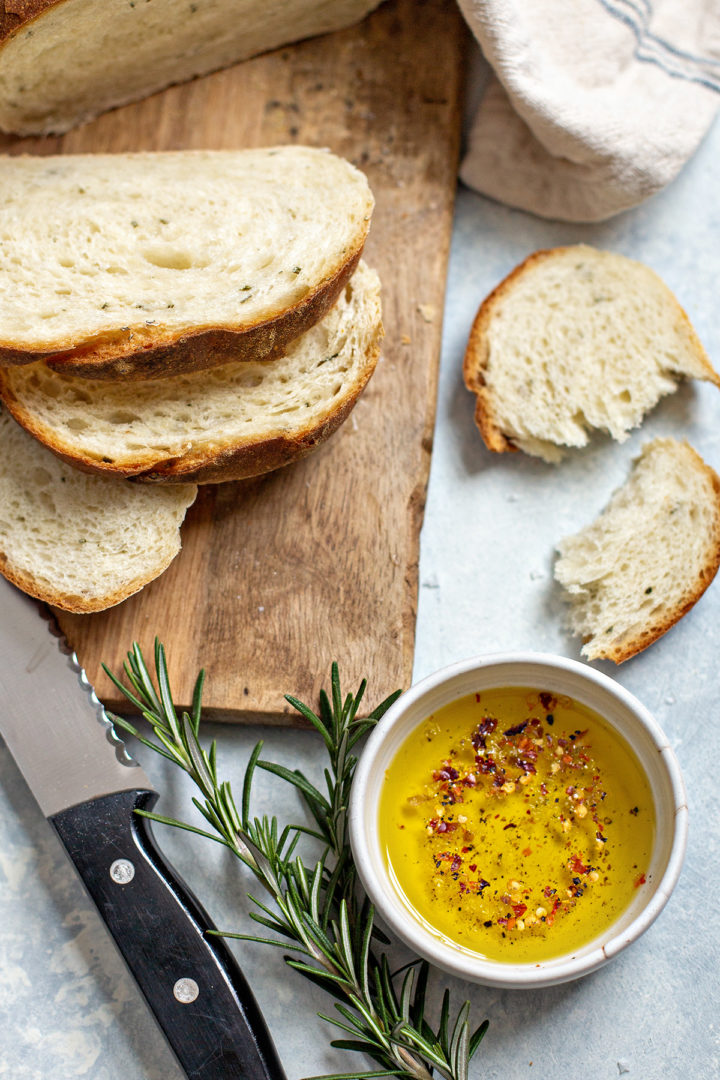
This Rosemary Garlic Bread is best served warm (not hot straight from the oven, though) on the day that it is baked.
Serve it with soft butter for spreading or a bowl with balsamic vinegar with fresh herbs (or this garlic herb salt) and olive oil combined together for a dipping sauce.
Try this Artisan Bread with Rosemary and Garlic!
Next time you’re looking for an easy bread recipe to make at home, give this Rosemary Garlic Bread a try!
Was this flavorful bread a huge hit? Leave a comment below and give it a review for others to see what you thought of this crusty bread recipe.
On Instagram? Share your photo and tag me with @goodlifeeats and #goodlifeeatsrecipes. I’d love to see your photo of this recipe for Rosemary Garlic Bread!

More Delicious Bread Recipes
Is baking homemade bread your favorite thing? Here are some of our other favorite bread recipes that you might like to try!
This recipe for Rustic White Bread is simple, bakes up beautifully and has great flavor. You’ll be able to achieve the perfect crust on a rustic loaf.
While these tender Sweet Potato Rolls will make an excellent addition to any Thanksgiving menu, they’re delicious any time during the fall and winter months!
In this Chocolate Swirl Bread recipe, a sweet yeast bread dough is flavored with orange zest and swirled with semi-sweet chocolate. It’s delicious paired with orange marmalade!
This Whole Wheat Baguette Recipe has hardly any prep time and start to finish took a fraction of the time in a traditional recipe. I highly recommend giving your hand a try at artisan bread like this!
Don’t see what you’re looking for here? You can always head over to check out the recipe index to look for more recipes.
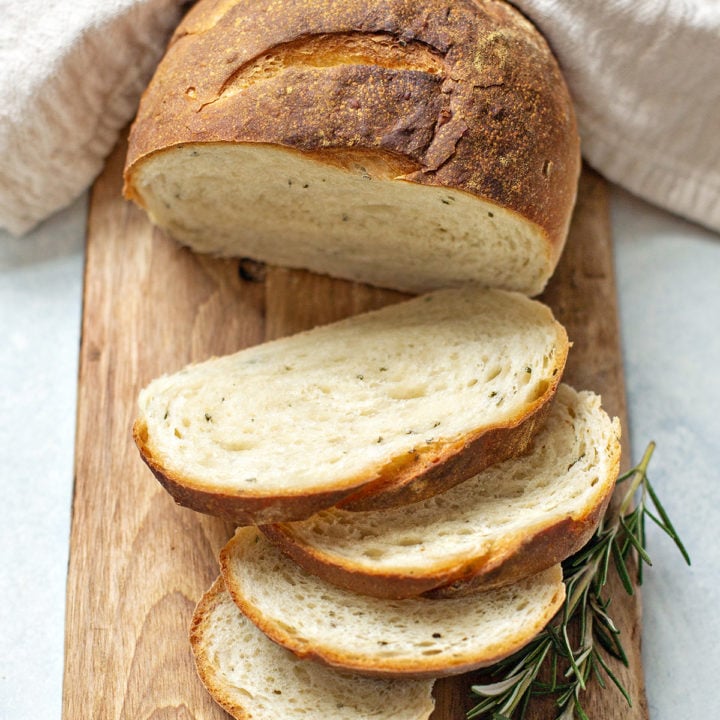
Rustic Rosemary Garlic Bread
This Rosemary Garlic Bread is a rustic artisan-style loaf of bread that is easy to make. Read on to learn how to make this delicious homemade bread, tips for making the best rosemary bread, and how to serve it.
Ingredients
- 2 cups warm tap water, about 110 degrees
- 1/4 cup olive oil
- 2 1/2 teaspoons active dry yeast
- 5 - 6 cups (660 grams - 840 grams) all-purpose flour
- 6 cloves garlic, minced
- 1/3 cup fresh rosemary, chopped
- 4 teaspoons salt
- 1/4 cup flour for dusting the loaves
- Cornmeal for the pans
- 2 small cookie sheets or a large (at least 11×17-inch) jelly roll pan
Instructions
Preparing the Rosemary Garlic Bread Dough
Method 1: Using a Stand Mixer
- To make the dough, add the warm water to a small bowl and sprinkle yeast on top. After the yeast dissolves, stir to combine and whisk in the oil.
- Add the yeast mixture to the bowl of a stand mixer fitted with the paddle attachment. Add 360 grams of the all purpose flour, 1 cup at a time, while the mixer stirs on low speed. Then, add the garlic, rosemary, and salt
- Scrape down the sides of the bowl with a spatula and swap the paddle attachment for the dough hook.
- Begin adding the remaining all-purpose flour, 1/4 cup at a time, while the dough hook kneads on medium-low speed.
- Note: for me, the right amount of flour is usually between 675 - 725 grams total.
- Continue kneading using the dough hook. You may not need all of the dough. The dough should be smooth and elastic, but not sticky.
- Next, proceed to the instructions for the first rise.
Method 2: Using a Food Processor with a Dough Blade
- To make the dough, in a small bowl or 2 cup measuring cup place water and sprinkle yeast on surface, allowing it to stand for three minutes before whisking.
- After dissolved, whisk in the olive oil.
- To mix dough in a full-sized food processor, place 4 cups (480 grams) all purpose flour, garlic, rosemary, and salt in bowl of the food processor fitted with a dough blade (if your food processor has a dough blade, it will be plastic).
- Add water, oil, and yeast mixture and process until mixed.
- Incorporate the remaining all-purpose flour a 1/4 cup at a time until the dough forms a smooth, and elastic ball of dough, about 45 seconds.
- Next, proceed to the instructions for the first rise.
The First Rise
- Place dough in an oiled bowl and turn dough over so top is oiled.
- Cover bowl with plastic wrap and allow dough to rise at room temperature until doubled.
Shaping the Rosemary Garlic Bread Loaves
- To shape loaves, scrape risen dough onto a lightly floured surface and press it to deflate it.
- Divide dough in half and shape one piece at a time. Press dough into a square, then roll it up tightly.
- Rotate cylinder of dough 90 degrees and roll up again from short end. Arrange dough seam side down, cover with plastic or a towel and let it rest of 5 minutes.
- Repeat with remaining piece of dough.
The Second Rise
- Dust pan with cornmeal. Roll each piece of dough under palms of your hands to elongate it. Work from middle of loaf outward, pointing the ends slightly.
- Place loaves seam side down on cookie sheets and dust each loaf heavily with flour, using about 1/4 cup in all. Cover with plastic or a towel and allow to rise until doubled.
Baking the Rosemary Garlic Bread
- About 30 minutes before you intend to bake the loaves, preheat oven to 500 degrees F and set racks at the middle and lowest levels.
- Set a pan on the lowest rack to absorb some of the excess bottom heat and keep the bottom of the loaves from burning.
- Holding a razor blade or the point of a very sharp knife at a 30-degree angle to the top of each loaf, make 3 to 4 diagonal slashes in each loaf. Immediately place loaves in oven and lower temperature 450 degrees F.
- After loaves have baked for 20 minutes and are completely risen, lower temperature to 350 degrees F and continue baking about 20 to 30 minutes longer, until bread reaches an internal temperature of about 210-220 degrees F.
- Remove loaves from oven and cool on a rack.
Notes
Adapted from Rustic White Bread
Recommended Products
As an Amazon Associate and member of other affiliate programs, I earn from qualifying purchases.
Nutrition Information:
Yield: 24 Serving Size: 1Amount Per Serving: Calories: 256Total Fat: 4gSaturated Fat: 1gTrans Fat: 0gUnsaturated Fat: 3gCholesterol: 0mgSodium: 368mgCarbohydrates: 49gFiber: 3gSugar: 1gProtein: 7g
GoodLifeEats.com offers recipe nutritional information as a courtesy and is an estimate only. This information comes from online calculators. Although GoodLifeEats.com makes every effort to provide accurate information, these figures are only estimates.









Alison says
Can the dough for this be done in the bread machine?
Katie says
I don’t see why not. I haven’t tried it but I would think that as long as you added the ingredients according to the directions of your bread machine that it would work fine. Baking in the bread machine – I would say no. But the dough cycle should work just fine.
Alison says
Thanks! Okay… one last question, because my free form loaves always turn out terrible… what do you suppose would happen if I baked this in a regular bread pan?
Katie says
hmmm that’s a good question that I don’t really have an answer too. I personally don’t think the crust would turn out as well in the pan vs. free form.
Do you mean turn out terrible as in the shape or the texture/taste?
Sara says
For the record, I made the dough in my bread machine and baked it in a loaf pan and it turned out GREAT! I can’t say the crust was “as good” as it is when baked as directed, but it was still deeeelicious!
Julie says
I made this today. It’s delicious ! It is the third, maybe fourth recipe of yours I have made this past week. Love your website and look forward to making more of your recipes ! I will definitely put this in my favorites !
Tracy says
I just wanted to leave another comment to say that I made this and it was phenomenal! One of the best breads I’ve ever made, and I plan to make it again and again. It’s also perfect for sandwiches and panini!
Katie says
Thanks, Tracy! I am so glad you liked it. 🙂
Courtney says
Wow, I’m making this over the weekend!
🙂
amanda says
I don’t see anything about kneading the dough, is it just the 45 sec in the food processor?
Katie says
Just the 45 seconds in the food processor. It’s fast!
Tracy says
I know you posted this almost a month ago, but I still haven’t made it yet and I can’t stop thinking about it. Picked up some rosemary at the store so that I can make it this week!
Peggy says
This bread sounds fantastic! I love the combination of garlic and rosemary and i bet those sandwiches were delicious!
Mitzi says
I just realized how snooty and complaining that comment sounded. Sorry! It was more, “oh, no, what should I do?” Anyway, thank you for the quick response. I had to just go ahead and make it so I added the oil with the water. The bread was fabulous. My husband loved it!
Katie says
No worries at all! I totally understand the panic. Glad to hear it turned out great for you!
Mitzi says
Shoot! I’m in the process of making this at this very moment, but just realized the 1/4 c olive oil listed in the ingredients is NOT mentioned in the directions. Help! I don’t know if I should just go ahead and add the oil with the yeast water or not. Oy.
Katie says
I am editing the post now. I hope you got my earlier email. Yes – do add the olive oil to the water after the yeast dissolves.
Amy says
Oh, that looks soooo delicious, Katie! I use my bread machine a lot and only have a very small food processor. You are making me want to ask for one for the holidays 😉
Katie says
For a LONG time I didn’t have one or even think I needed it. Now that I have it, I am finding all sorts of uses for it. Besides what I’ve already posted, I used it over the weekend to shred a bunch of vegetables, make the filling for a vegetarian manicotti recipe, and then grate the cheese to go on top. The kids helped with all the vegetables and had so much fun.
make my day says
Lucky me…I just received a food processor as a gift but haven’t tried the dough making yet. it’s school holidays here so I’ll set this recipe onto my kids…they’ll love it. and i can continue to work from my kitchen table table until they go back! cheers kari
Amy says
I’m curious how the crust does without steam…is it crunchy enough? Would that be something to try? I don’t love the trick of pouring water into the oven, but it sure makes a difference when I’m not baking in my dutch oven. Looks yummy–excited to try! Also, do you have the recipe in weights? Thanks!
Katie says
Yes I found it crunchy. I think the heavy coating of flour helps with that. I don’t like pouring water into the oven either. The other options are misting the dough just before baking with a water spray bottle or placing a pan of hot water at the bottom of the oven. Sorry, I don’t have weight conversions, but you could try searching for recipe conversion to metrics. I know there are several sites out there that can convert the amounts for you.
Prerna@IndianSimmer says
I keep hunting for bread recipe and I really have nill experience in break making. This one sounds and looks delicious. I hope I
m able to make it atleast half as good as what yours looks.
Lovely space you have thr!
Pam @ Cooking World says
I have made bread dough in my cuisinart processor, but mine is bit smaller in size, so far it has worked for us!
This bread looks too good and I am ready to put some butter and eat with salad.
Roxana says
This looks wonderful! Thank you for mentioning specific baking instructions – it’s frustrating to try a recipe and get a bad crust because someone didn’t give enough information.
I haven’t read before about using a pan on the lowest rack to absorb heat – is that for this recipe only, or do you usually do it?
Katie says
I’ve only ever done it with this recipe and it’s other variations (Rustic White Bread and Baking with Whole Grains {Nutrimill Review}). I think part of why it’s important to this particular recipe is because you start at such a high heat. Though if you regularly have problems with the bottom of your bread burning, you might want to give it a try in other recipes too.
Sues says
Wow, that bread looks pretty fabulous! I haven’t used my food processor for dough yet either, but I may have to try. Love that your daughter is helping you now 🙂