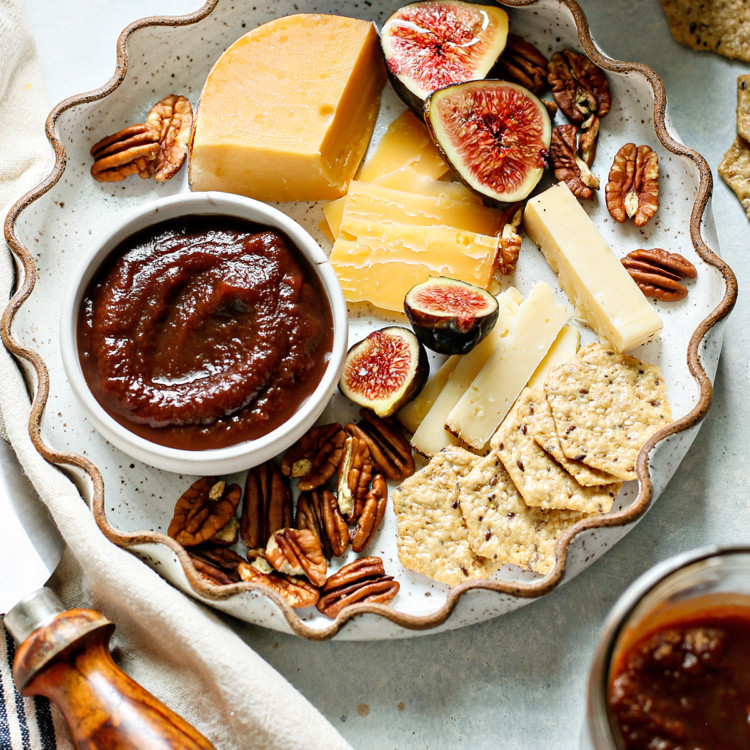
Instant Pot Apple Butter
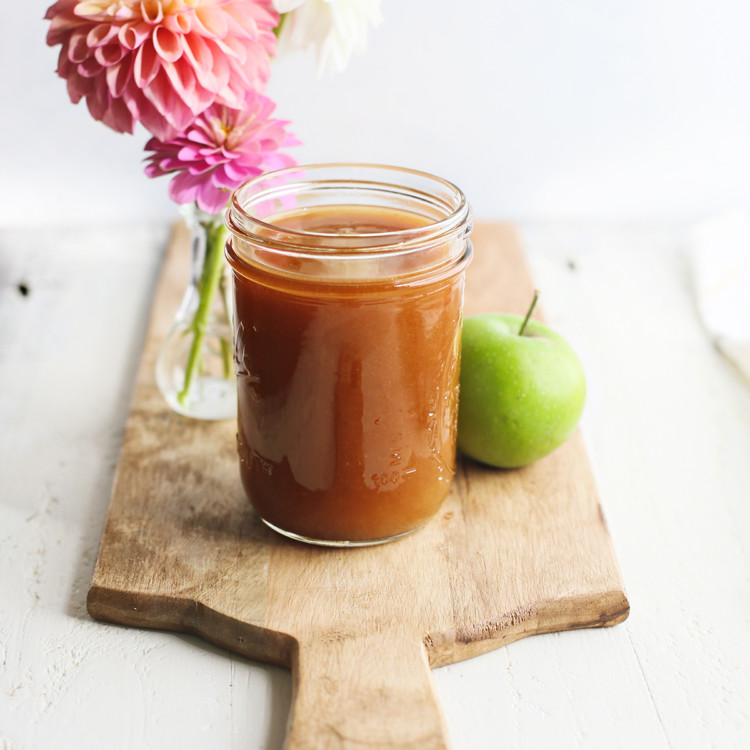
Homemade apple butter is a cinch to make in your pressure cooker! This recipe shares how to make Instant Pot Apple Butter and also provides water bath canning instructions for long-term storage.
What Is Apple Butter?
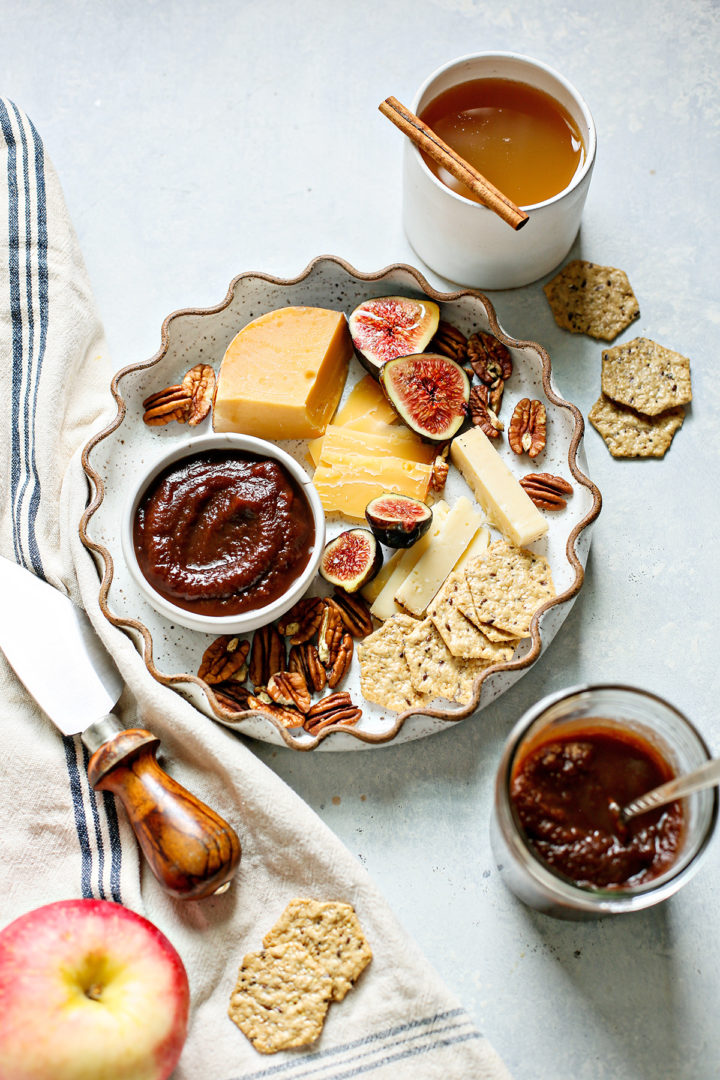
Making apple butter is one of the best ways to take advantage of the abundance of fresh apples during the Fall. If you’re unfamiliar with apple butter, it’s a thick fruit spread made from apples, sugar, and spices.
Traditional apple butter is made by cooking the apples low and slow. The trick to making apple butter — rather than applesauce — is to cook the apples for so long that their natural sugars start to caramelize. This imparts the finished apple butter with a richer flavor and also turns it a lovely deep brown color.
Apple butter is typically sweetened with granulated and / or brown sugar for both flavor and sweetness. Spices, like cinnamon, are also added for flavor and warmth.
In a nutshell, apple butter is essentially an apple-flavored jam!
There are so many fantastic ways to eat apple butter. Spread onto your morning toast or bagel, spoon over oatmeal and yogurt, or pair with desserts like ice cream. You can even bake with it!
What Makes This Apple Butter Recipe Unique?
The easy recipe I’m sharing with you today bypasses the long simmering process that’s usually involved in making apple butter by using an Instant Pot instead.
The pressure cooker function on the Instant Pot makes short work of what’s normally a lengthy cooking process!
I’ve also provided optional water bath canning instructions so you can gift your homemade apple butter to friends and family this holiday season, but note that you can also store apple butter in the fridge and freezer if you don’t want to can it.
What’s the Difference Between Apple Butter vs Applesauce?
Both apple butter and applesauce are cooked on low heat until the apples are soft enough to be pureed to make a type of sauce, but there are a few key differences between these two seasonal treats:
- Applesauce is made by cooking apples just until soft, then pureed and eaten as is. It can be eaten with a spoon as a snack or side dish, or used in place of oil in baked goods. Applesauce is typically a pale gold in color and can be left unsweetened and unflavored if desired. It’s fairly runny and thin in texture and must be eaten with a spoon.
- Apple butter is cooked for much longer than applesauce to create a thick spread. You don’t eat apple butter as a side dish, but rather as a topping on yogurt, toast, scones, etc. It’s a deep brown in color and is almost always sweetened and spiced.
Tools Needed to Make Instant Pot Apple Butter
Since this apple butter recipe is made in an Instant Pot, you’ll need a few key kitchen tools in order to prepare it. Here’s what I recommend having on hand:
- Measuring spoons — For measuring out the spices and vanilla.
- Microplane or box grater — For zesting the citrus fruits.
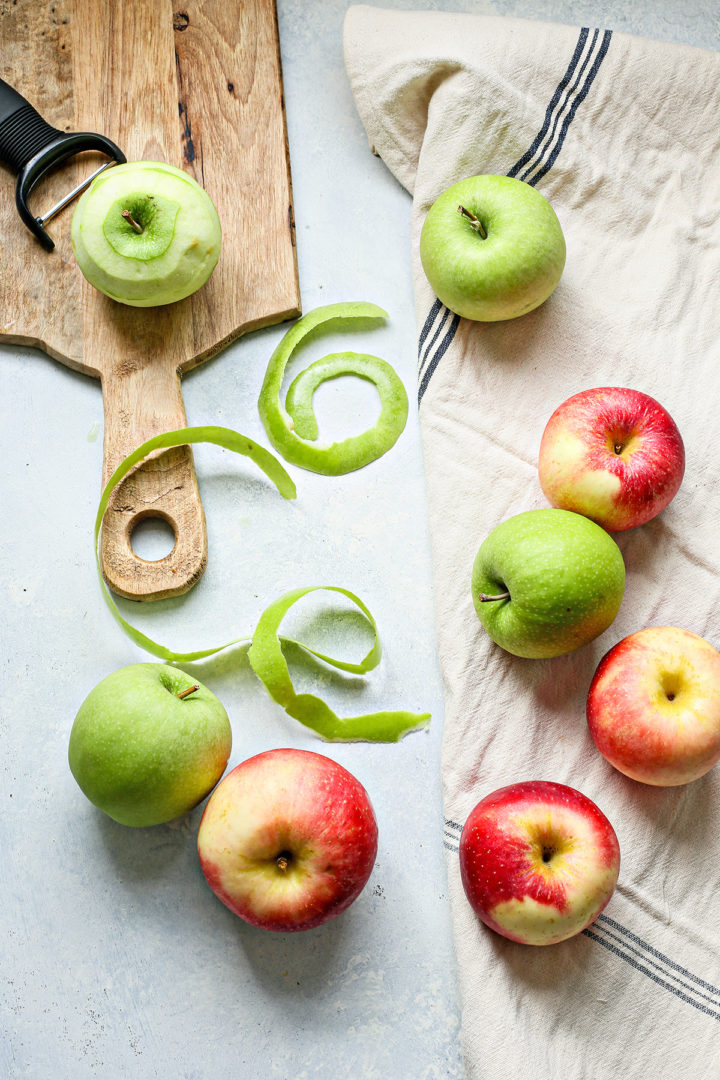
- Vegetable peeler — For peeling the apples.
- Apple corer — Optional, but an apple corer makes quick work of coring the apples. I highly recommend buying one if you know you’ll be making multiple batches of Instant Pot apple butter this season!
- Knife and cutting board — For roughly chopping up the apples.
- 6-quart Instant Pot — Don’t use an Instant Pot that’s smaller than 6 quarts or else you won’t be able to fit all of the ingredients inside it.
- Immersion blender — For pureeing the apple butter.
- Rubber spatula or wooden spoon — For stirring the apple butter during the simmering process.
Equipment Needed for Canning Apple Butter (Optional)
You do NOT have to can your homemade Instant Pot apple butter, but if you’re short on freezer space I highly recommend using the water bath canning method to store the apple butter long-term.
If you choose not to can the apple butter, you’ll have to freeze it for long-term storage.
- Water Bath Canner — You can also use a large, deep pot with a lid and rack if you don’t want to buy any special equipment.
- Glass Canning Jars, Lids, and Bands – Be sure to check that your jars are free of chips and cracks. Note that canning lids are NOT reusable but the actual glass jars and rings are fine to reuse.
- Canning Funnel – Makes filling the jars so much easier.
- Ladle – To ladle the hot apple butter into each jar.
- Jar Lifter – To safely remove the hot jars from the water bath after processing.
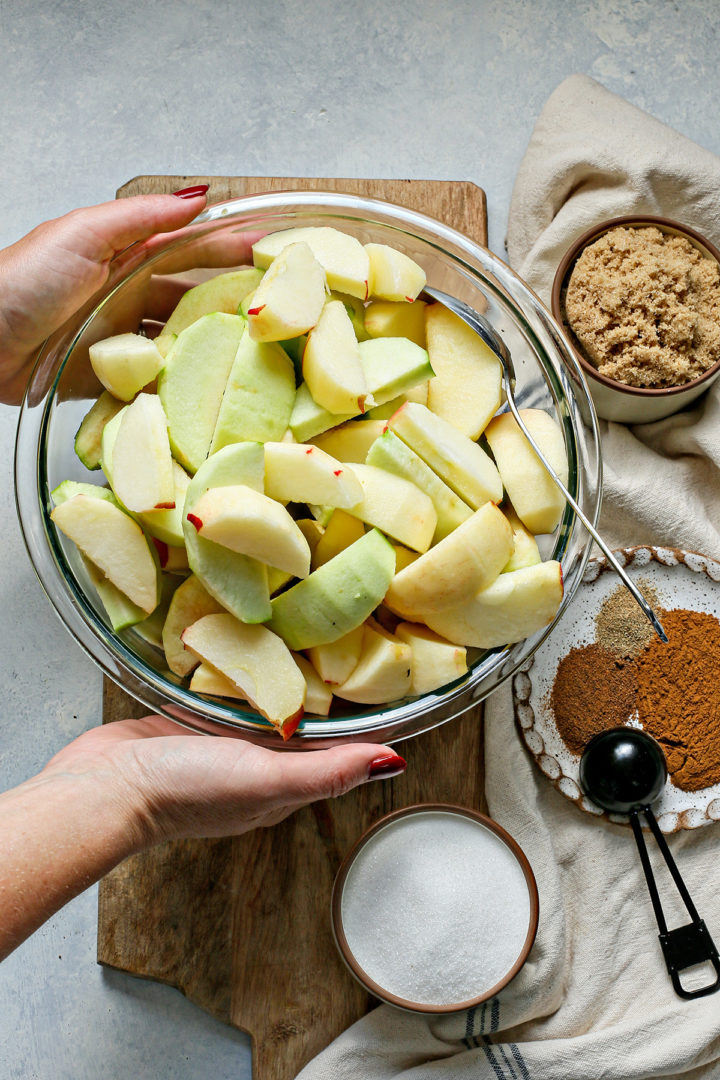
Instant Pot Apple Butter Ingredients
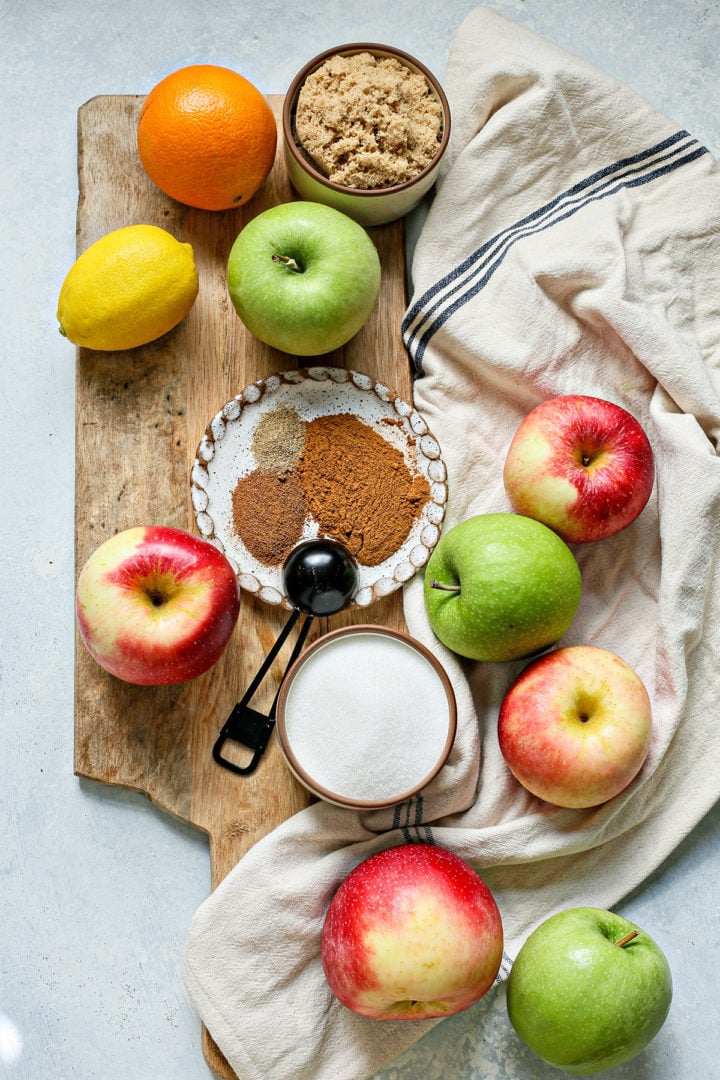
Making apple butter in a pressure cooker requires the exact same ingredients as traditional apple butter. Here are the ingredients you’ll need:
- Apples
- Pure Vanilla Extract
- Lemon
- Orange
- Granulated Sugar
- Brown Sugar
- Ground Cinnamon
- Ground Nutmeg (freshly grated, if possible)
- Ground Cardamom
- Sea Salt
For the complete ingredient list and detailed instructions, scroll to the bottom of this post for the FREE printable recipe card.
What are the best apples for apple butter?
The beauty of homemade apple butter is that it doesn’t really matter what type of apples you use to make it! Whether your apples are tart and crisp or sweet and mealy, the starting texture of the apples doesn’t matter one bit since you’ll be cooking them down and pureeing them.
However, I do have a few recommendations when selecting the apples to use in your apple butter:
- Use at least two varieties of apples — This delivers a more nuanced flavor to the finished spread.
- Use at least one tart and one sweet apple variety — Again, you want your apple butter to have layers of flavor! Plus, you’ll be adding sugar to make the pressure cooker apple butter, so a little tartness is welcome.
I made my most recent batch of apple butter with a 50/50 mix of Granny Smith and Honeycrisp apples, and my family loved the sweet-tart flavor of the apples combined with the warming spices and citrus zest.
How to Make Apple Butter in an Instant Pot
Making apple butter in an Instant Pot is incredibly simple, but it’s important that you follow my exact instructions since this recipe relies on a special piece of kitchen equipment.
Below is an overview of the cooking process; detailed instructions can be found in the recipe card at the end of this pot.
Step 1: Prep the Apples
- Peel and core the apples. (I like to use a vegetable peeler and an apple corer for these tasks.)
- Cut each apple in half. Then, cut each half into thirds.
Step 2: Pressure Cook the Apple Butter
- Add the apples to a 6-quart Instant Pot.
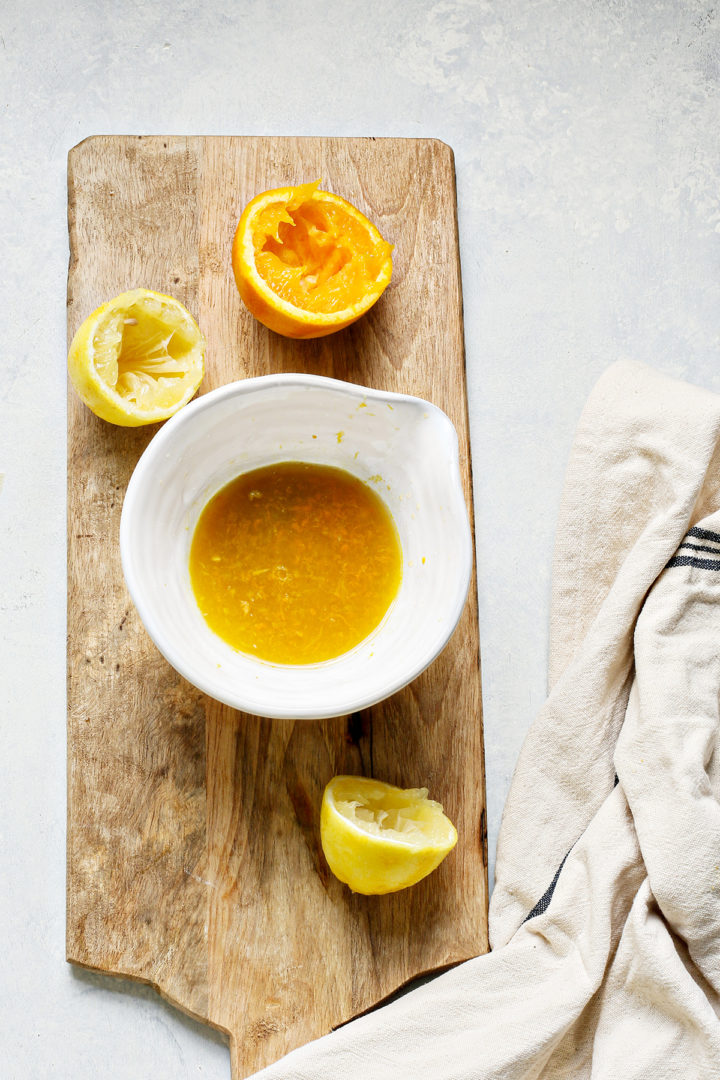
- To the Instant Pot, add the vanilla extract, lemon juice and zest, orange juice and zest. Stir to coat the apples in the mixture.
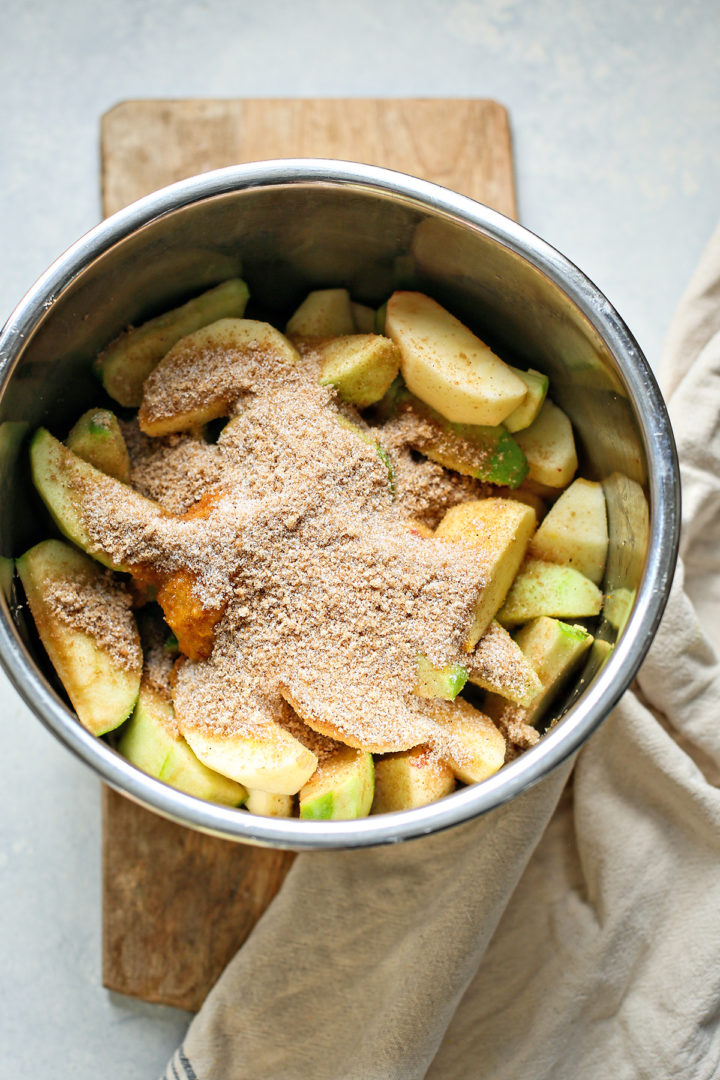
- To the Instant Pot, add the sugars and spices. Stir to coat the apples.
- Secure the lid on the Instant Pot, making sure the release valve is closed.
- Set the Instant Pot to “manual” and pressure cook for 90 minutes on HIGH pressure.
- After the natural release has finished, switch the vent from seal to pressure release and release all of the remaining pressure before opening the lid.
Step 3: Blend the Apple Butter
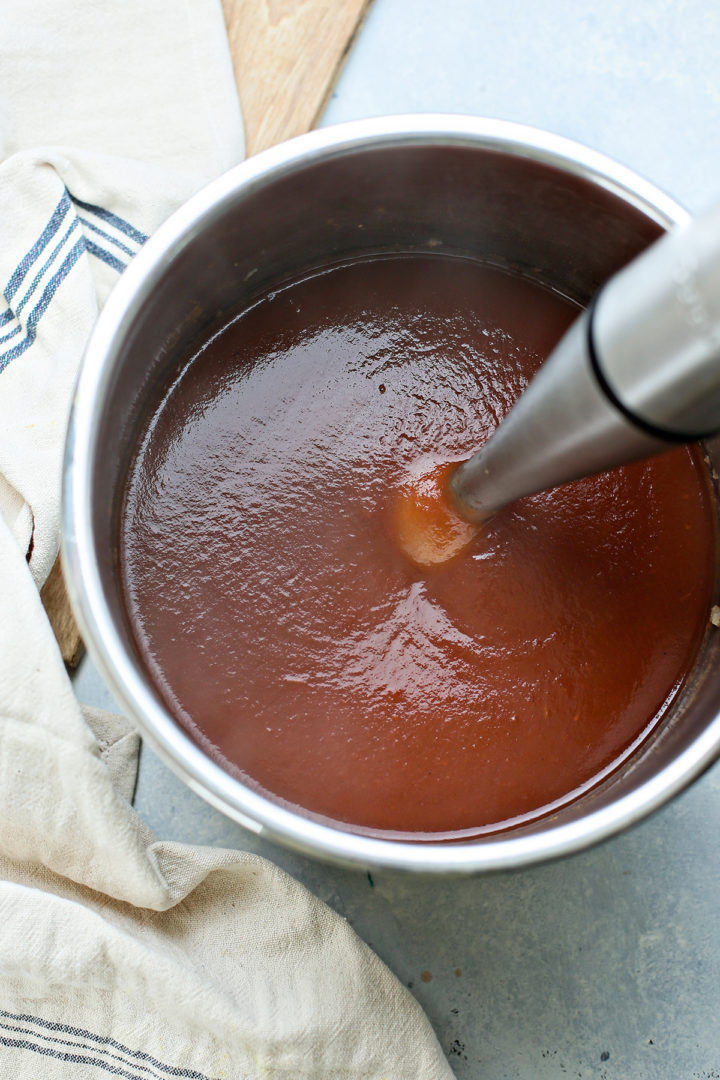
- Puree the apple mixture until smooth. I prefer using an immersion blender for this.
- With the lid removed, set the Instant Pot to sauté and bring the apple butter mixture to a boil.
- Let boil for 15 minutes, stirring every 5 minutes.
- Set the cooker to the “slow cook” setting and continue to cook the mixture on high for 3 to 4 hours (still with the lid off!) to thicken up. (Stir the apple butter every so often to prevent the bottom from burning and to ensure it’s cooking evenly.)
The above is simply a quick summary of this recipe. Check out the full recipe in the free printable recipe card at the bottom of this post for all the detailed instructions.
How to Water Bath Can Apple Butter (Optional)
As I already mentioned, you do not have to can the Instant Pot apple butter. I just prefer doing this so I can free up space in my fridge and freezer.
Canning apple butter means I can store it at room temperature and it makes for a wonderful homemade gift around the holidays.
If you plan on canning the apple butter, please note that you MUST use the proper canning equipment that’s been sterilized correctly.
The instructions below provide a broad overview of the water bath canning process, and I’ve shared detailed instructions in the recipe card at the end of this post.
Step 1: Prepare the Canner, Jars & Lids
- Wash and rinse the jars in hot soapy water.
- Drain the jars well of any excess water. (Set the screw bands aside — they don’t require sterilizing.)
- Place the lids in a small saucepan, cover with water, and bring to a simmer. Do NOT boil. Keep the lids hot until you’re ready to use them.
Step 2: Can the Apple Butter in a Water Bath
- Leaving ½ inch of headspace in each jar, funnel the hot apple butter into the sterilized jars.
- Wipe the rim of each jar with a clean paper towel.
- Center the lid on the jar and screw the band down until resistance is met, then increase to fingertip tight.
- Place the jars in the canner, ensuring they are completely covered with water.
- Bring to a boil and process (see process times in the section below).
Step 3: Let Cool, Then Check the Seals
- Lay a kitchen towel on top of a wooden cutting board set on the counter.
- After processing the jars of apple butter, remove the canner lid. Wait 5 minutes, then carefully remove the jars and transfer to the cutting board.
- Once the jars have cooled to room temperature, check the seals and tighten the lids the rest of the way.
How Long Do You Process Apple Butter in a Water Bath?
The process times for water bath canned apple butter can be found below.
0 to 1,000 feet altitude
- Half-pint or pint: 5 minutes
- Quarts: 10 minutes
1,001 to 6,000 feet altitude
- Half-pint or pint: 10 minutes
- Quarts: 15 minutes
Over 6,000 feet altitude
- Half-pint or pint: 15 minutes
- Quarts: 20 minutes
Tips for Making Apple Butter in an Instant Pot
- Use freshly squeezed citrus juices — Using fresh lemon juice and orange juice will deliver the best flavor. Plus, you need to the citrus zest so you might as well go ahead and buy the fresh fruits!
- Buy organic citrus fruits — Since you’ll be zesting both the lemon and orange, I recommend buying organic varieties to ensure no nasties wind up in your apple butter. Be sure to wash the lemon and orange under warm tap water as well to remove any dirt or debris.
- Adjust the spices to your liking — My family loves this Instant Pot apple butter recipe as written, but you’re welcome to add more or less cinnamon, nutmeg, and cardamom to suit your own tastes.
- Don’t bother chopping the apples before cooking — The apples will be cooked down until they’re extremely soft, so you don’t need to waste the time finely chopping them beforehand. Roughly chopping them into thirds will do. However, you DO need to peel the apples!
- Use caution when releasing the steam — Make sure your face and arms are away from the valve because the steam will burn you!
Instant Pot Apple Butter Recipe FAQs
Got questions about how to make apple butter in an Instant Pot? Here are the answers to a few commonly asked questions. Feel free to leave any other questions in the comments on this post and I’ll respond with answers.
Should you peel apples for apple butter?
Yes! You must peel apples when making apple butter. Apple peels are tough and fibrous and won’t break down all the way like the flesh of the apples. If you don’t peel the apples before making the apple butter, you’ll wind up with lumps in your fruit spread.
Can I use another type of fruit?
Of course! There are many types of fruit butter that you can make. My other favorite is pear butter.
If you click that link, you’ll find my go-to recipe for vanilla spiced pear butter. However, I haven’t tested that particular recipe in my Instant Pot yet!
Do I have to use an immersion blender?
No, you don’t have to puree the apple butter using an immersion blender. You can use a regular blender or food processor, but you may have to work in batches depending on the size of each.
If blending apple butter in a blender or food processor, you’ll want to stop the machine every few pulses and crack the lid so the steam can escape. If you don’t, you run the risk of the lid flying off and hot apple butter splattering everywhere.
Because of this, I always use an immersion blender. It’s easier and creates less mess since you don’t have to transfer the mixture in and out of the Instant Pot.
Can you pressure can apple butter?
Theoretically yes, but it’s not necessary to pressure can apple butter since apples are naturally acidic. A water bath canner is easier and is what I recommend for canning apple butter!
Apple Butter Storage Instructions
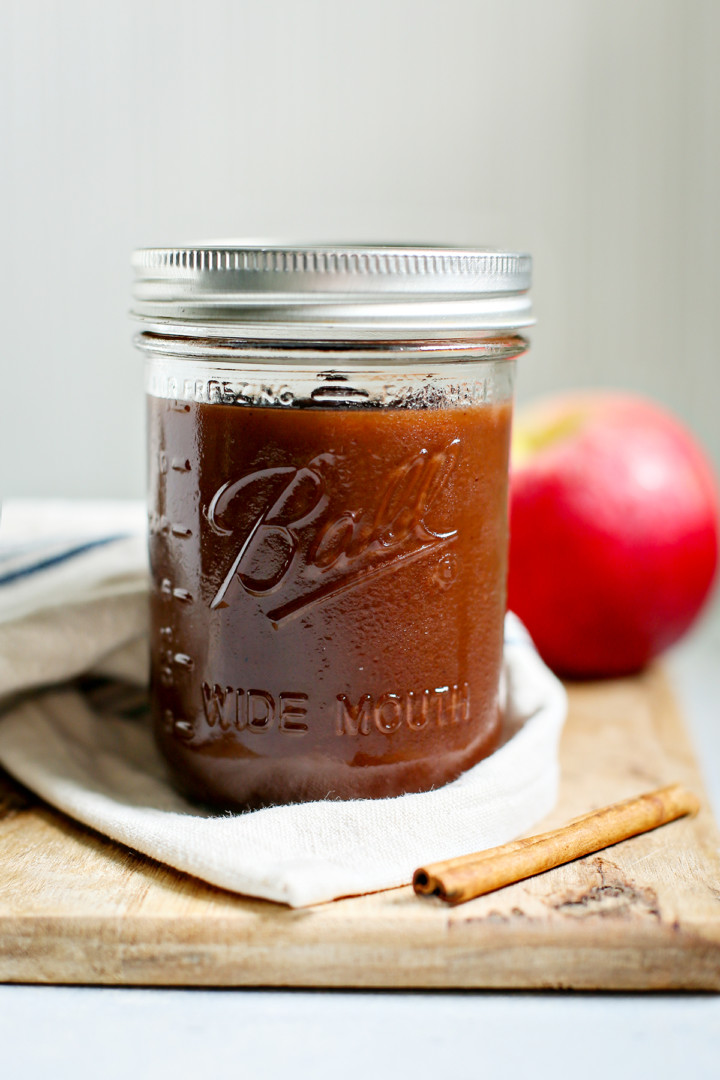
I prefer canning my Instant Potapple butter since it lasts much longer, doesn’t take up space in my freezer, and means I don’t have to worry about it going bad after just a week in my fridge.
However, you’re more than welcome to refrigerate or freeze your apple butter for shorter-term storage.
Before storing the apple butter, turn the Instant Pot off and remove the insert from the cooker. Let the apple butter cool for 1 hour before transferring to freezer- or fridge-safe containers.
How long does apple butter last in the fridge?
Store the apple butter in clean, airtight containers in the refrigerator. It will keep for up to 2 weeks in the refrigerator when stored properly.
How long does apple butter last in the freezer?
Frozen apple butter lasts up to 1 year, but personal experience has shown that it is best eaten within 6 to 8 months. If your apple butter develops freezer burn, it will still be safe to eat but texture might be compromised.
How long does canned apple butter last?
Canned apple butter lasts for up to 1 year. Keep it in a cool, dry place in the meantime. Once opened, transfer the apple butter to the fridge and eat within 2 weeks!
Ways to Use Apple Butter
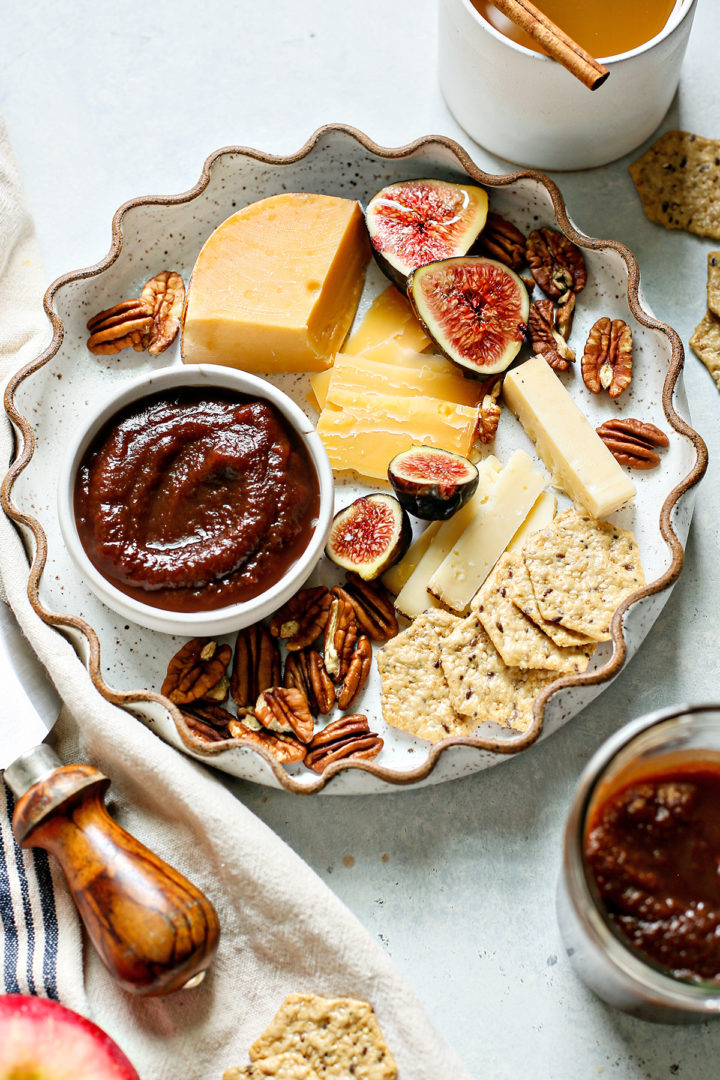
There are so many delicious ways to use pressure cooker apple butter! It’s most commonly used as a spread on toast, muffins, and scones, but here are some more ideas for using up that apple butter:
- Add a spoonful to a bowl with granola and yogurt (try this homemade yogurt!)
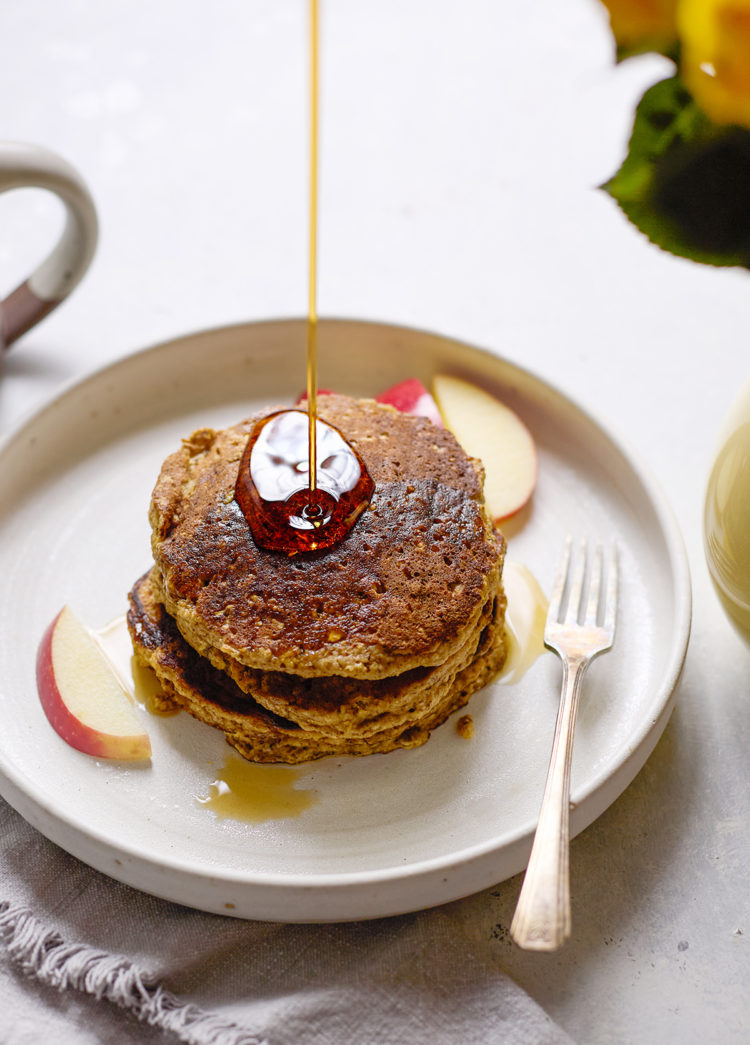
- Use in place of maple syrup on waffles or pancakes
- Enjoy atop french toast
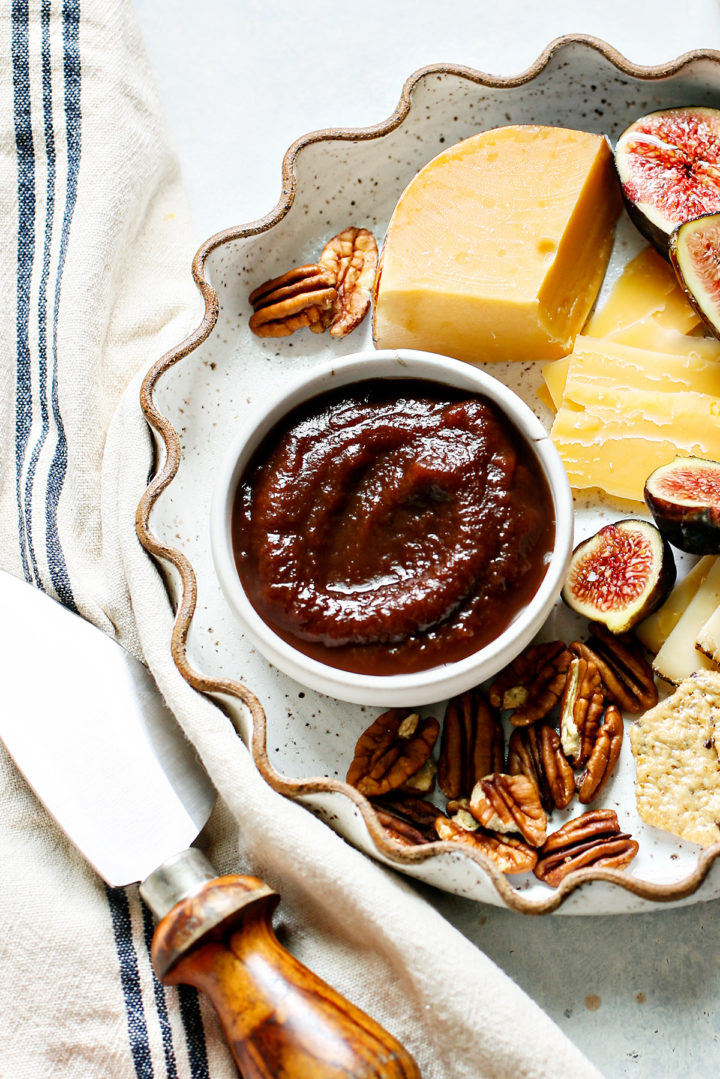
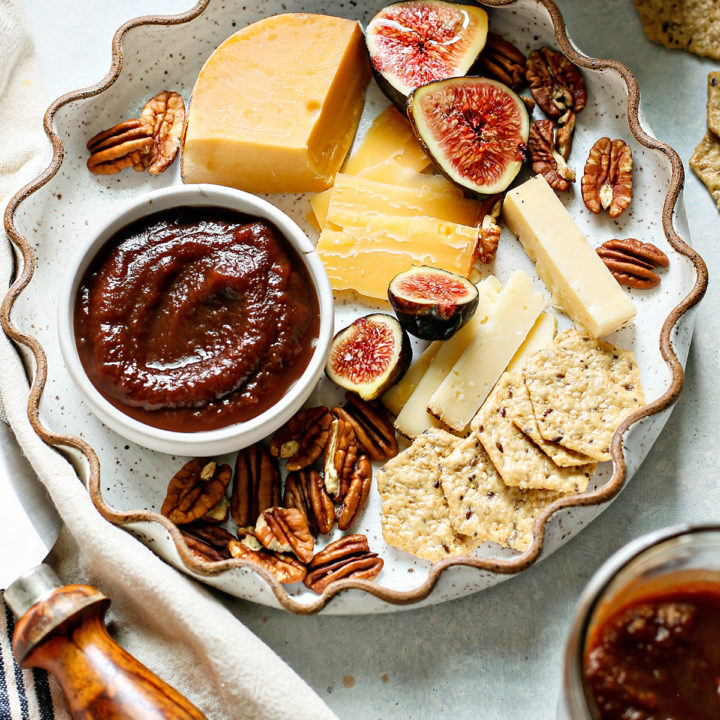
- Use as part of a cheese board for a cheese tasting party
- Spoon over vanilla ice cream (or swirl it into a batch of homemade ice cream)
- Use it as a topping for no-bake cheesecake bars
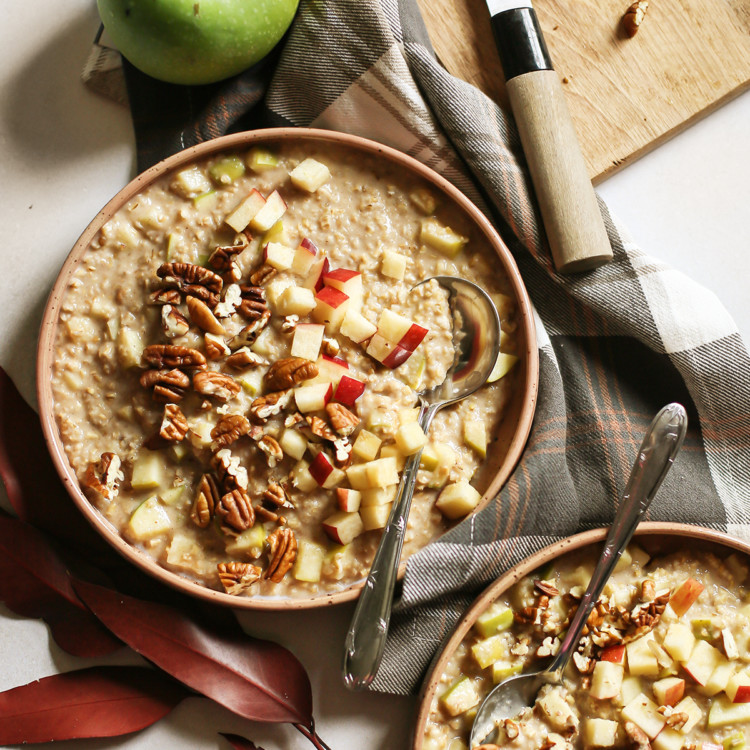
- Swirl into your bowl of morning oatmeal
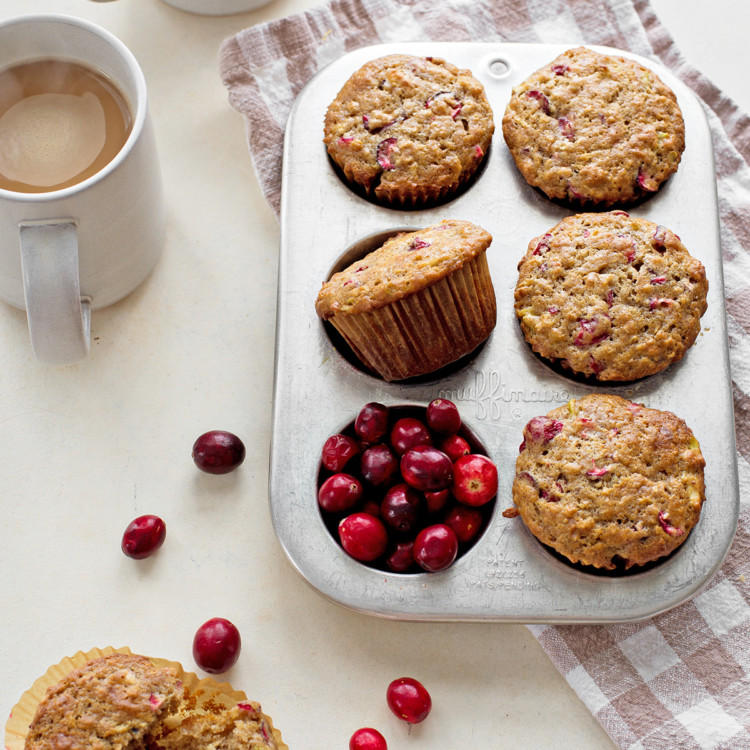
- Spread onto muffins (try zucchini apple muffins or apple cranberry muffins for double the apple!)
Try Making Instant Pot Apple Butter at Home!
Next time you’re looking for recipes that use a LOT of apples, give this Instant Pot apple butter recipe a try!
Did you think this was the best apple butter? Leave a comment below and give it a review for others to see what you thought of it.
On Instagram? Share your photo and tag me with @goodlifeeats and #goodlifeeatsrecipes. I’d love to see a photo of your apple butter!
More Easy Apple Recipes:
Make this delicious Apple Cider Syrup to use as a delicious topping on your weekend brunch treats! You’ll love how easy this cider syrup is to make and how it elevates a plate of waffles or pancakes to the next level.
Apple Cider Pork Chops with Caramelized Apples is the perfect fall meal. Fragrant sage and sweet caramelized apples pair perfectly with savory pork chops!
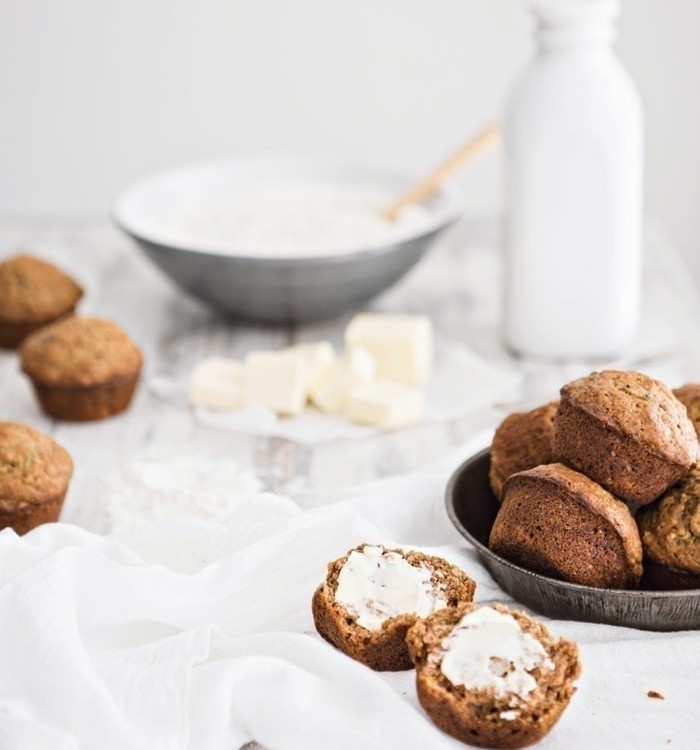
These Zucchini Apple Spice Muffins are perfect for the transition space between summer and fall. You can use up the loads of summer zucchini that are laying around in your garden, the grocery store, or at the farmer’s market, while savoring the fall spice flavors and a hint of apple.
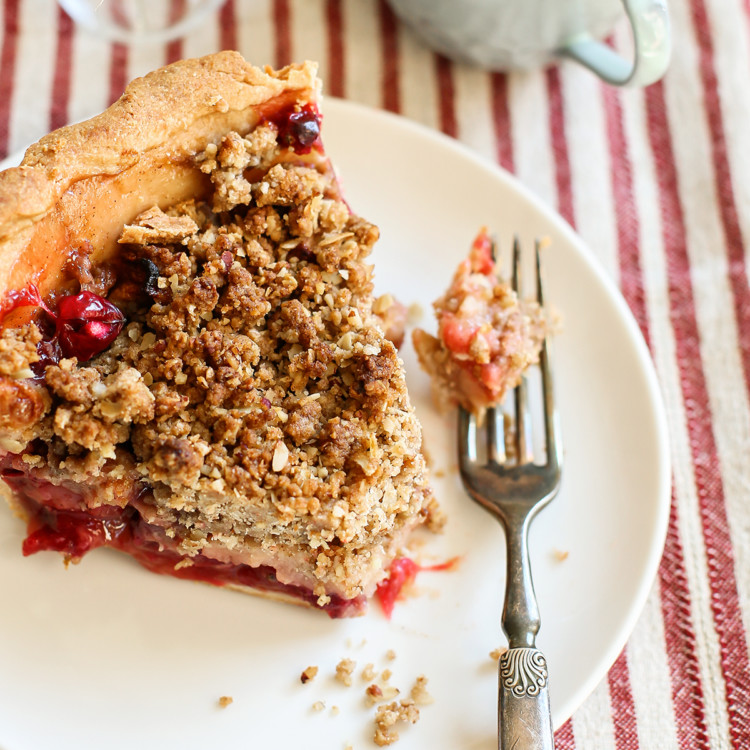
Bourbon Apple Crisp features a spiced apple filling flavored with bourbon and browned butter, plus an oat-gingersnap topping. This is the perfect dessert for using up those fall apples!
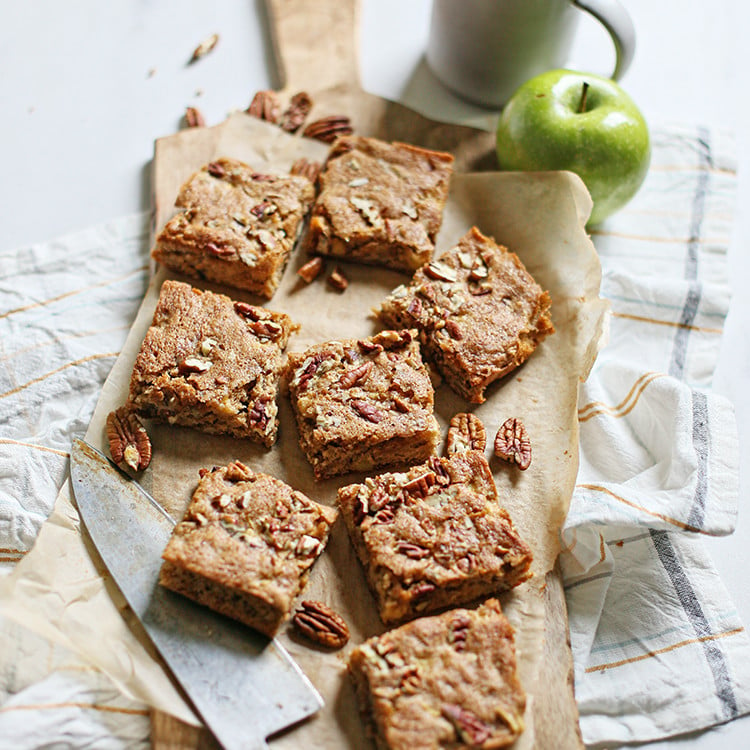
This Cinnamon Applesauce Bread is perfect for fall and features some of fall’s best flavors, such as cinnamon, apples, and walnuts.
Get More Recipes via Email
Did you love this instant pot apple butter recipe? Sign up to receive Good Life Eats Email Updates and never miss another recipe!
Have you ever made homemade apple butter?
Instant Pot Apple Butter
Homemade apple butter is a cinch to make in your pressure cooker! This recipe shares how to make Instant Pot Apple Butter and also provides water bath canning instructions for long-term storage.
Ingredients
- 7 - 8 pounds Apples (50/50 Mix of Honeycrisp and Granny Smith)
- 2 teaspoons Pure Vanilla Extract
- 1 fresh Lemon, zested and juiced
- 1 fresh Orange, zested and juiced
- 1 cup Granulated Sugar
- 1 cup Brown Sugar, packed
- 1 tablespoon Ground Cinnamon
- ½ teaspoon freshly Grated Nutmeg
- ¼ teaspoon Ground Cardamom
- ¼ teaspoon Sea Salt
Instructions
Preparing the Apples
- Using a vegetable peeler, remove the peel from the apples. Discard the peel.
- Then, using an apple corer, remove and discard the core from the apples.
- Cut each apple in half. Then, cut each half into thirds.
Cooking the Apple Butter
- Add the apples to a 6-quart Instant Pot.
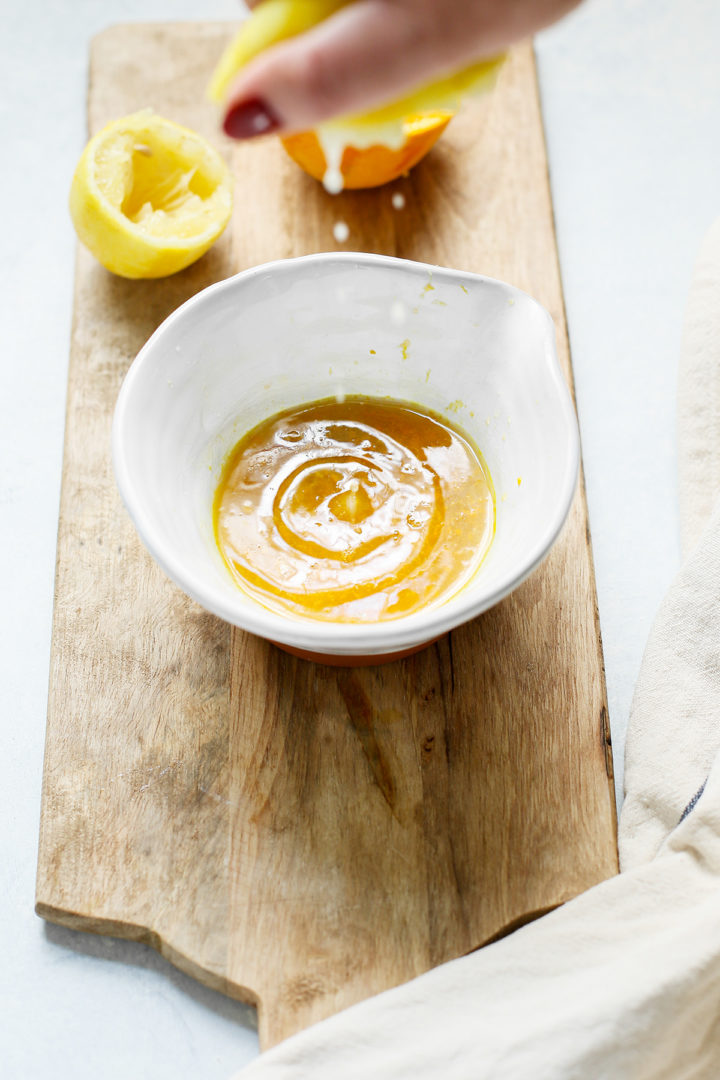
- In a small bowl, combine the vanilla extract, lemon juice, lemon zest, orange juice, and orange zest, then drizzle over the apples. Stir the apples using a wooden spoon until coated.
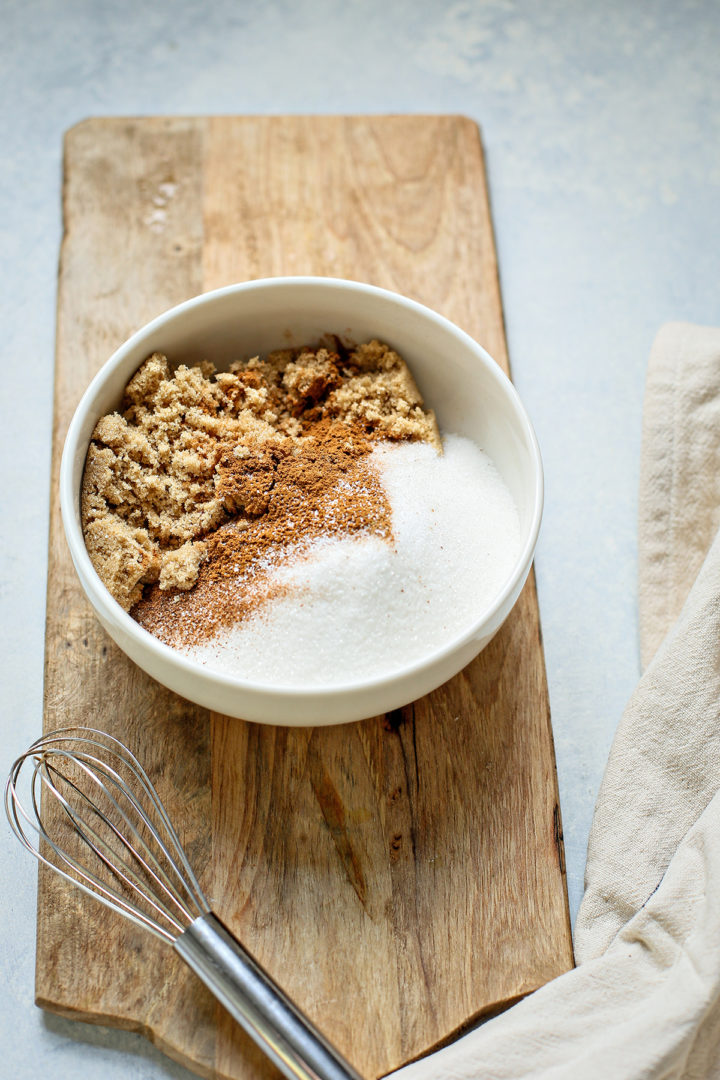
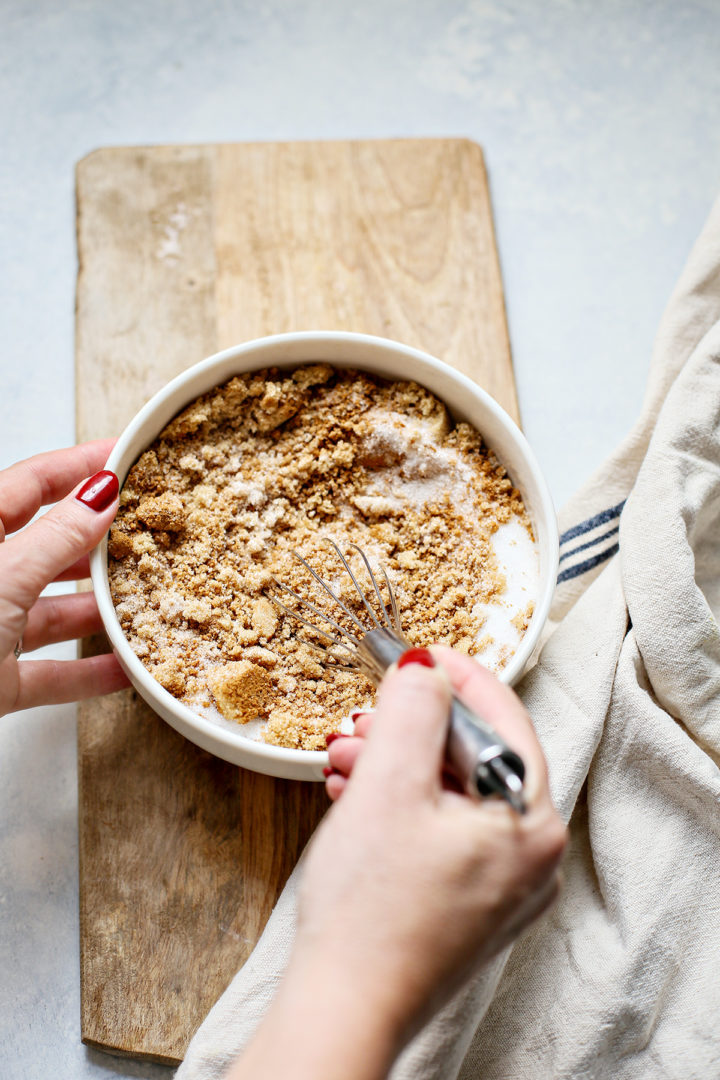
- In another bowl, whisk together the granulated sugar, brown sugar, cinnamon, nutmeg, cardamom, and salt. Sprinkle the sugar mixture over the apples, stirring again to coat.
- Secure the lid on the instant pot, making sure the release valve is closed. Then, set to “manual” and pressure cook for 90 minutes on high pressure.
- After the natural release has finished, switch the vent from seal to pressure release and release all of the remaining pressure before opening the lid. Make sure to keep hands, arms, and face away from the steam as it is very hot.
Blending the Apple Butter
- Using an immersion blender, puree the apple mixture until smooth, stirring periodically and scraping the sides down as needed.
- Adjust spices, to taste, if desired. Even if you plan to water bath can the apple butter, it is safe to add additional spices if you like.
- Once the apple butter is completely smooth, with the lid removed set the cooker to sauté and bring the apple butter mixture to a boil. Let boil for 15 minutes, stirring every 5 minutes.
- Then, set the cooker to the “slow cook” setting and continue to cook the mixture on high for 3 - 4 hours, or until it has reached desired consistency. Stir the mixture every 15 - 30 minutes, or as needed.
Canning Apple Butter (Optional)
- Meanwhile, prepare canner, jars and lids: Wash and rinse the jars in hot soapy water (or run through the dishwater). Drain the jars well of any excess water. Set the screw bands aside - they don't require sterilizing.
- Place the lids - the flat round portion of the two-piece closures - in a small saucepan, cover with water and bring to a simmer. Don't boil. Keep lids hot until you're ready to use them.
- Leaving ½ inch of headspace in each jar, funnel the hot apple butter into sterilized jars
- Remove air bubbles and adjust head-space, if needed, by adding more butter.
- Wipe rim with a clean paper towel. Center the lid on jar and screw band down until resistance is met, then increase to fingertip tight.
- Place jars in the canner, ensuring they are completely covered with water. Bring to a boil and process (the timing depends on the size of your jar and your local elevation).
- Meanwhile, lay a kitchen towel on top of a wooden cutting board set on the counter.
- After processing, remove the canner lid. Wait 5 minutes, then carefully remove the jars (a canning jar lifter is helpful for this) and transfer to the cutting board.
- Once jars have cooled to room temperature, check the seals and tighten the lids the rest of the way.
- Sealed jars can be stored at room temperature for up to a year.
Storing the Apple Butter Without Canning
- Turn the insert off and remove the insert from the cooker. Let the apple butter cool for 1 hour before transferring to containers.
- Store the apple butter in clean, airtight containers in the refrigerator or freezer. It will keep for up to 2 weeks in the refrigerator when stored properly.
Nutrition Information:
Yield: 3 Serving Size: 1Amount Per Serving: Calories: 1136Total Fat: 2gSaturated Fat: 0gTrans Fat: 0gUnsaturated Fat: 1gCholesterol: 0mgSodium: 207mgCarbohydrates: 296gFiber: 31gSugar: 252gProtein: 3g
GoodLifeEats.com offers recipe nutritional information as a courtesy. This provided information is an estimate only. This information comes from online calculators. Although GoodLifeEats.com makes every effort to provide accurate information, these figures are only estimates.



Leave a Comment