How to Temper Chocolate
Learning how to temper chocolate is the key to making homemade candies that look polished and professional. This tutorial covers two beginner-friendly methods, including the seeding method, for smooth, glossy results. Whether you’re dipping truffles, making bark, or coating homemade caramels, you’ll learn how to get that perfect snap every time.
Reasons to Temper Chocolate
✔ A glossy, smooth finish — no more dull or chalky-looking chocolate
✔ That signature snap when you break or bite into it
✔ A smooth texture, not sticky or chewy
✔ Protection against bloom — those pale streaks or blotches that show up when chocolate cools unevenly
✔ Better shelf life — it keeps longer and stays beautiful
✔ Stays solid at room temp, so it won’t melt in your hands
What is Tempered Chocolate?
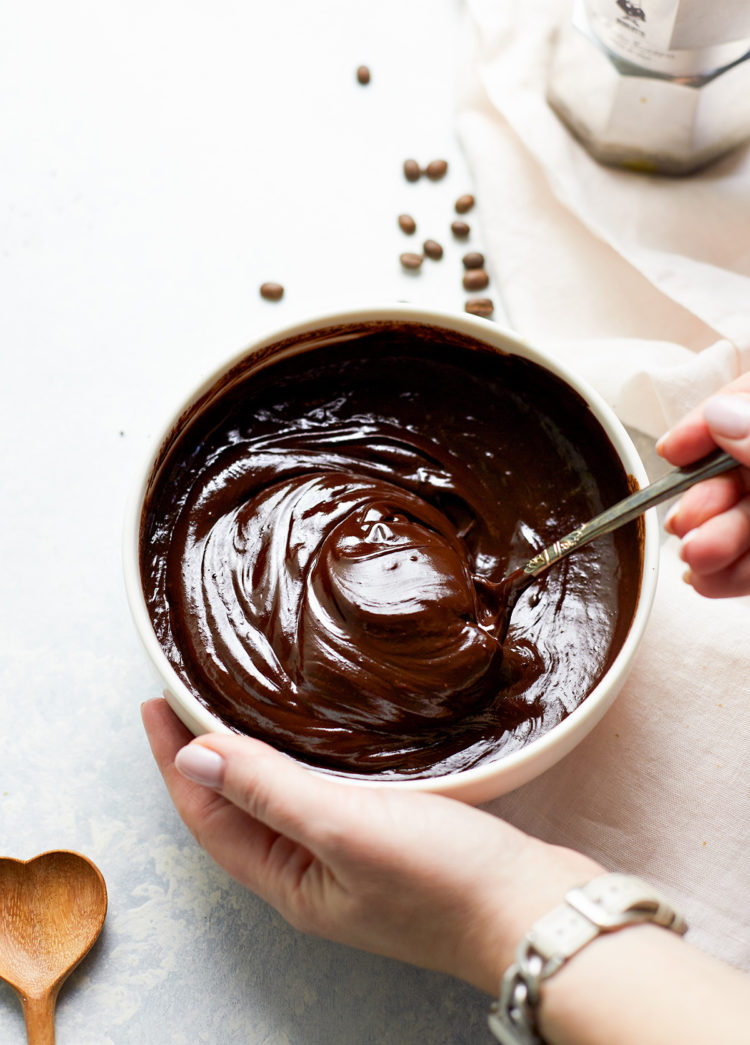
Tempering chocolate is the process of carefully melting and cooling chocolate to specific temperatures so that it sets with a glossy finish and a firm snap. When done right, it gives you that polished outer shell on truffles, a smooth base for chocolate bark, or a coating that doesn’t instantly melt in your hands.
Think about the outer shell on a ganache truffle. You wouldn’t want it to look dull or feel tacky, right? You want it to be smooth and shiny, with just enough structure to break cleanly when you bite in.
Tempering also helps raise the chocolate’s melting point slightly, which means it holds up better when stored at room temperature or handled during candy making.
But here’s the catch: if chocolate gets too hot during melting, the cocoa butter crystals become unstable. That leads to streaks, a grainy or chewy texture, and sometimes even spoilage or discoloration (what’s known as “bloom”).
Proper tempering helps avoid all of that and gives you chocolate that looks beautiful and behaves the way it should.
Related: Learn How to Make Chocolate Ganache
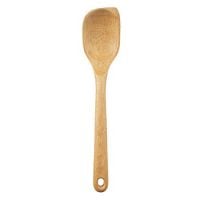
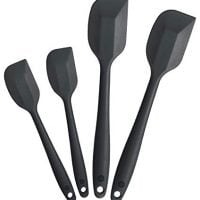
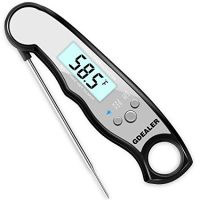
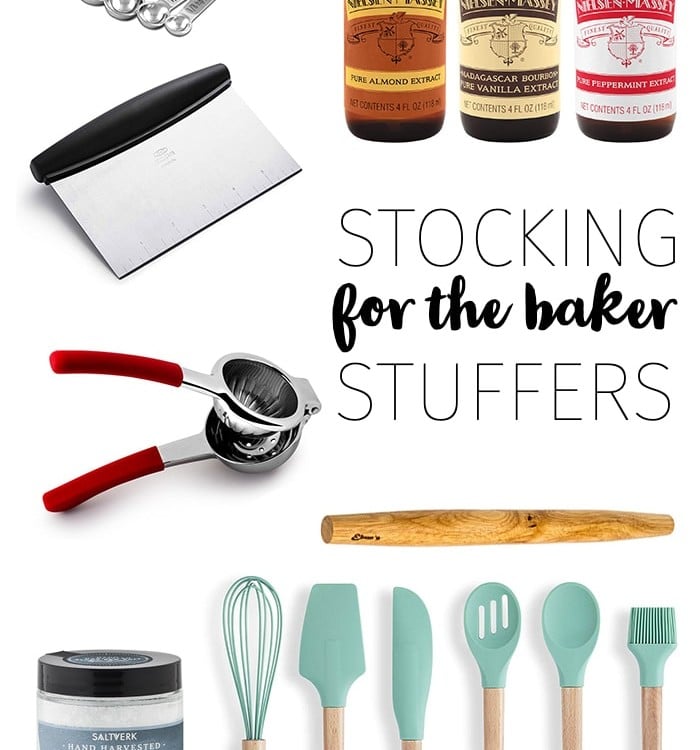
Tools Needed
You don’t need fancy equipment, but a few basics make all the difference when tempering chocolate at home:
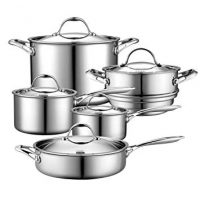
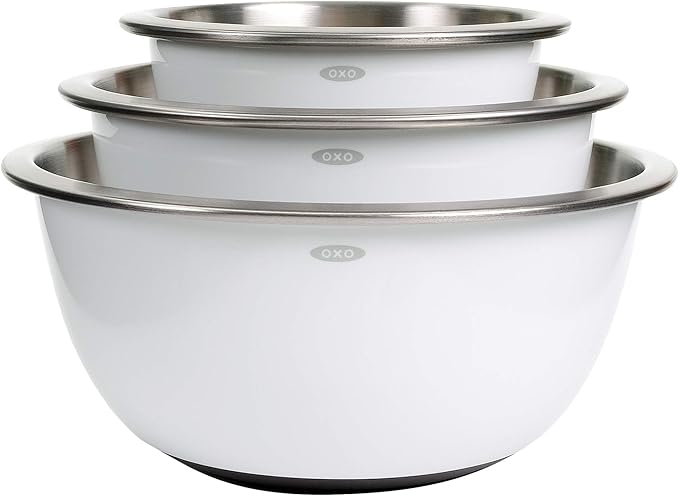
- Double boiler or a heatproof bowl + saucepan: for a makeshift double boiler.
- Silicone spatula or heatproof spoon: you’ll want something gentle but sturdy for stirring.
- Candy thermometer: digital is easiest for accuracy.
- Dry towel or heatproof mitts: for safely removing the bowl from the pan
- Kitchen scale: optional but helpful if you’re tempering precise amounts.
Katie’s Tip: If you’re planning to dip fruits, truffles, or caramels, set up a parchment-lined tray nearby too.
Ingredient Notes and Tips
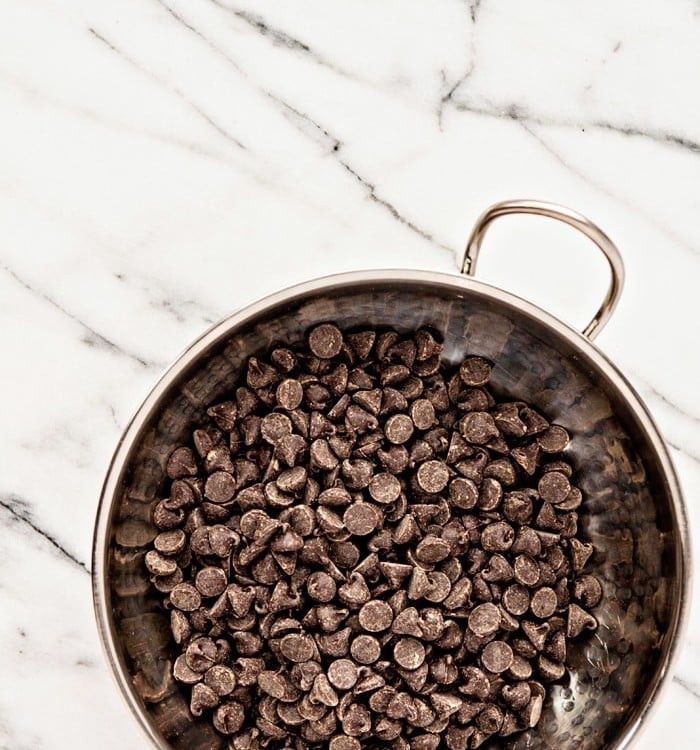
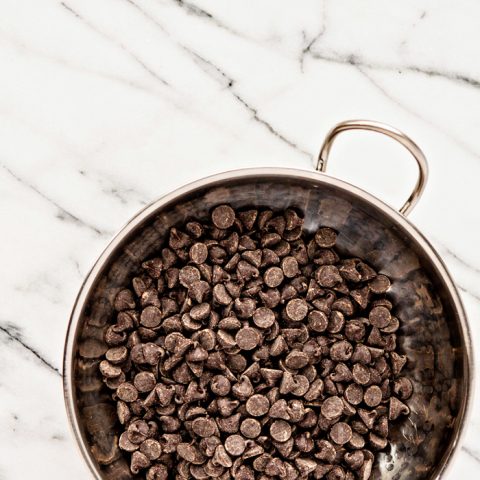
You only need one ingredient for this process: chocolate.
- 1 pound of chocolate — you can use chopped chocolate bars or chocolate chips
Look for high-quality baking chocolate if possible. It should be real chocolate made with cocoa butter, not compound chocolate, which won’t temper properly.)
White chocolate can be trickier to temper, so I recommend starting with dark or milk chocolate if you’re new to the process.
How to Temper Chocolate
This double boiler method works with both chocolate chips and chopped bars:
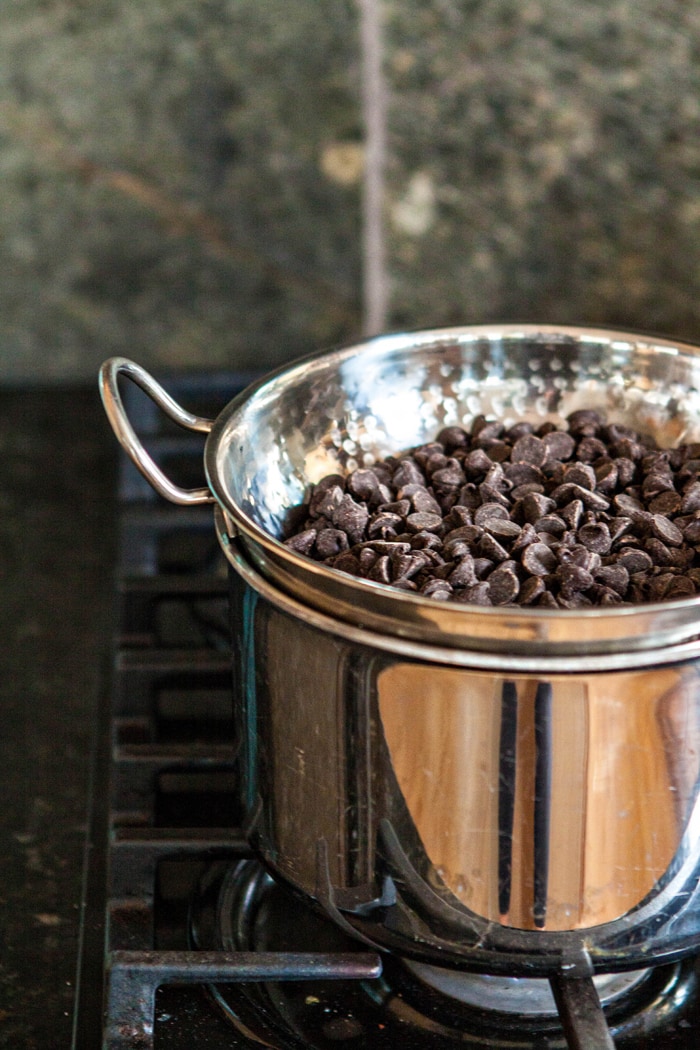
- Simmer water: Fill a saucepan halfway and bring to a simmer.
- Melt chocolate: Place chocolate in a heatproof bowl set over (not touching) the water.
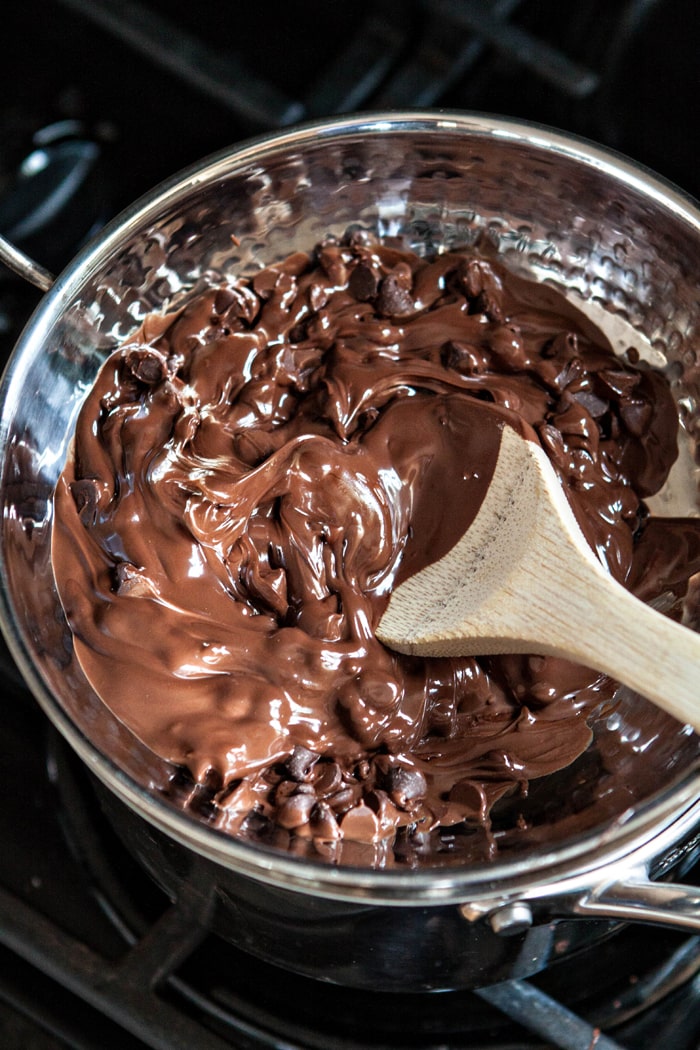
- Turn off heat: Let it sit briefly, then stir until melted.
- Monitor temperature: for dark chocolate, heat it to about 115°F, then cool it down to 88–90°F; for milk chocolate, heat to around 110°F and cool to 86–88°F.
- Use while fluid: Stir often and work quickly. If it thickens, gently rewarm and stir again.
Tempered chocolate should look shiny, coat evenly, and start to set within minutes.
The above is simply a quick summary of how to temper chocolate. Check out the full recipe in the free printable recipe card at the bottom of this post for all the detailed instructions.
Want More Control? Try the Seeding Method
If you want a little more control over the process, or you’re working with a bigger batch of chocolate, you can try what’s called the seeding method. It sounds fancy, but it’s actually one of the easiest and most beginner-friendly ways to temper chocolate at home.
Here’s how it works:
- Start by melting about three-quarters of your chocolate over a double boiler.
- Stir gently until it’s mostly melted and smooth, but not too hot.
- Remove the bowl from the heat.
- Stir in the remaining one-quarter of finely chopped chocolate (this is your “seed”).
- Keep stirring until everything is fully melted and smooth.
That unmelted chocolate (called the “seed”) helps bring the temperature down and encourages the melted chocolate to form the right kind of crystals—the ones that give you that beautiful shine, crisp snap, and chocolate that doesn’t melt all over your fingers.
The best part? You don’t need anything fancy to pull this off. Just a bowl, a spatula, and a thermometer. It also works especially well with higher-quality chocolate bars, since you’re using their original temper to guide the process.
Want to Be Extra Precise? Try This Cooling Trick
If you’re someone who loves getting things just right, there’s one more step you can take to help your chocolate temper beautifully: let it cool to a specific range before warming it up to the final working temperature.
Here’s how it breaks down:
For dark chocolate:
- Heat it gently until it reaches about 115°F
- Let it cool to around 82°F
- Then reheat just slightly to 88–90°F (this is your working range)
For milk chocolate:
- Heat to about 110°F
- Cool to around 80°F
- Reheat gently to 86–88°F
Why bother with this extra step? Because it helps the chocolate form the right kind of cocoa butter crystals. Cue: the ones that give you that pretty shine, clean snap, and chocolate that holds its shape at room temp.
Just go slow when reheating. If you heat it past the final working temperature, you’ll need to start over from the beginning. That’s why a good candy thermometer is your best friend here.
Tips for this Technique
Tempering chocolate is simpler than it sounds, but a few key habits will make the process smoother and give you glossy, snappy results every time.
- Stick with a double boiler: Microwaves are too unpredictable for tempering. Using a bowl over simmering water gives you much better control and reduces the risk of overheating.
- Keep everything completely dry: Even a small drop of water can cause chocolate to seize and turn grainy. Make sure your bowl, spatula, and thermometer are bone dry before you begin.
- Work quickly once tempered: Tempered chocolate starts to thicken as it cools. Dip, drizzle, or mold while it’s still fluid, and stir often to keep the texture smooth.
- Watch for dullness: If the chocolate looks matte or thickens too much, it’s likely cooled below the working range. Just gently rewarm it over hot water and stir to bring it back to temper.
- Scrape and stir as you go: Stirring from the bottom and sides helps distribute heat evenly and prevents over-crystallizing in spots.
- Use a thermometer: Precision matters here. A candy thermometer helps you hit the target temperature ranges for dark or milk chocolate and avoid common issues like bloom or streaking.
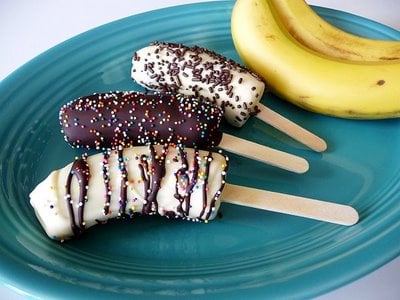
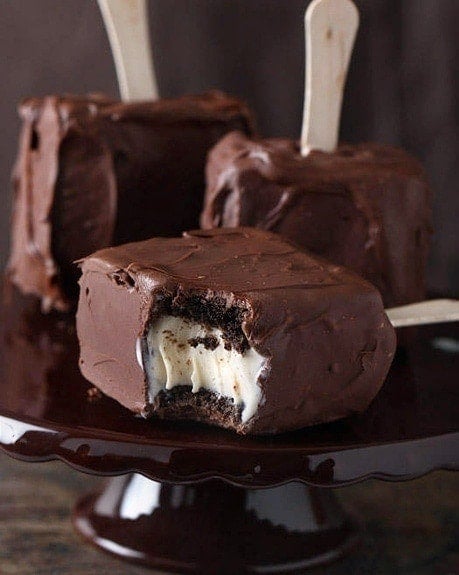
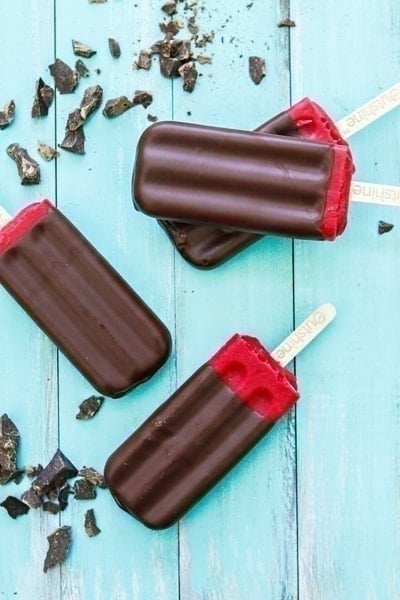
Recipes to Try with Tempered Chocolate
Once you’ve mastered tempering, you’ll want to put that silky-smooth chocolate to good use. Here are some reader favorites and go-to treats to try next:
Dip homemade marshmallows in chocolate: Chocolate Dipped Candy Cane Marshmallows and Raspberry Marshmallows
Try chocolate covered caramels: Chocolate Covered Sea Salt Caramels, Gingerbread Caramels, and Bourbon Maple Salted Caramels
Use in in chocolate bark recipes: Fruit and Nut Bark, Dark Chocolate Pretzel Bark, and Triple Chocolate Peppermint Bark
Use it for coating truffles: Pumpkin Pie Truffles
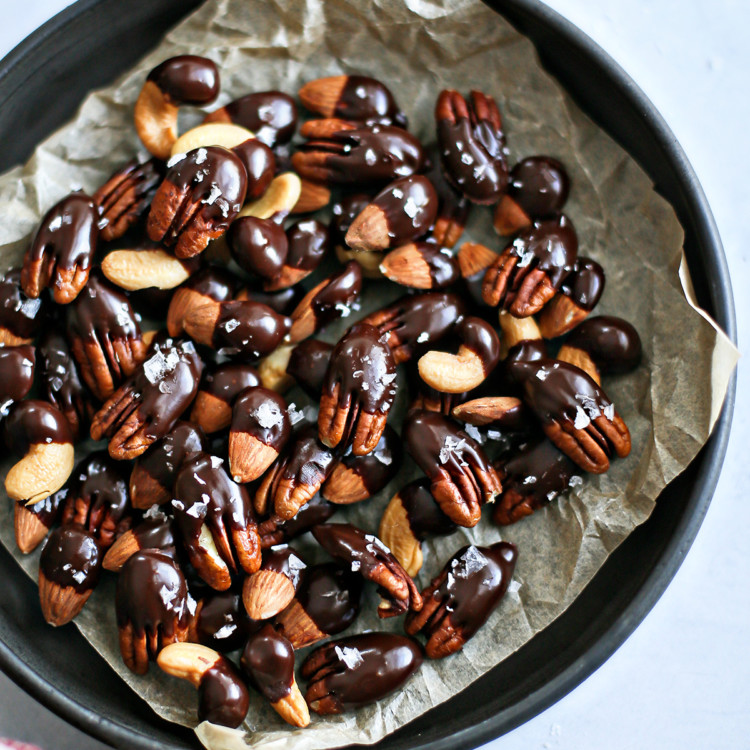
Dip nuts in chocolate: Chocolate Dipped Nuts
Tempering Chocolate FAQs
Got questions about tempering chocolate? Here are the answers to a few commonly asked questions. Feel free to leave any other questions in the comments on this post and I’ll respond with answers.
What kind of chocolate is best for tempering at home?
Choose chocolate that lists cocoa butter as a main ingredient, not vegetable oil. You also want to avoid “candy melts” or compound chocolate, which aren’t true chocolate and won’t temper properly.
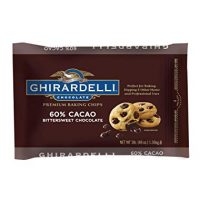
Katie’s Tip: Look for good-quality baking bars. Brands like Ghirardelli, Guittard, or Valrhona work well.
Can I use chocolate chips to temper chocolate?
Yes, you can temper chocolate chips, but they’re a bit trickier since they’re formulated to hold their shape in the oven. They don’t melt as smoothly and may contain added stabilizers.
Katie’s Tip: If using chocolate chips, melt them slowly and stir often. I recommend a higher-end brand with real cocoa butter for best results.
Can I temper white chocolate?
Yes, but white chocolate is a little fussier than dark or milk because it has a lower cocoa butter content and no cocoa solids, which means it scorches and seizes more easily.
You’ll want to melt it slowly and gently (no rushing this one), and be extra careful with temperature. For best results, heat white chocolate to around 105°F, then cool to 82–84°F, and reheat slightly to a working temp of about 86–88°F.
Katie’s Tip: Use real white chocolate made with cocoa butter, not baking chips or candy coating.
How can I tell if chocolate is properly tempered?
Tempered chocolate looks smooth and shiny, coats evenly, and starts to firm up at room temperature within a few minutes. Once it is set, it will snap cleanly when broken.
If your chocolate looks streaky, sticky, dull, or stays soft for too long, it’s probably out of temper.
Why does melted chocolate sometimes get grainy or clumpy?
Grainy or clumpy melted chocolate usually means one of two things: it either got too hot and the cocoa butter separated, or a little water got into the bowl, causing the chocolate to seize.
Always melt chocolate slowly and keep all your tools completely dry. Even a drop of moisture can ruin the batch.
How do I fix chocolate that’s gone out of temper?
If your melted chocolate turns matte, thick, or streaky, it’s likely cooled below the working range.
You can gently rewarm it by setting the bowl back over warm water for a few seconds at a time, stirring constantly. But, be careful not to overheat because it doesn’t take much to throw it off again.
Can I re-temper chocolate that got too hot?
Yes, but you’ll need to start over.
When chocolate gets too hot, the cocoa butter crystals break down completely. To re-temper, let it cool to room temperature, then gently reheat it using the double boiler method, keeping a close eye on your thermometer.
Can I store leftover tempered chocolate and use it again?
Yes! As long as it hasn’t been mixed with cream, water, or other perishable ingredients, you can save it and reuse it later. Here’s how to do it:
- Let the tempered chocolate cool and harden completely.
- Break it into chunks and store in an airtight container.
- Keep it in a cool, dry place at room temperature (no need to refrigerate).
- When you’re ready to use it again, re-temper it just like a fresh batch—either using the seeding method or standard temperature range.
Once re-tempered, it’ll perform the same way, with that glossy finish and clean snap.
More Kitchen Tips to Try
Want to try more kitchen techniques like this one? These how-to posts are great for building confidence with homemade recipes. You can also browse all of the kitchen tips and tricks in the Good Life Eats archive.
Stay Inspired in the Kitchen!
Want more delicious recipes, kitchen tips, and meal inspiration? Sign up for the Good Life Eats Newsletter and get:
✔ Tried-and-true recipes—from quick weeknight meals to special occasion favorites.
✔ Seasonal meal ideas—helping you make the most of fresh, in-season ingredients.
✔ Time-saving kitchen tips—boosting your confidence and creativity in the kitchen.
Have you ever tempered chocolate?
How to Temper Chocolate
Learn how to temper chocolate at home with this easy, reliable method. This guide covers traditional tempering and the seeding method—perfect for dipped treats, bark, and glossy chocolate coatings.
Ingredients
- 1 pound of chocolate
Instructions
Traditional Tempering Method
- Fill a medium saucepan about halfway with water and place it on the stove over medium-low heat. Bring the water to a gentle simmer.
- While the water heats, place your chopped chocolate (or chocolate chips) in a heatproof bowl. If you have a double boiler, you can use the top insert instead.
- Once the water is simmering, place the bowl of chocolate on top of the saucepan. The bottom of the bowl should sit above the water—not touching it.
- Turn the heat off under the pan. Let the chocolate sit for a minute or two, then begin gently stirring. It will start melting from the edges in.
- Stir slowly and consistently as the chocolate melts. Use a candy thermometer to monitor the temperature: For dark chocolate, heat to around 115°F, for milk chocolate, heat to about 110°F.
- Once it’s melted and at the correct temperature, remove the bowl from the saucepan.
- Keep stirring the chocolate gently to help it cool slightly and maintain a smooth, glossy texture.
- As you work with the chocolate (dipping fruit, nuts, caramels, etc.), stir it regularly to keep the temperature even and the texture fluid.
- If the chocolate starts to look matte or thickens too much, it has cooled below the ideal range. Simply place the bowl back over the warm saucepan for a few seconds at a time, stirring constantly, until it smooths out again.
- Be sure to stir along the bottom and sides of the bowl as you go—this keeps the temperature consistent and helps prevent graininess or over-thickening.
Seeding Method
- Start by chopping all of your chocolate into small, even pieces.
- Place about 75% of the chocolate into a heatproof bowl (or the top of a double boiler if you have one). Set the bowl over a saucepan of gently simmering water. Make sure the bottom of the bowl doesn’t touch the water.
- Let the chocolate melt slowly, stirring often with a silicone spatula. Use a candy thermometer to monitor the temperature: For dark chocolate, melt to about 115°F, or for milk chocolate, melt to about 110°F.
- Once the chocolate reaches the right temperature and is fully melted, remove the bowl from the heat.
- Immediately add the remaining 25% of finely chopped chocolate to the bowl. This is your “seed” chocolate. Stir constantly until it melts completely and the temperature drops into the tempering range: 88–90°F for dark chocolate or 86–88°F for milk chocolate
- Keep stirring gently to help the chocolate stay smooth and at a steady temperature. This is now tempered and ready to use.
- While dipping or coating, stir regularly to keep the texture fluid. If it starts to thicken or cool too much, you can place the bowl back over the warm pan for a few seconds at a time to gently reheat—just don’t let it go above the working range.
Notes
Tips for Tempering Chocolate
- Use a double boiler for more control—microwaves heat too unevenly.
- Keep tools dry to avoid seizing (even a drop of water can ruin the batch).
- Work quickly once tempered; chocolate thickens as it cools.
- Stir regularly to keep the texture smooth and temperature even.
- Watch for dullness. If it thickens or loses shine, gently rewarm and stir.
- Use a thermometer to stay within the right range and avoid bloom or streaks.
FAQs Covered in the Post
Got questions? These questions and answers are covered within the post:
- What kind of chocolate is best for tempering?
- Can I use chocolate chips?
- How do I know if it’s tempered?
- Why does melted chocolate get grainy or clumpy?
- How do I fix chocolate that’s gone out of temper?
- Can I re-temper chocolate that got too hot?
- Can I temper white chocolate?
- Can I store and reuse leftover tempered chocolate?
Recommended Products
As an Amazon Associate and member of other affiliate programs, I earn from qualifying purchases.
Nutrition Information:
Yield: 8 Serving Size: 1Amount Per Serving: Calories: 303Total Fat: 17gSaturated Fat: 10gTrans Fat: 0gUnsaturated Fat: 5gCholesterol: 13mgSodium: 45mgCarbohydrates: 34gFiber: 2gSugar: 29gProtein: 4g
GoodLifeEats.com offers recipe nutritional information as a courtesy and is an estimate only. This information comes from online calculators. Although GoodLifeEats.com makes every effort to provide accurate information, these figures are only estimates.


Elizabeth Start says
Wow! This page was so helpful and I am so thankful that you got right to the point with very useful information (not the fluff stories other sites have).
Katie says
I’m so glad you found it helpful!