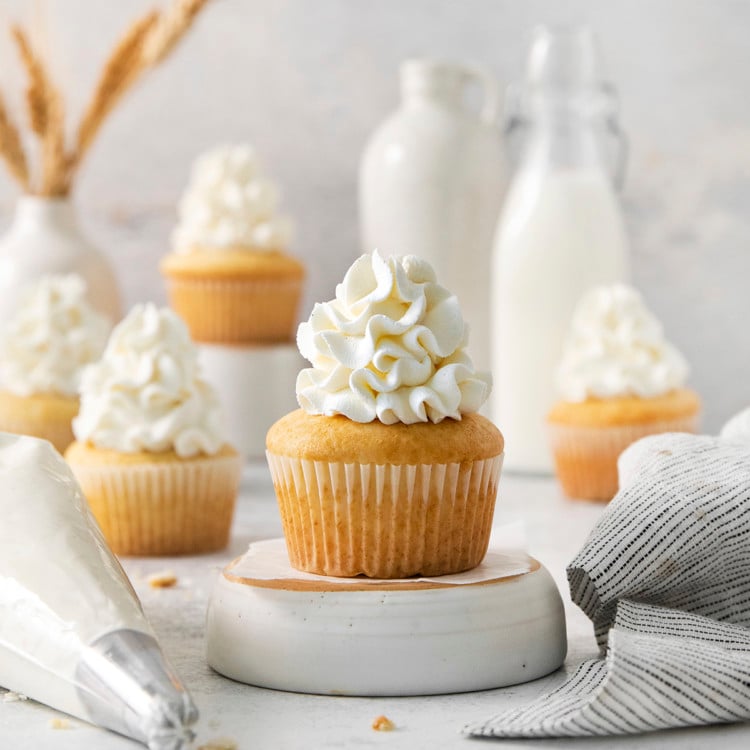
How to Make Stabilized Whipped Cream
Stabilized Whipped Cream holds its shape for longer than traditional whipped cream and is perfect for decorating cakes and pies for special occasions. Learn how to stabilize whipped cream with gelatin, plus 4 other easy methods!
What Is Stabilized Whipped Cream?
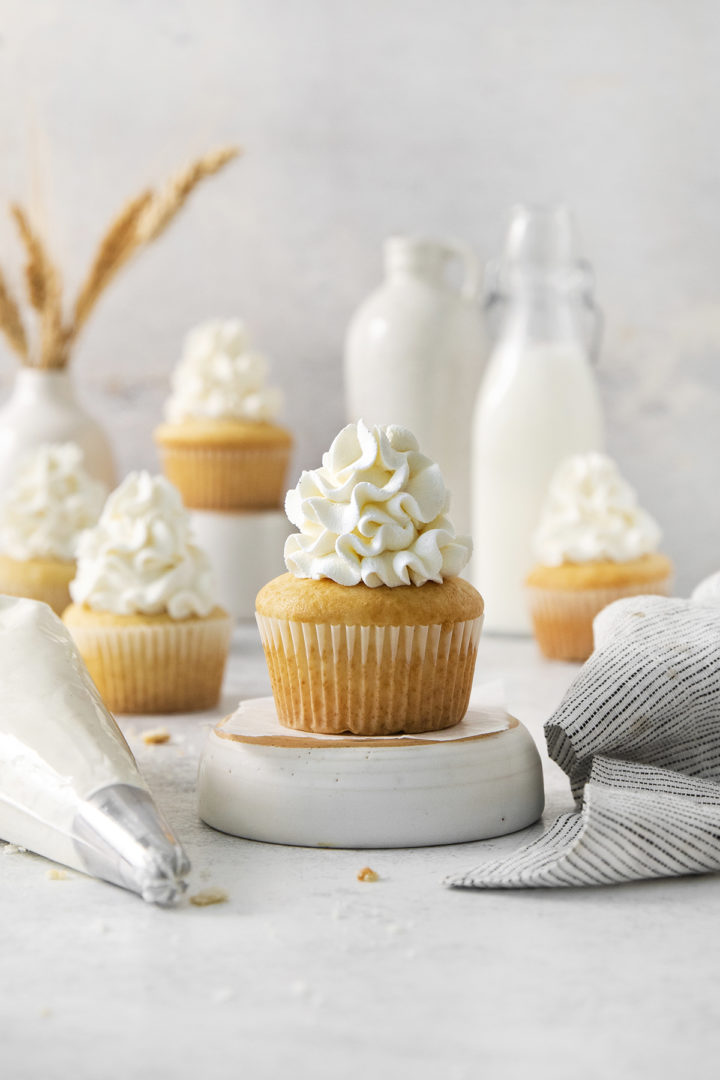
Stabilized whipped cream is just whipped cream with an extra ingredient added to help the cream hold its shape and stay light and fluffy for longer periods of time.
Most people prefer using gelatin as a whipped cream stabilizer, because it’s flavorless, cheap, and can hang out in your pantry for months without going bad.
However, there are a few other ways to stabilize whipped cream that don’t involve gelatin. You might prefer an alternative method for stabilizing whipped cream because you’re out of gelatin, have dietary restrictions, or just want to try something new.
Whipped cream that’s been stabilized properly will still be ultra light and airy like traditional whipped cream, but slightly firmer.
This subtle firmness is what helps the whipped cream hold up well over longer periods of time, and prevents it from melting into a puddle after sitting on the counter for too long.
★★★★★
Reader Review
“I tried with Instant Vanilla pudding! Came out great!”
–Mekhila (via Pinterest)
When Should You Use Stabilized Whipped Cream?
There are a few scenarios where I prefer using stabilized whipped cream instead of regular whipped cream:
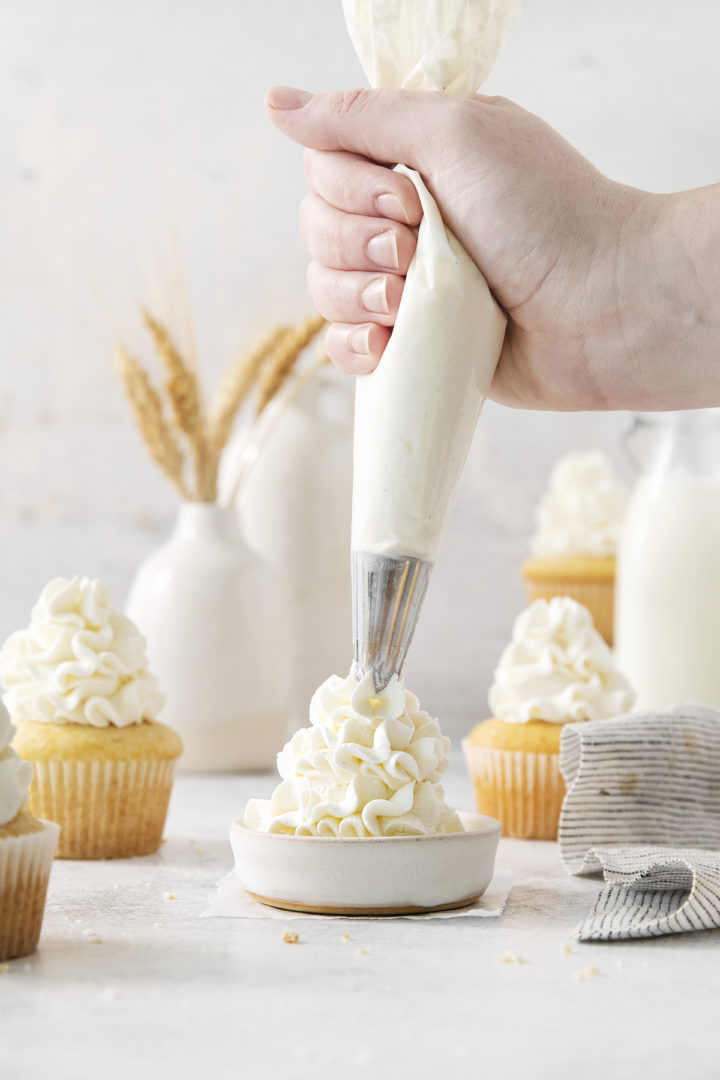
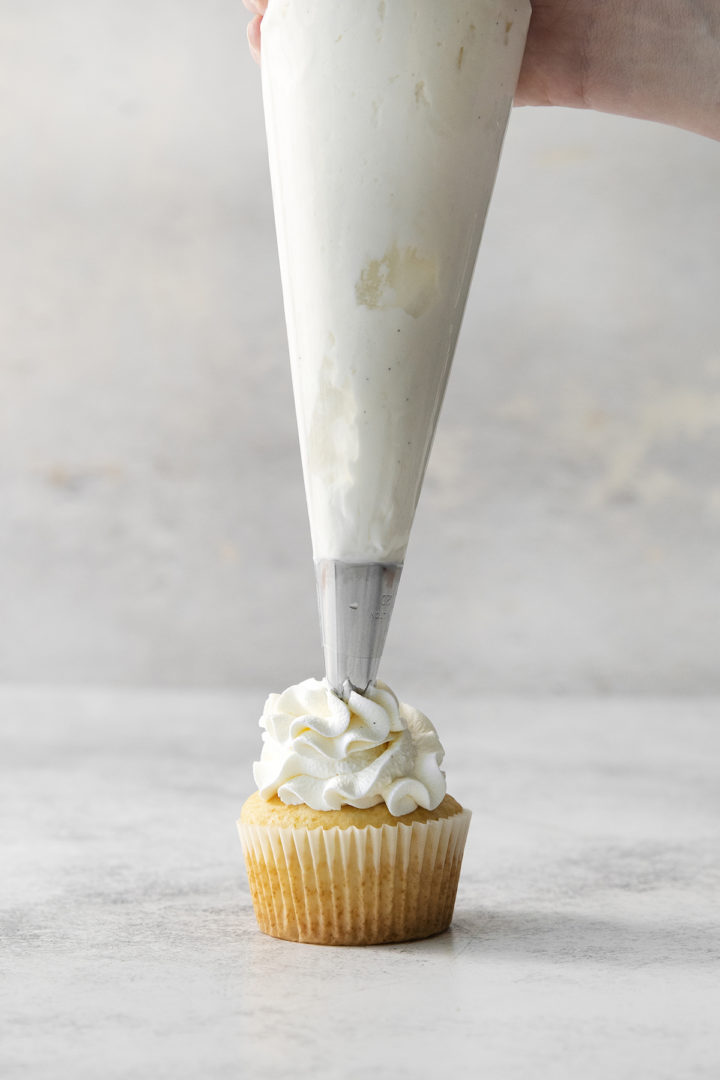
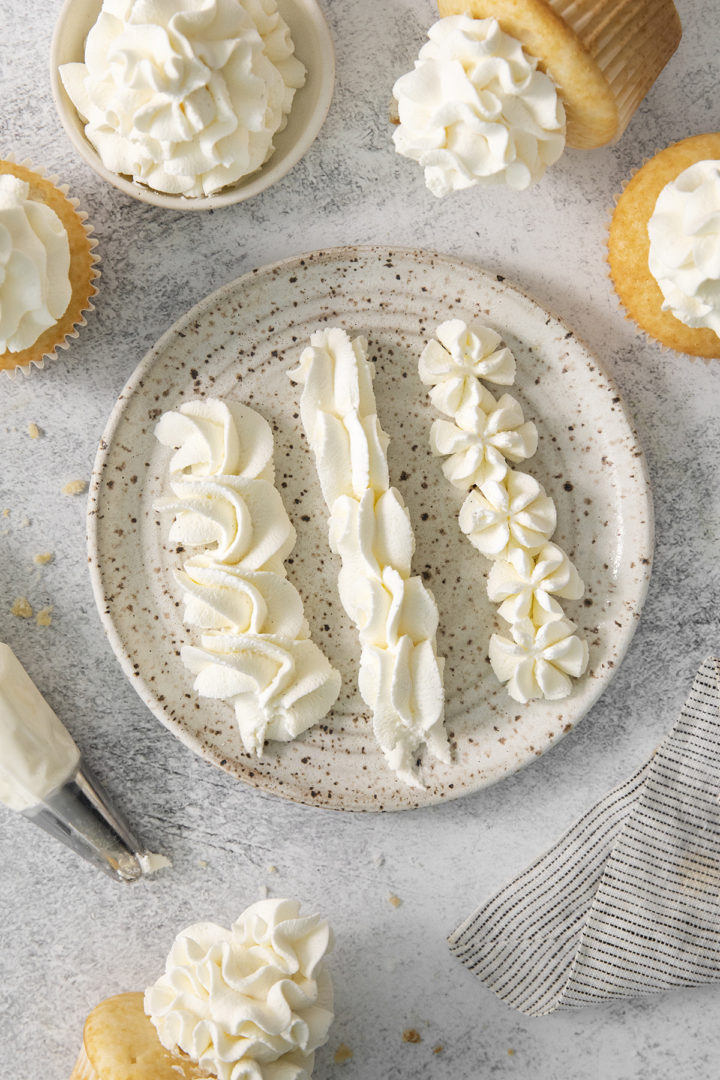
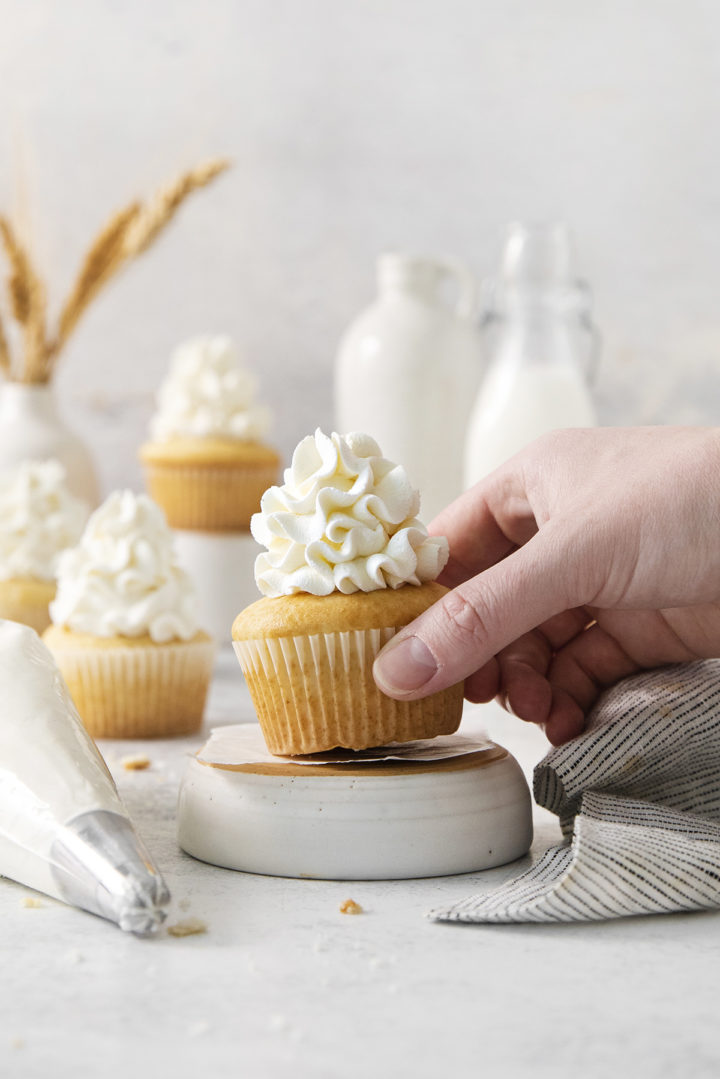
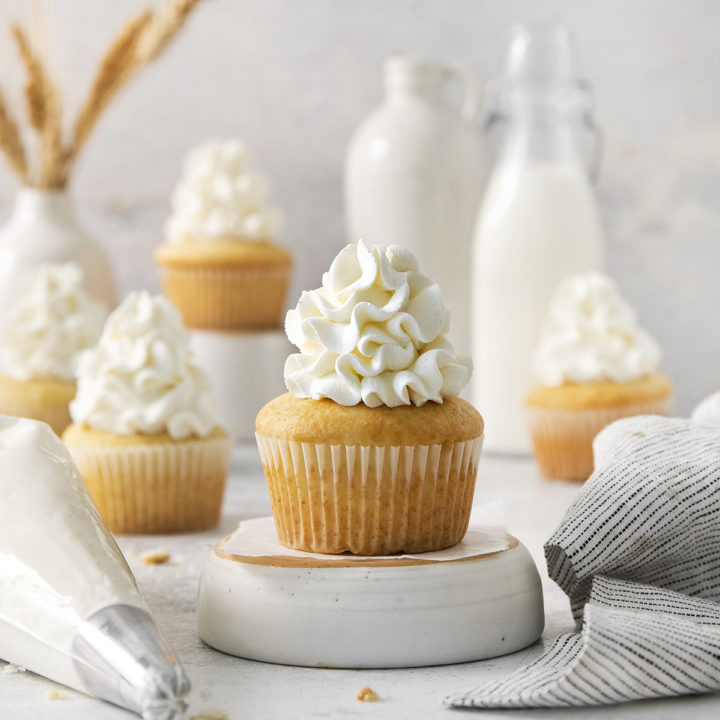
- For piping onto cakes and cupcakes — Stabilized whipped cream can be piped very neatly onto cakes, cupcakes, and pies and will hold the desired shape for a long time.
- For making desserts in advance — Regular whipped cream will deflate significantly after just a few hours, even if stored in the fridge. Stabilized whipped cream doesn’t! If making something like a trifle or layer cake in advance of a holiday or family gathering, stabilized whipped cream is your best option.
- For desserts that will be served outside — If you know that a dessert will be left out for longer periods of time or in warmer temperatures (such as at cookouts or potlucks), you want to use stabilized whipped cream.
- For stacked or layered desserts — Stabilized whipped cream will give the most height and offer the best presentation to trifles, cakes, and pastries.
Ways to Stabilize Whipped Cream
You have a few whipped cream stabilizers to choose from, with gelatin being the most popular.
Below is an overview of the pros and cons for each method of stabilizing whipped cream, including what works best for piping, spreading, or quick fixes.
- Cornstarch – One of the easiest and most accessible methods. Most people already have cornstarch in their pantry, and it does a decent job stabilizing whipped cream for short-term use. It’s best used the same day, as it can sometimes cause a slightly gritty texture or weeping after 24 hours. A good choice if you’re in a pinch and don’t need it to pipe elaborate decorations.
- Gelatin – The most reliable method for stabilized whipped cream that holds its shape for days. Gelatin creates a smooth, pipeable texture without altering the flavor. Ideal for topping cakes, piping swirls, or anything where you need long-lasting structure. Vegetarian gelatin works just as well.
- Instant Pudding Mix – Pudding mix contains cornstarch, which helps stiffen whipped cream, plus added sugar and flavor. It’s a great shortcut for sturdy whipped cream, but keep in mind that it will taste like the pudding flavor (usually vanilla) so it’s not ideal for more delicately flavored desserts.
- Greek Yogurt – This adds a slight tang and a bit of structure. It won’t get quite as stiff as gelatin, but it works for spooning or dolloping if you’re serving right away. Use full-fat Greek yogurt for the best texture and avoid anything runny or low-fat.
- Marshmallow Fluff – Already thick and very sweet, marshmallow fluff blends into whipped cream to create a soft, stable, dessert-style topping. Be sure to adjust or skip the powdered sugar when using this method, and note that it’s best used when a sweeter flavor is welcome.
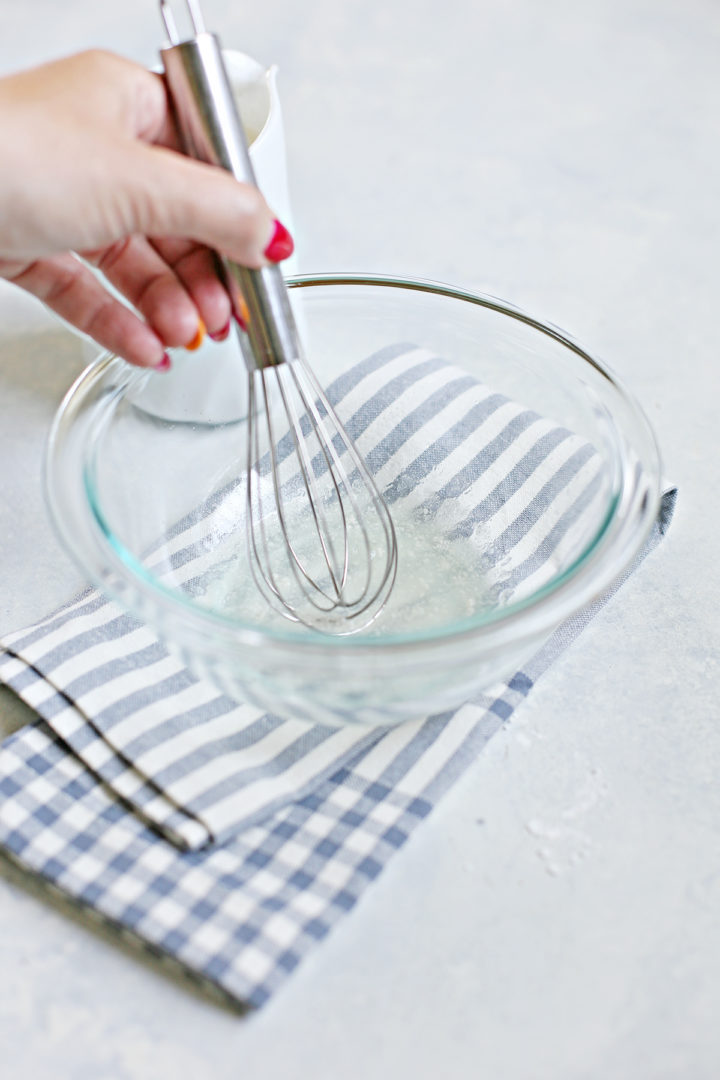
Tools Needed for Stabilizing Whipped Cream
You need very few tools to stabilize whipped cream, no matter the method you choose to use. I recommend having the following tools on hand:
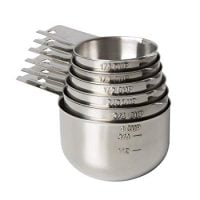
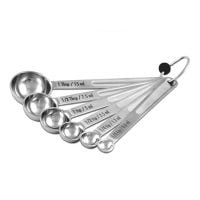
- Measuring cups and spoons — Necessary for any baking project.
- Mixing bowl — Use a larger bowl than you think you’ll need, as heavy cream doubles in size once whipped.
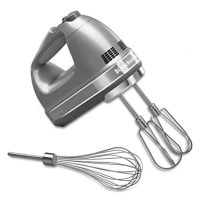
- Electric hand mixer — Takes longer to whip heavy cream using a hand mixer, but use what you have!
- Stand mixer (optional) — Will make the quickest work of whipped the cream, but keep a close eye on it so that you don’t accidentally over whip the cream.
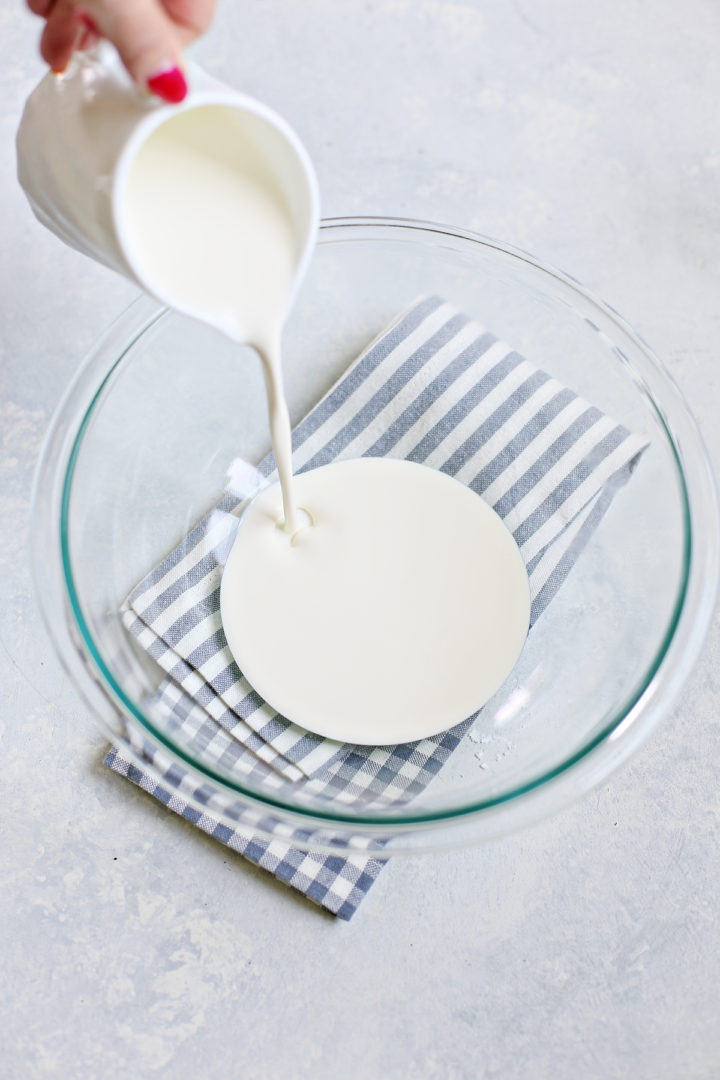
What Ingredients are in Stabilized Whipped Cream?
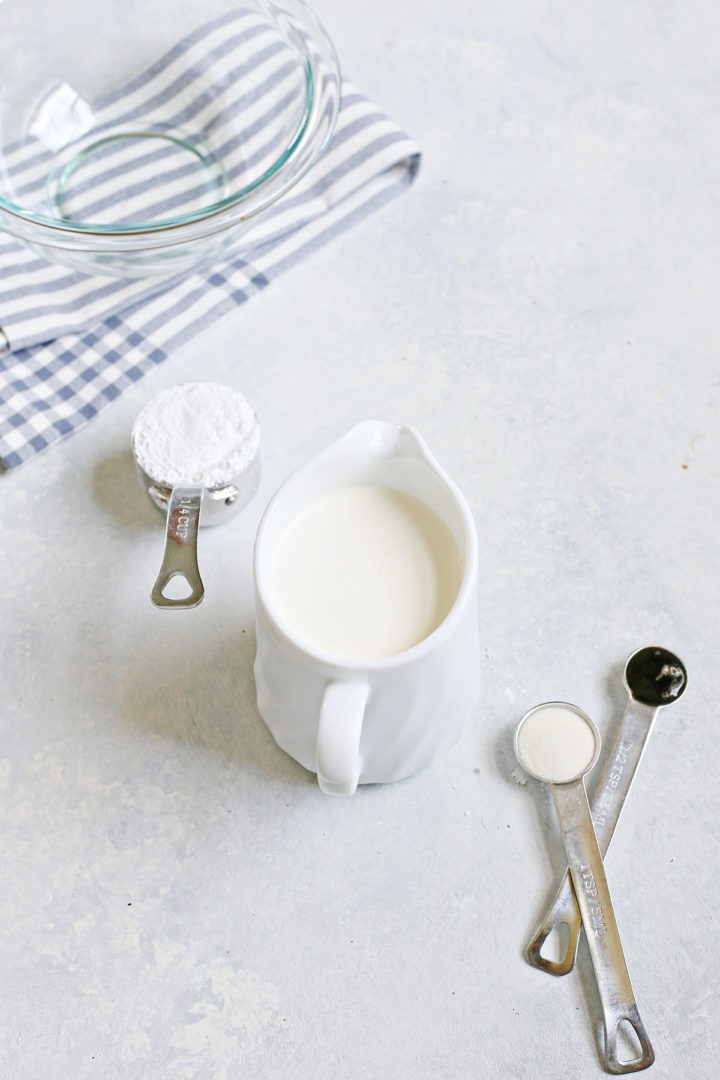
All versions start with the same base: heavy whipping cream, powdered sugar, and vanilla (I like vanilla bean paste for richness, but extract works too).
Then you’ll choose one stabilizer (gelatin, cornstarch, instant pudding mix, Greek yogurt, or marshmallow fluff) based on what works best for your recipe.
I almost always use gelatin because it’s the most reliable and holds up beautifully for piping and decorating, but I’ve tested all the options.
You’ll find step-by-step instructions and ingredient ratios for each method in the printable recipe card at the bottom of this post.
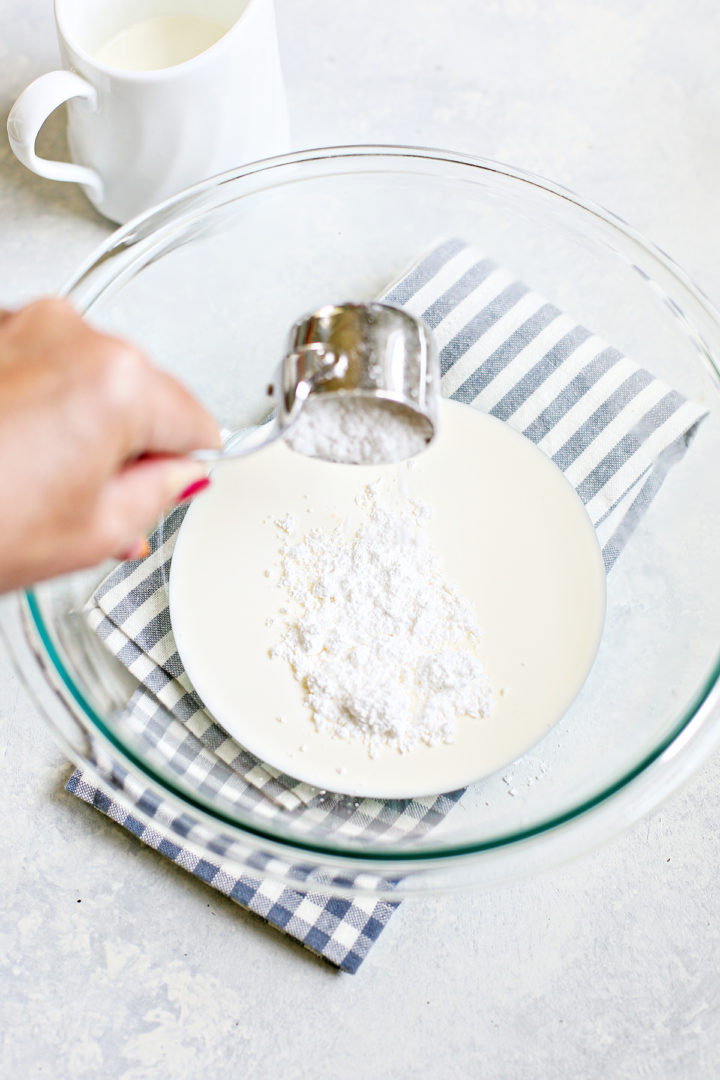
How to Make Stabilized Whipped Cream
No matter which method you use to stabilize whipped cream, the process will be nearly identical. In this section, I’m going to review how to make gelatin stabilized whipped cream, but I’ve provided step-by-step instructions for every method in the recipe card at the end of this post.
- Chill your tools: Place your mixing bowl and beaters in the fridge or freezer for a few minutes to help the cream whip faster and fluffier.
- Bloom the gelatin: Let the gelatin sit in cold water until it thickens and softens—it’ll look like a gel once it’s ready.
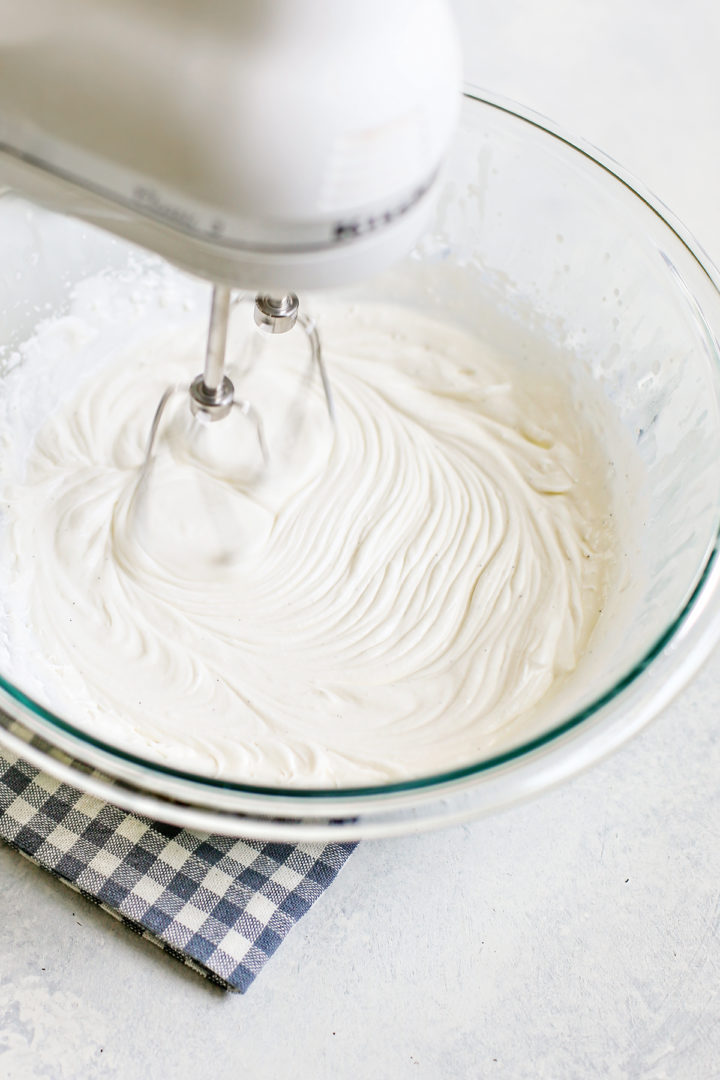
- Start whipping: Beat the cold heavy cream and powdered sugar until the mixture starts to thicken but hasn’t reached soft peaks yet.
- Melt and add the gelatin: Gently warm the bloomed gelatin just until it dissolves, then slowly pour it into the cream while mixing on low speed.
- Finish whipping: Add vanilla, then beat until stiff peaks form. Use right away or store in the fridge for up to a few days.
The above is simply a quick summary of this recipe for stabilized whipped cream. Check out the full recipe in the free printable recipe card at the bottom of this post for all the detailed instructi
Recipe Tips
- Chill your bowl and beaters — Whipped cream turns out fluffiest when everything is super cold. Pop your bowl and beaters in the fridge or freezer for 5 to 10 minutes before starting. This helps the cream whip faster and hold its shape better.
- Start with cold heavy whipping cream — Wait until the moment you’re ready to start beating the whipped cream to remove it from the fridge. Between the cold bowl, cold beaters, and cold whipping cream, you’re sure to make super airy whipped cream!
- Use full-fat heavy whipping cream — You cannot make whipped cream (stabilized or otherwise) using a lower fat alternative such as half and half or whole milk. It just won’t work! Use the real stuff for this recipe.
- Make sure to dissolve gelatin first — If your gelatin is clumpy or only partially dissolved, it won’t mix in properly. That leads to grainy or stringy whipped cream. Be sure to bloom the gelatin in cold water, then gently heat it until smooth and fully liquefied, warm, not hot.
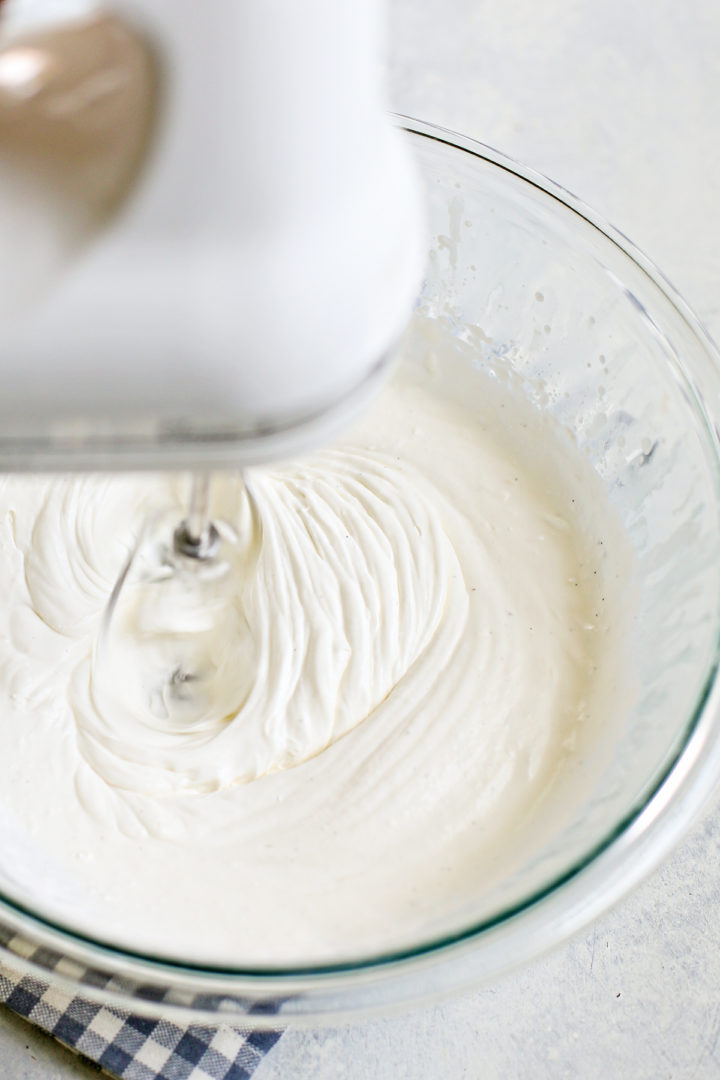
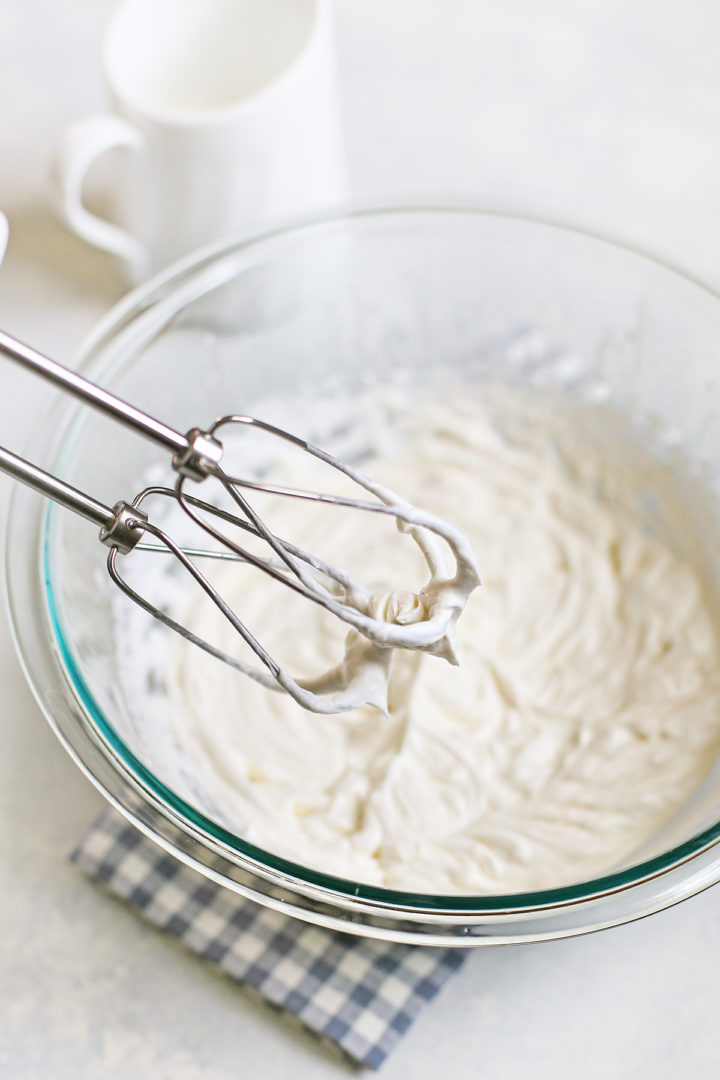
- Don’t over whip the heavy cream — It’s tempting to keep going for “extra stiffness,” but don’t. Once the cream holds its shape and stands up without collapsing when you lift the beater, you’re done. Overwhipping can quickly turn whipped cream into butter or make it separate.
Recipe FAQs
Got questions about stabilizing whipped cream? Here are the answers to a few commonly asked questions. Feel free to leave any other questions in the comments on this post and I’ll respond with answers.
What’s the best way to stiffen whipped cream?
Gelatin is my top pick. It is the most reliable way to stiffen whipped cream for decorating. It creates a fluffy texture that holds its shape and pipes cleanly, even a day or two later. And, it doesn’t affect the flavor.
If you’d rather skip gelatin, instant pudding mix or marshmallow fluff are solid alternatives. Just know that pudding mix adds sweetness and a hint of vanilla flavor.
Cornstarch and Greek yogurt can work if needed, but they’re less ideal for piping. Cornstarch may cause a gritty texture, and yogurt adds tang and a softer finish. It’ is’s better for dolloping than detailed decoration.
How do you stiffen whipped cream for decorating?
Whipped cream that’s been stabilized with gelatin is most common, but instant pudding mix or marshmallow fluff work well too.
Cornstarch and Greek yogurt can help in a pinch but aren’t my favorites because they aren’t as reliable for detailed piping and they both affect the flavor and texture.
How far ahead can you make stabilized whipped cream?
If you’re serving guests, I recommend making it no more than 1 day ahead for best texture. It usually holds well for 48 hours, though the piped details may soften slightly after that.
How long does stabilized whipped cream last?
Stabilized whipped cream lasts up to 3 days in the fridge, but in my experience, it starts to deflate a little after the 2-day mark. It will still taste great, just a little less fluffy.
How to store stabilized whipped cream?
In the fridge! This will both keep it fluffy and also ensure it’s safe to eat (it’s dairy based, after all!).
Can stabilized whipped cream be frozen?
Yes, you can freeze stabilized whipped cream! The gelatin (or other stabilizer) helps it hold up much better than regular whipped cream.
If you’re freezing it, I recommend piping it onto your dessert first. Once frozen, it doesn’t re-pipe well, but it holds its shape beautifully if piped before freezing.
How long can stabilized whipped cream sit at room temperature?
No more than 2 hours. After that, it should be refrigerated again. If you’re in a warm kitchen or outside at a cookout, keep an eye on it. If it starts weeping or losing shape, pop it back in the fridge to re-stabilize.
How many cups of whipped cream does 1 cup of heavy cream make?
1 cup of heavy whipping cream can be whipped to create 2 cups of whipped cream.
Ways to Use Stabilized Whipped Cream
There are so many ways to use stiffened whipped cream! You can use it in place of Cool Whip, whipped topping, or regular whipped cream in pretty much any recipe.
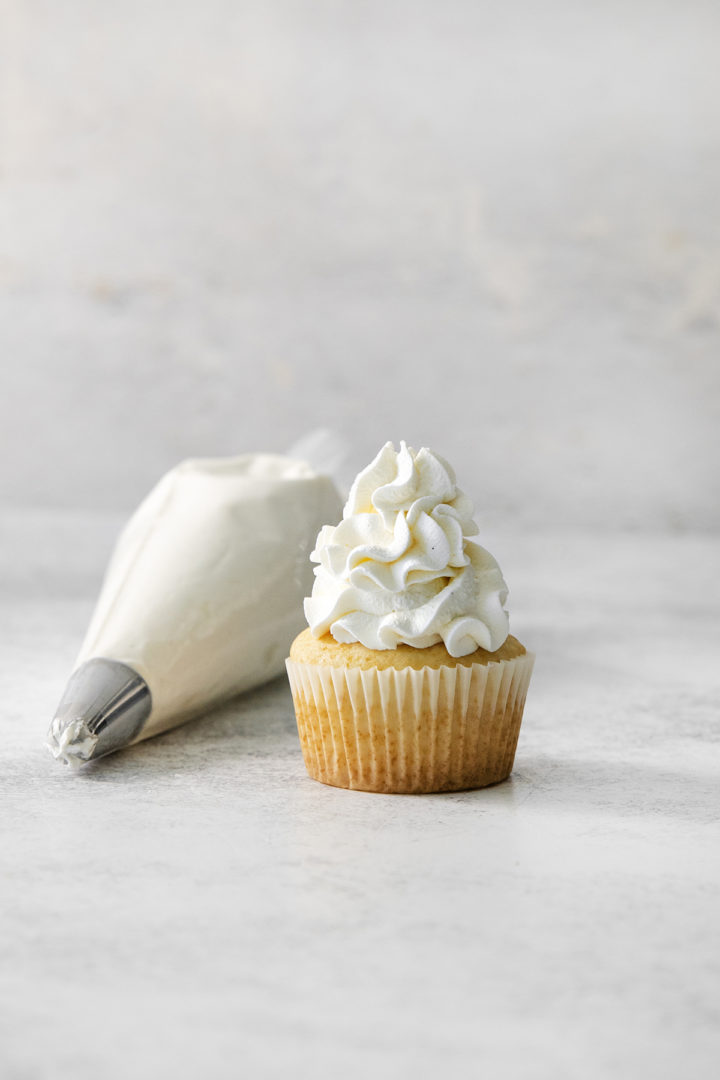
Use it to frost cupcakes, garnish cakes and pies, spoon over pudding, layer in parfaits, top milkshakes, or keep it simple by serving alongside fresh berries.
The following recipes would pair wonderfully with stabilized whipped cream:
- Lemon Raspberry Pavlova
- Strawberry Fool
- Pumpkin Pecan Pie
- Pumpkin Custard
- White Chocolate Pudding
- Vanilla Cupcakes
- Chocolate Raspberry Bundt Cake
- Macerated Strawberries
- Cardamom Coffee Cake
- Brownie Trifle
- Mixed Berry Galette
Don’t see what you’re looking for here? You can always head over to check out the recipe index to look for more recipes.
Try Making Stabilized Whipped Cream!
The next time you have a dessert to decorate in advance, try using stabilized whipped cream!
Did you think this tutorial on how to stabilize whipped cream was helpful? Leave a comment below and give it a review for others to see what you thought
On Instagram? Share your photo and tag me with @goodlifeeats and #goodlifeeatsrecipes. I’d love to see a photo of your stiffened whipped cream!
More Kitchen Tutorials:
Browned butter can be used in sweet and savory recipes to add an incredible depth of flavor to even the simplest dishes. This tutorial will explain How to Brown Butter and provide my top tips and tricks for success!
Chocolate curls are easy to make, and they add a touch of elegance to any cake, cupcake, trifle, or cheesecake! In this post, I’ve provided step-by-step instructions on How to Make Chocolate Curls, plus I’m sharing the best types of chocolate to use for chocolate curls, how to store the curls, and more!
Dried orange slices can be eaten as a snack, used as DIY home decor, added to potpourri, and so much more!
Ran out of almond meal? No problem! In this post, I’ll explain How to Make Almond Meal as well as when it’s best to use almond meal vs almond flour.
Learn all about substitutes for buttermilk as well as how to make buttermilk. It’s easier than you’d think to make your own buttermilk!

Stay Inspired in the Kitchen!
Want more delicious recipes, kitchen tips, and meal inspiration? Sign up for the Good Life Eats Newsletter and get:
✔ Tried-and-true recipes—from quick weeknight meals to special occasion favorites.
✔ Seasonal meal ideas—helping you make the most of fresh, in-season ingredients.
✔ Time-saving kitchen tips—boosting your confidence and creativity in the kitchen.
Stabilized Whipped Cream Recipe
Stabilized whipped cream holds its shape for longer than traditional whipped cream and is perfect for decorating cakes and pies for special occasions.
Ingredients
With Gelatin
- 1 teaspoon unflavored gelatin
- 4 teaspoons cold water
- 1 cup heavy whipping cream
- 2 - 4 tablespoons powdered sugar
- ½ teaspoon vanilla bean paste
With Cornstarch
- 2 - 4 tablespoons powdered sugar
- 1 ½ tablespoons cornstarch
- 1 cup heavy whipping cream
- ½ teaspoon vanilla bean paste
With Greek Yogurt
- 1 cup Heavy Cream
- ¼ - ⅓ cup Powdered Sugar
- ½ teaspoon Vanilla Bean Paste
- ½ cup Plain Greek Yogurt
With Marshmallow Fluff
- 1 cup Heavy Cream
- 1 to 1 ½ tablespoons Marshmallow Fluff
- 2 - 4 tablespoons Powdered Sugar
- ½ teaspoon Vanilla Bean Paste
With Instant Pudding Mix
- 1 cup Heavy Cream
- 3 tablespoons Instant Vanilla Pudding Mix
- 2 tablespoons Powdered Sugar, if desired
- ½ teaspoon Vanilla Bean Paste
Instructions
With Gelatin:
- Place a large mixing bowl and your beaters or whisk attachment in the refrigerator or freezer for 5 to 10 minutes. The colder your tools are, the faster and fluffier the cream will whip. Just make sure your bowl is sturdy enough to handle the chill.
- While your tools chill, sprinkle 1 teaspoon of unflavored gelatin over 4 teaspoons of cold water in a small microwave-safe bowl. Let it sit undisturbed for about 5 minutes. This step is called "blooming"—it allows the gelatin to fully absorb the water and soften into a thick, gel-like texture.
- Once the bowl is chilled, remove it from the fridge or freezer. Pour in 1 cup of cold heavy whipping cream and add 2 to 4 tablespoons of powdered sugar, depending on your sweetness preference.
- Start beating the mixture on medium speed. You're looking for it to thicken slightly—it should look creamy and form soft ribbons—but stop before you reach soft peaks. The cream should still be soft enough to easily mix in the gelatin.
- Microwave the bloomed gelatin in short bursts—3 to 5 seconds at a time—stirring between bursts until it’s completely dissolved. It should turn into a smooth, clear liquid that’s warm to the touch but not hot. Overheating can break down its stabilizing power, so aim for just melted.
- With your mixer on low speed, slowly pour the warm, liquefied gelatin into the cream in a thin, steady stream. Adding it too quickly or while the mixer is going too fast can cause lumps or strings of gelatin.
- Once all the gelatin is in, add ½ teaspoon of vanilla bean paste.
- Increase the mixer speed to medium-high and continue whipping the cream until stiff peaks form. That means when you lift the beaters out, the cream holds its shape and stands up straight without collapsing.
- Stop mixing as soon as you hit that point—overwhipping can lead to a grainy texture or even start to turn the cream into butter.
- Use the stabilized whipped cream right away to top or fill desserts, or transfer it to a piping bag for decorating.
- If you’re making it ahead of time, store it in the fridge in a covered container or bag. It holds its shape beautifully for one to two days, and usually stays stable up to three if kept well chilled.
With Cornstarch:
- Place a large mixing bowl and your beaters or whisk attachment in the refrigerator or freezer for 5 to 10 minutes. Keeping everything cold helps the cream whip faster and hold its volume better. Just be sure to use a bowl that can handle the chill.
- While your tools are chilling, whisk together 2 to 4 tablespoons of powdered sugar (depending on how sweet you want your whipped cream) and 1½ tablespoons of cornstarch in a small bowl. Mixing these dry ingredients first helps prevent clumping later.
- Once the bowl is chilled, remove it from the fridge or freezer. Pour in 1 cup of cold heavy whipping cream, add the sugar-cornstarch mixture, and then add ½ teaspoon of vanilla bean paste. Stir gently by hand just to combine everything before you start whipping.
- Begin beating the mixture on medium-high speed. Whip until stiff peaks form—this means when you lift the beaters, the whipped cream stands up on its own without drooping. It should look smooth, fluffy, and hold its shape.
- Use immediately or transfer to a piping bag if you’re decorating. Store any leftovers in a covered container in the fridge. This version of stabilized whipped cream is best used within 24 hours, as cornstarch can sometimes cause a slightly gritty texture or weeping after a day or so.
With Greek Yogurt:
- Transfer a large mixing bowl to the refrigerator or freezer to chill it before beginning. Make sure that you choose a bowl that will not be damaged by the temperature and isn’t so fragile that it could break accidentally. Let chill for 5 - 10 minutes.
- Remove the bowl from the fridge or freezer. Add the heavy whipping cream, powdered sugar (amount according to your sweetness preferences), and vanilla bean paste to the bowl, beating on medium-high until stiff peaks form.
- Next, add the greek yogurt. Combine using medium speed until fully incorporated - about 10 - 20 seconds.
- Transfer the whipped cream to a piping bag and decorate your desserts however you like.
With Marshmallow Fluff:
- Transfer a large mixing bowl to the refrigerator or freezer to chill it before beginning. Make sure that you choose a bowl that will not be damaged by the temperature and isn’t so fragile that it could break accidentally. Let chill for 5 - 10 minutes.
- Remove the bowl from the fridge or freezer. Add the heavy whipping cream, powdered sugar (amount according to your sweetness preferences), and vanilla bean paste to the bowl, beating on medium-high until soft peaks form.
- Turn the mixer off. Then, transfer the marshmallow fluff to a microwave-safe bowl. Heat on full power in 5-second intervals until it is melted.
- Stir the melted marshmallow fluffy until it has cooled but is still melted. Then, add the marshmallow fluff to the whipped cream mixture. Beat on medium-high speed until stiff peaks have formed.
- Transfer the whipped cream to a piping bag and decorate your desserts however you like.
With Instant Pudding Mix:
- Transfer a large mixing bowl to the refrigerator or freezer to chill it before beginning. Make sure that you choose a bowl that will not be damaged by the temperature and isn’t so fragile that it could break accidentally. Let chill for 5 - 10 minutes.
- Remove the bowl from the fridge or freezer. Add the heavy whipping cream, pudding mix, powdered sugar (amount according to your sweetness preferences), and vanilla bean paste to the bowl, beating on medium-high until stiff peaks form.
- Transfer the whipped cream to a piping bag and decorate your desserts however you like.
Notes
Success Tips:
- Chill your tools: Cold bowl + cold beaters = fluffier whipped cream that whips faster and holds its shape longer.
- Use cold, full-fat cream: Keep the cream in the fridge until you’re ready to whip. Lower-fat options like half and half won’t work.
- Fully dissolve gelatin: Bloom it in cold water, then gently heat until smooth and liquid—if it’s clumpy, your whipped cream will be grainy.
- Stop at stiff peaks: Once the cream stands up on its own when you lift the beater, you’re done. Overwhipping can make it separate or turn buttery.
FAQs covered in this post
Check out the answers to these common questions in the blog post:
- What’s the best stabilizer for whipped cream?
- Can I make stabilized whipped cream ahead of time?
- How long does stabilized whipped cream last in the fridge?
- Can I freeze stabilized whipped cream?
- How do I store it after piping?
- Which stabilizer works best for piping vs. spreading?
- How much whipped cream does 1 cup of cream make?
Recommended Products
As an Amazon Associate and member of other affiliate programs, I earn from qualifying purchases.
Nutrition Information:
Yield: 8 Serving Size: 1Amount Per Serving: Calories: 117Total Fat: 11gSaturated Fat: 7gTrans Fat: 0gUnsaturated Fat: 3gCholesterol: 34mgSodium: 9mgCarbohydrates: 5gFiber: 0gSugar: 4gProtein: 1g
GoodLifeEats.com offers recipe nutritional information as a courtesy. This provided information is an estimate only. This information comes from online calculators. Although GoodLifeEats.com makes every effort to provide accurate information, these figures are only estimates.






Latisha says
Can I make it chocolate? How would you suggest doing so?
Katie Kick says
Yes – you would need to add 1/4 cup – 1/3 cup of cocoa powder per 2 cups of heavy whipping cream. Because cocoa powder can be somewhat bitter, you’ll also want to increase the amount of sugar you add to the whipped cream depending on your sweetness preferences. Hope that helps!
Brittany b says
Can I make this ahead of time or is it better made fresh?
Katie Kick says
If serving guests, I’d say to make the whipped cream no further in advance than the day before. However, it will stay nice and fluffy for two full days if refrigerated.
Lynda says
Can I use vanilla extract instead of paste?
Katie Kick says
Yep!