How to Make Lemon Curd – 2 Ways (includes canning instructions!)
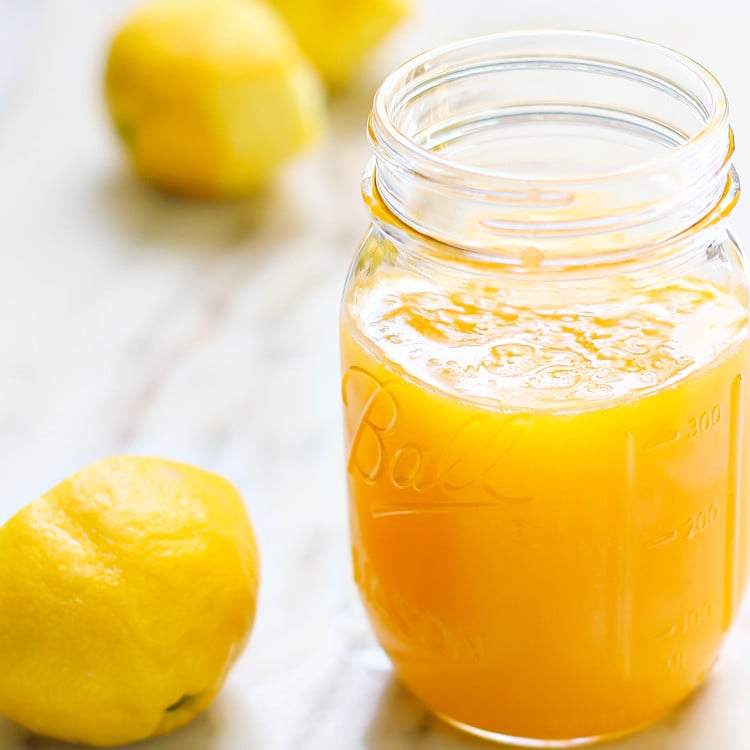
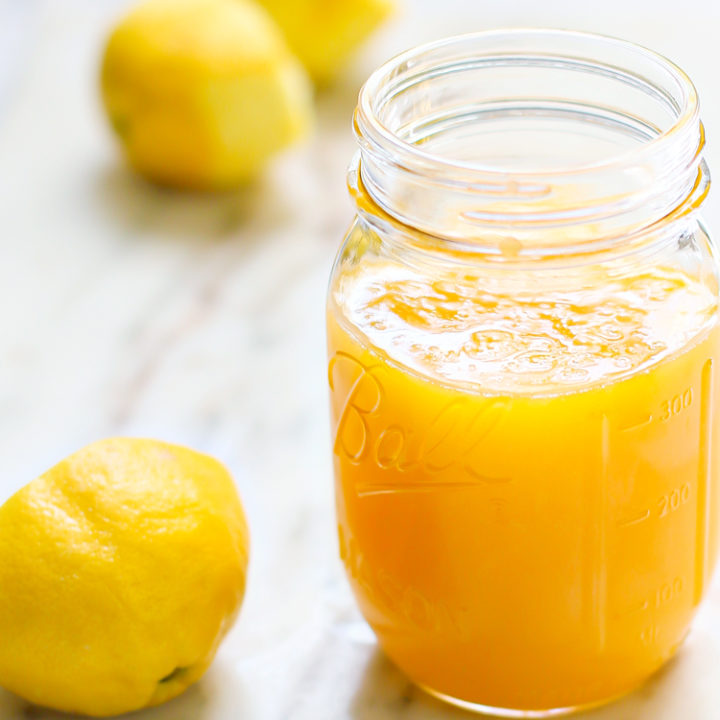
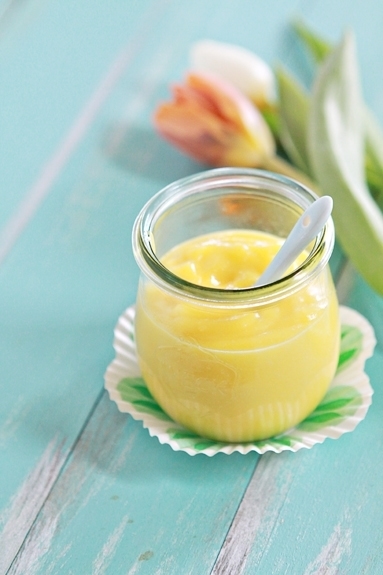
The perfect balance of sweet and tart, homemade lemon curd is a creamy spread that’s easy to make on the stovetop or in the microwave. In this post, I’m sharing an easy lemon curd recipe that’s practically foolproof! Plus learn how to can homemade lemon curd!
This post may include affiliate links. As an Amazon Associate and member of other affiliate programs, I earn a small commission from qualifying purchases.
What Is Lemon Curd?
Lemon curd is essentially a lemon jam. Except instead of being gelatinous like your typically jam or jelly, it’s smooth and creamy with a bright lemon flavor.
Lemon curd practically melts in your mouth thanks to the addition of egg yolks and butter. However, these same special ingredients are what shorten the shelf life of lemon curd in comparison to your typical fruit spread.
Luckily, this easy lemon curd recipe may be canned to preserve it for a longer period of time!
Spread your homemade lemon curd atop scones or muffins, dollop onto a bowl of yogurt or oatmeal, or use to fill cakes and cupcakes.
No matter how you enjoy it, you’re going to love this lemon curd recipe!
Ingredients for Lemon Curd
This is a very simple lemon curd recipe, so I don’t recommend making any ingredient substitutions.
You need to use real butter and egg yolks for the lemon curd to turn out properly, and while bottled lemon juice will work just fine you definitely don’t want to omit the lemon zest!
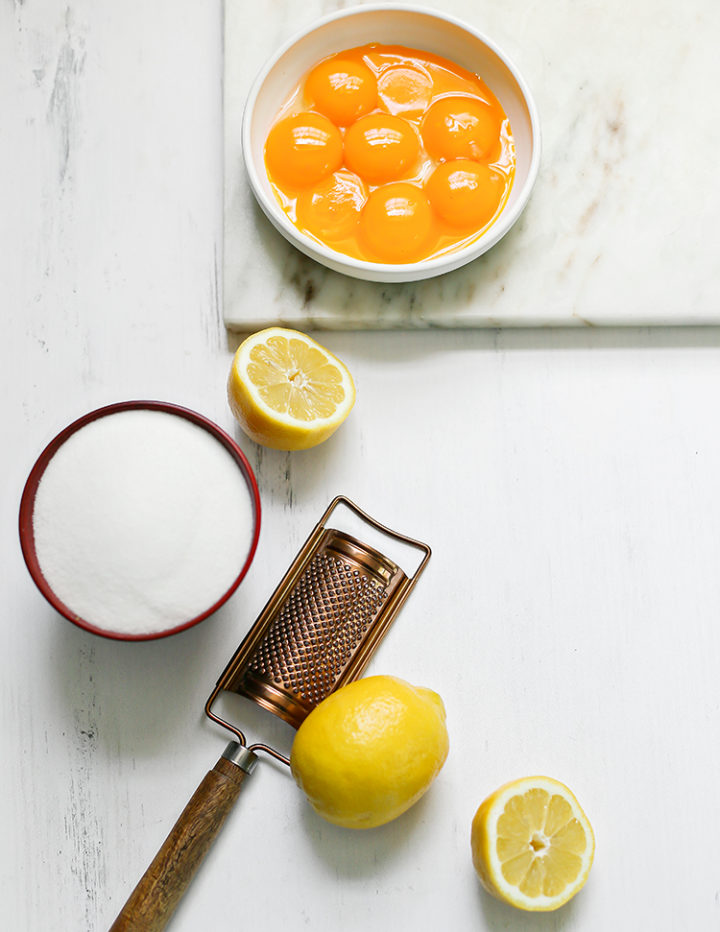
Here are the ingredients needed to make lemon curd from scratch:
- Fresh Lemon Juice
- Lemon Zest
- Granulated Sugar
- Egg Yolks
- Butter
For the complete ingredient list and detailed instructions, scroll to the bottom of this post for the FREE printable recipe card.
Tools Needed to Make Lemon Curd
The exact tools you’ll need to make homemade lemon curd will depend on whether you’re following the stovetop or microwave instructions.
- Heavy-bottomed saucepan — You do NOT want the lemon curd to become scorched on the bottom or for the egg yolks to curdle. The best way to prevent this from happening is to use a good quality saucepan with a heavy bottom that distributes heat evenly.
- Microplane zester — Makes zesting lemons and other citrus fruits a breeze.
- Citrus juicer — Ensures you get every last drop of juice out of your lemons. It’s so much easier than squeezing the lemons by hand!
- Whisk — You’ll need to vigorously whisk the curd while it heats on the stovetop. I prefer using a whisk rather than a fork to make this task easier (and to avoid scratching the bottom of my pots!).
- Microwave-safe bowl — If making microwave lemon curd, you’ll need a bowl that’s big enough to hold all of the ingredients. Choose a bowl that leave some room at the top so you can comfortably stir the curd without accidentally spilling any.
How to Make Lemon Curd 2 Ways
I’ve found that the best way to make lemon curd is on the stovetop. Although you have to monitor the heat level and stir the lemon curd constantly, I find that stovetop lemon curd is slightly creamier than microwave lemon curd.
However, making lemon curd in the microwave is a wonderful alternative if you’re in a rush and need lemon curd now.
Just be sure to cook the curd in 45-second intervals and stir it often to prevent the eggs from scrambling.
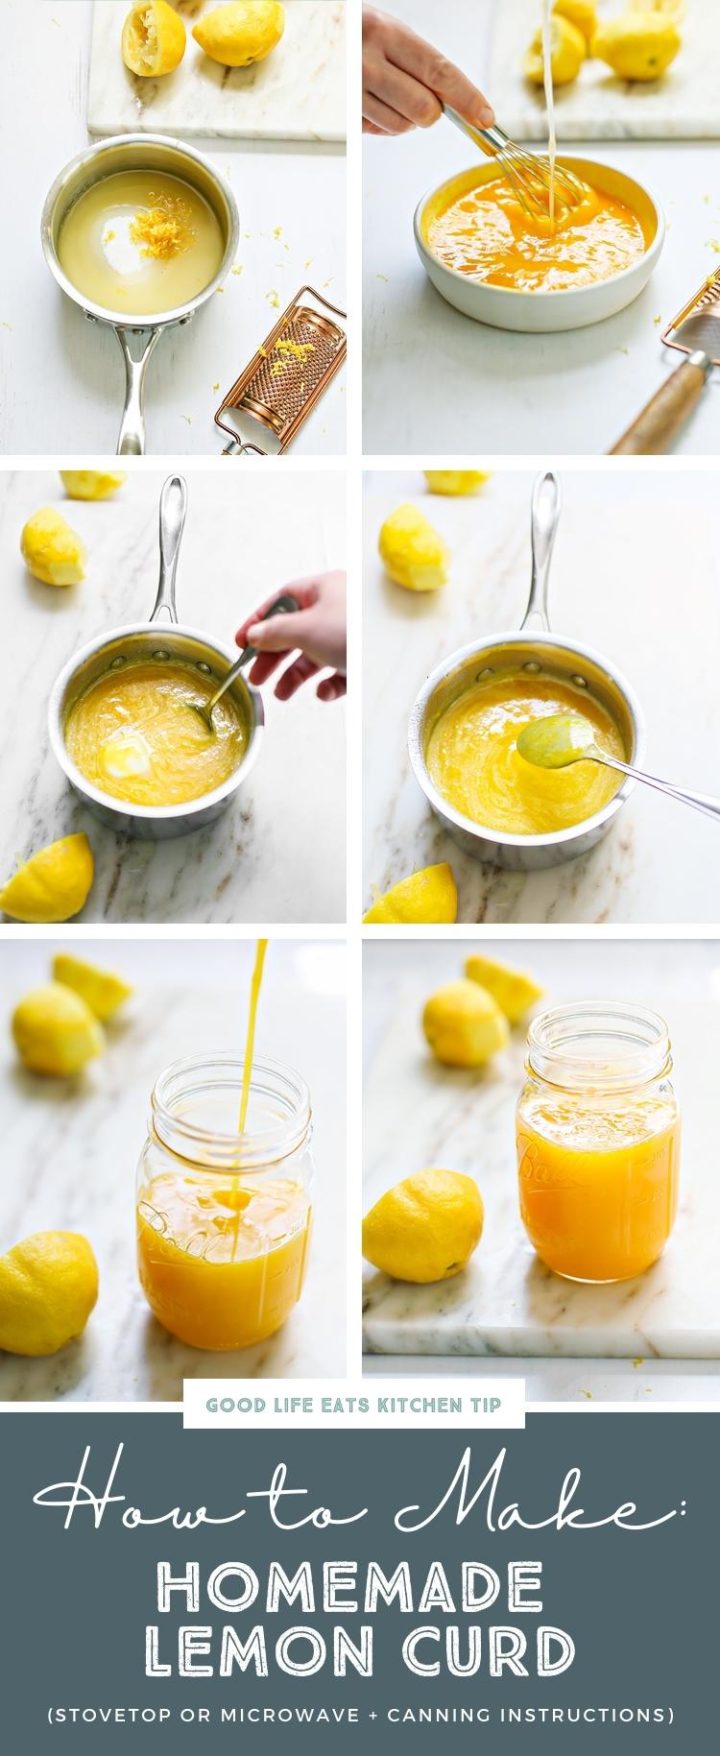
1. Stovetop Lemon Curd
- In a medium saucepan, combine the lemon juice, lemon zest, and sugar.
- Heat over medium heat until simmering. Then, turn the heat to low.
- Meanwhile, whisk the egg yolks in a medium-sized bowl until smooth.
- Slowly pour half of the citrus mixture into the yolks while vigorously whisking.
- Return the amount in the bowl to the saucepan.
- Continue to cook over low heat while whisking until the mixture thickens and coats the back of a spoon. This will take about 5 to 10 minutes.
- Remove the pan from heat and stir in the butter 1 tablespoon at a time.
- Cool to room temperature, then store refrigerated in an airtight container for about a week.
Tip: If you have thinner saucepans or are worried you’ll scorch the curd by mistake, fill a medium saucepan with water and heat until simmering. Then, place a heat-proof bowl on top (NOT touching the water!) and make the curd in the bowl. Using a double boiler to cook lemon curd will ensure it doesn’t burn.
2. Microwave Lemon Curd
- Combine all the ingredients in a large bowl (it should only be about half full, you don’t want the curd bubbling over by mistake!).
- Microwave on HIGH for 45-second intervals. Stir the curd between each interval.
- You’ll know the lemon curd is done once it coats the back of the spoon. This could take anywhere between 4 to 6 minutes.
The above is simply a quick summary of this recipe. Check out the full recipe in the free printable recipe card at the bottom of this post for all the detailed instructions.
Tips for Making the Best Lemon Curd
- If the lemon curd forms any lumps, press it through a fine mesh strainer to remove them.
- Cook the curd in a heavy-bottomed saucepan to distribute heat evenly and prevent it from scorching on the bottom.
- Use a double boiler to cook the lemon curd on the stovetop if you have thinner saucepans or are worried you’ll scorch the curd on accident.
- You can adjust the amount of sugar in this recipe to your liking. For a sweeter curd, add more sugar. For a more tart curd, use less.
- Stir the curd egg mixture constantly to prevent it from curdling (forming lumps).
- This recipe calls for egg yolks, meaning you’ll need to separate whole eggs. You can either use the egg whites in another recipe, or you can freeze egg whites for later.
FAQs About Making Homemade Lemon Curd
Whether using the stovetop or the microwave method, this is a very easy lemon curd recipe. However, there are a few common problems that can plague homemade lemon curd. I’ll address those issues below.
How Thick Should Lemon Curd Be?
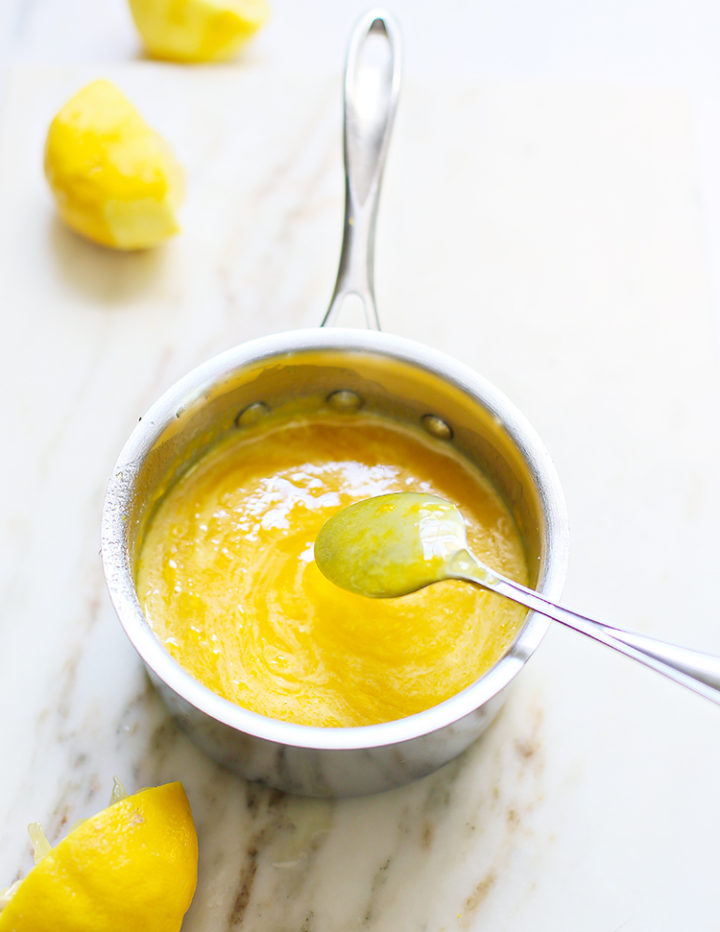
It should be a similar consistency to sour cream.
You want the finished curd to coat the back of a spoon. Swipe your finger quickly down the back of the spoon; if a clean line remains in the curd, it’s done!
What Causes Lemon Curd to Form Clumps?
If your lemon curd has lumps in it, that means it’s curdled. (I know, it’s confusing that we call it lemon curd but don’t actually want it to curdle!).
Lemon curd usually curdles if it hasn’t been stirred frequently enough or is cooked over too high a heat. Although it may look unappealing, it’s actually still safe to eat!
- If your lemon curd has lumps in it: press it through a fine mesh sieve. It requires extra effort, but at least you shouldn’t have to remake the entire batch!
- To prevent lemon curd from forming lumps in the future: continually stir the egg, sugar, and juice mixture while it cooks over medium heat. And whatever you do, do NOT turn up the heat to speed up the cooking process as that can also cause curdling.
How Do I Fix Runny Lemon Curd?
If your lemon curd is too runny, it’s likely that you removed it from the heat too soon thinking it’d thicken up as it cooled down. That’s typically the case, but you still have to cook it long enough to help it thicken up properly later on.
Also note that larger batches of lemon curd take longer to cook. If you doubled this easy lemon curd recipe and cooked it for the same amount of time as a single batch, that’s likely why your curd is runny.
Another possible reason your lemon curd is runny is because you added too much lemon juice. Be sure to measure out the exact amount of lemon juice called for in this recipe.
Don’t eyeball it based on the number of lemons you used! Each lemon provides varying amounts of juice, so you need to measure out the juice.
If your lemon curd is runny, don’t panic! You can still save it.
Simply return the saucepan to the stovetop and heat over medium heat, stirring frequently until the desired consistency is reached.
Why Is My Lemon Curd Frothy?
If your lemon curd looks foamy or frothy on top, that’s normal. It froths up as you’re whisking the egg mixture together on the stove.
After it’s heated up and has had the butter stirred into it, the foam should disappear on its own.
Why Does My Lemon Curd Taste Eggy?
Lemon curd should taste sweet, tart, and distinctly lemony. If it tastes at all like egg, it’s likely that you overcook the egg mixture.
Be sure to use a heavy-bottomed saucepan, or a double boiler, to prevent this from happening again.
If your lemon curd tastes eggy, try straining it through a fine mesh strainer to remove any lumps of cooked egg. That should help remove some of the eggy flavor, but it’s also possible that you’ll need to make a new batch.
Why Does My Lemon Curd Taste Metallic?
Lemon juice is acidic and can react with aluminum appliances or even metal bowls. This in turn can make lemon curd taste metallic.
Can You Overcook Lemon Curd?
Yes, most definitely! If you fail to stir lemon curd often enough or cook it over too high of heat, it can scorch or overcook.
You’ll know you’ve overcooked your lemon curd if it forms lumps or scorches.
Should I Use Fresh or Bottled Lemon Juice?
Use freshly squeezed lemon juice, if at all possible. (Remember that you’ll need to use lemon zest as well as lemon juice, so you might as well buy fresh lemons and squeeze them yourself!)
However, bottled lemon juice will work for this easy recipe. Use what you have!
Can I Use Dairy-Free Butter to Make Lemon Curd?
Technically yes, but it will affect the flavor and texture of the lemon curd. Lemon curd made with non-dairy butter may not be as silky smooth and could possibly be more oily.
Storage Instructions
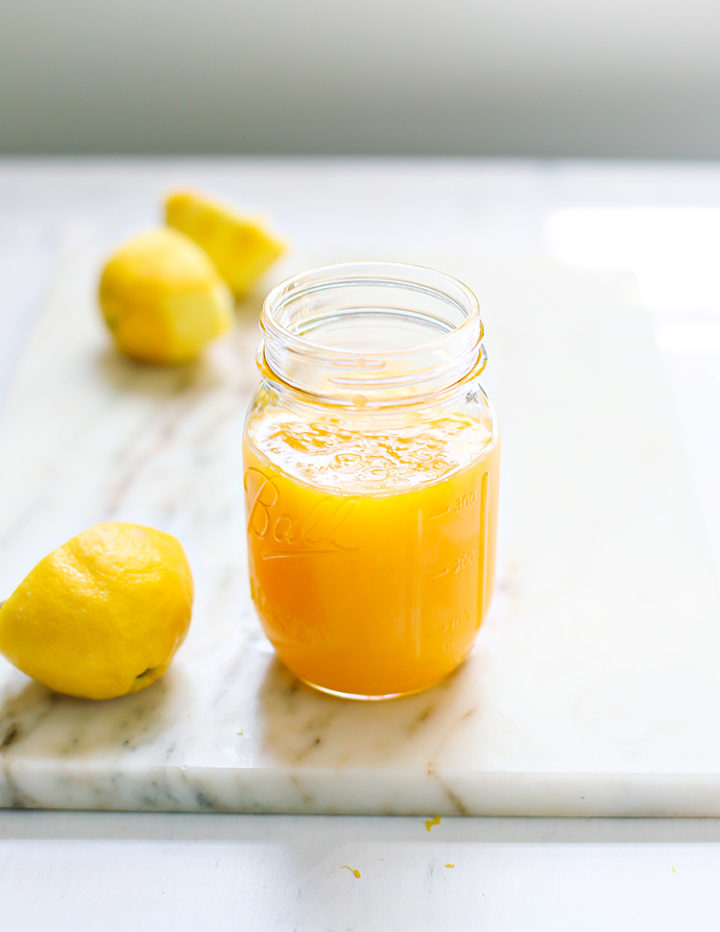
Lemon curd can be refrigerated for short-term storage, or frozen or canned for longer term storage. All of these methods are perfectly safe and will preserve the silky texture of the lemon curd.
How to Store Lemon Curd in the Fridge
Store the lemon curd in an airtight container for up to one week. I recommend pressing a piece of plastic wrap to the surface of the curd to prevent it from forming a skin on top.
How to Freeze Lemon Curd
Can lemon curd be frozen? Yes!
Lemon curd is safe to freeze for up to three months. To freeze lemon curd:
- Let lemon curd cool completely to room temperature.
- Transfer to a freezer-safe container.
- Press a piece of plastic wrap to the top of the curd to create a barrier and prevent a film from forming.
- Label and date accordingly.
- When ready to thaw, place in the fridge overnight.
Tip: I prefer freezing lemon curd in small mason jars so I can thaw a little at a time. This is great if you plan on using it as a spread or spooning it atop yogurt rather than using in large batches for things like cake fillings.
How to Can Lemon Curd
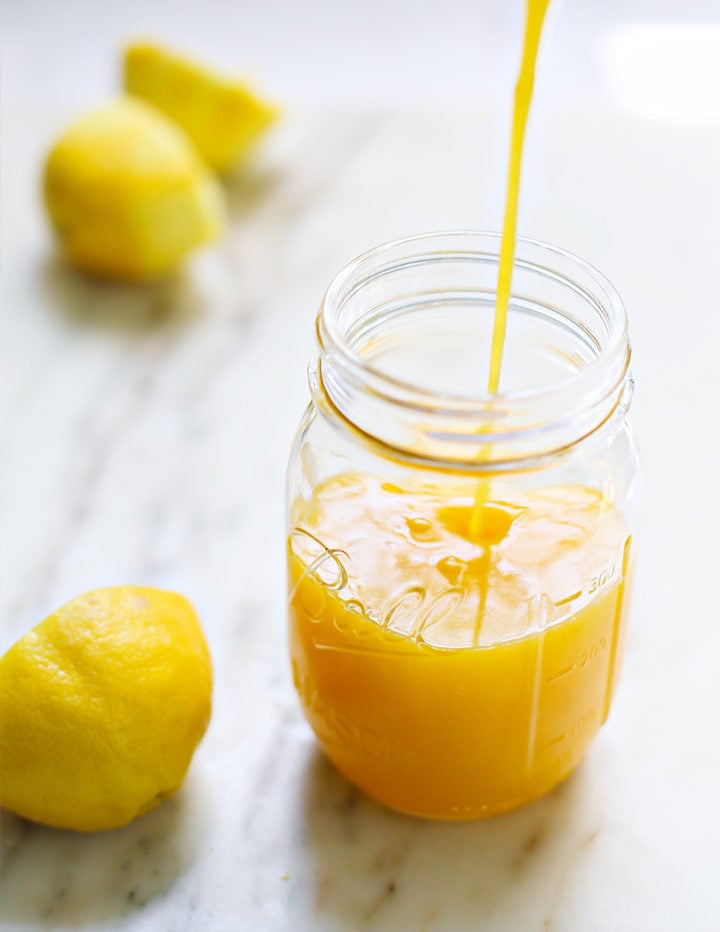
Canning lemon curd preserves it for up to four months. Note that if any browning or separation occurs, you’ll need to throw out the lemon curd.
To can lemon curd:
- Wash your canning jars in warm, soapy water. Rinse well, then keep hot until ready to can the curd.
- Prepare the canning lids according to the manufacturer’s instructions.
- Fill a boiling water canner with just enough water to cover the jars by about 1 inch. The water will need to be heated to 180F.
- Once you’ve made the lemon curd, immediately fill the sterilized canning jars. Leave ½ inch of headspace.
- Wipe the rims of the jars with a damp paper towel, then close with a two-part canning lid.
- Process in boiling water canner, then let cool for 12 to 24 hours before checking the seals.
Lemon curd process times for half-pints:
- 0 to 1,000 feet: 15 minutes
- 1,001 to 6,00 feet: 20 minutes
- Above 6,000 feet: 25 minutes
Lemon Curd Uses
There are so many ways to use lemon curd! Try using it in your desserts, breakfasts, and snacks.
Below are just a few of my favorite recipes using lemon curd, plus some additional ideas for ways you can enjoy it.
Lemon curd desserts:
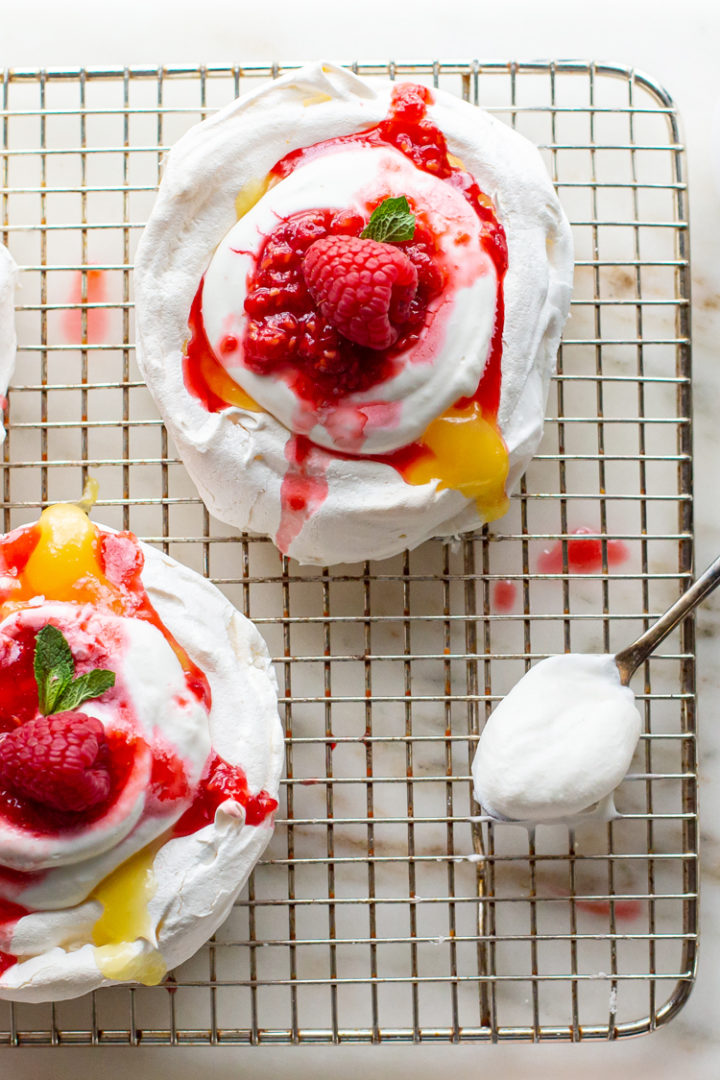
- Raspberry lemon curd pavlova
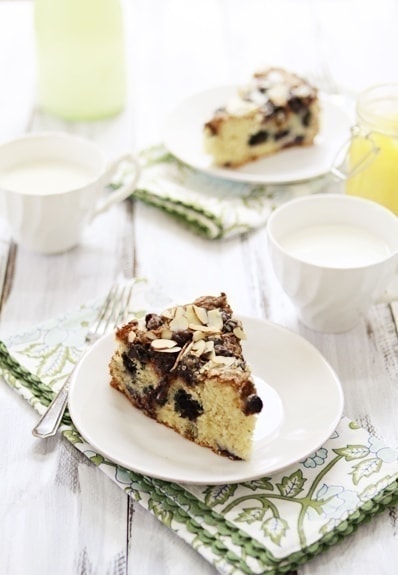
- Blueberry lemon curd coffee cake
- Mini lemon curd phyllo tarts
- Lemon curd cheesecake mousse
- Strawberry lemon curd tart
Other lemon curd uses:
- Spread atop scones (try these blueberry lemon scones or citrus poppyseed scones)
- Stir into your morning bowl of yogurt
- Spoon over a steaming bowl of oatmeal
- Use as a cake or cupcake filling
- Treat it as an ice cream topping
- Spoon into the middle of thumbprint cookies
- Spread over pancakes and waffles
More Fruit Curd Recipes:
Raspberry Curd is a simple recipe with many uses, and the perfect way to use up extra egg yolks and fresh or frozen raspberries.
This Coconut Lemon Curd is a delightful spin on the classic recipe!
This Homemade Orange Curd is one of my favorite recipes and a must make during citrus season or any time you have extra oranges on your hands.
Make this Grapefruit Curd as an alternative to traditional lemon curd. It’s perfect atop toast, scones, yogurt, and more!
Is lime your favorite citrus flavor? Try this Lime Curd and make simple lime tarts with it.
Who doesn’t love a good kitchen tip? Looking for more kitchen tutorials? Check out the entire Kitchen Tips and Tricks archive for lots of great ideas!
Stay Inspired in the Kitchen!
Want more delicious recipes, kitchen tips, and meal inspiration? Sign up for the Good Life Eats Newsletter and get:
✔ Tried-and-true recipes—from quick weeknight meals to special occasion favorites.
✔ Seasonal meal ideas—helping you make the most of fresh, in-season ingredients.
✔ Time-saving kitchen tips—boosting your confidence and creativity in the kitchen.
Lemon Curd
The perfect balance of sweet and tart, homemade lemon curd is a creamy spread that’s easy to make on the stovetop or in the microwave.
Ingredients
- 1/2 cup lemon juice
- 1 tablespoon lemon zest
- 1 - 1 1/2 cups granulated sugar
- 8 egg yolks
- 10 tablespoons butter, sliced into tablespoons
Instructions
Stovetop Lemon Curd
- In a medium saucepan, combine the lemon juice, lemon zest, and sugar.
- Heat over medium heat until simmering. Then, turn the heat to low.
- Meanwhile, whisk the egg yolks in a medium-sized bowl until smooth.
- Slowly pour half of the citrus mixture into the yolks while vigorously whisking.
- Return the amount in the bowl to the saucepan.
- Continue to cook over low heat while whisking until the mixture thickens and coats the back of a spoon. This will take about 5 to 10 minutes.
- Remove the pan from heat and stir in the butter 1 tablespoon at a time.
- Cool to room temperature, then store refrigerated in an airtight container for about a week.
Tip: If you have thinner saucepans or are worried you’ll scorch the curd by mistake, fill a medium saucepan with water and heat until simmering. Then, place a heat-proof bowl on top (NOT touching the water!) and make the curd in the bowl. Using a double boiler to cook lemon curd will ensure it doesn’t burn.
2. Microwave Lemon Curd
- Combine all the ingredients in a large bowl (it should only be about half full, you don’t want the curd bubbling over by mistake!).
- Microwave on HIGH for 45-second intervals. Stir the curd between each interval.
- You’ll know the lemon curd is done once it coats the back of the spoon. This could take anywhere between 4 to 6 minutes.
Nutrition Information:
Yield: 40 Serving Size: 1Amount Per Serving: Calories: 66Total Fat: 4gSaturated Fat: 2gTrans Fat: 0gUnsaturated Fat: 1gCholesterol: 45mgSodium: 25mgCarbohydrates: 8gFiber: 0gSugar: 8gProtein: 1g
GoodLifeEats.com offers recipe nutritional information as a courtesy. This provided information is an estimate only. This information comes from online calculators. Although GoodLifeEats.com makes every effort to provide accurate information, these figures are only estimates.
Photography: photos taken in this post are by Rachael from Set the Table.




Donna P says
What is the yield for this recipe?
Katie says
approximately 1 pint