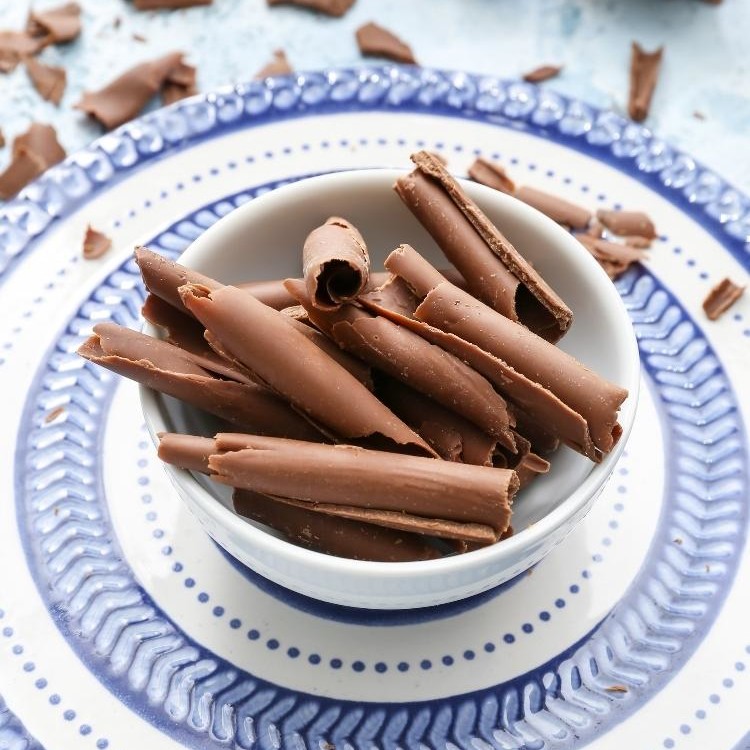
How to Make Chocolate Curls
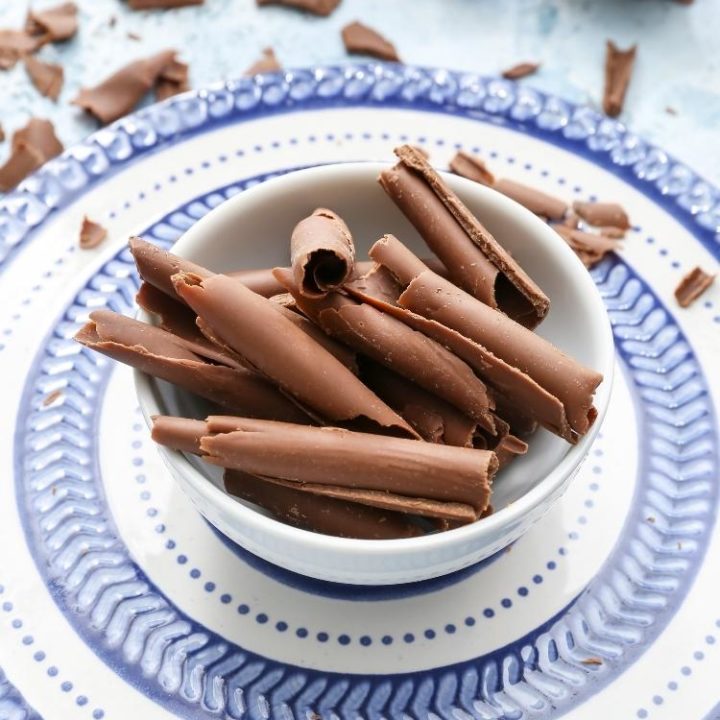
Chocolate curls are easy to make, and they add a touch of elegance to any cake, cupcake, trifle, or cheesecake! In this post, I’ve provided step-by-step instructions on How to Make Chocolate Curls, plus I’m sharing the best types of chocolate to use for chocolate curls, how to store the curls, and more!
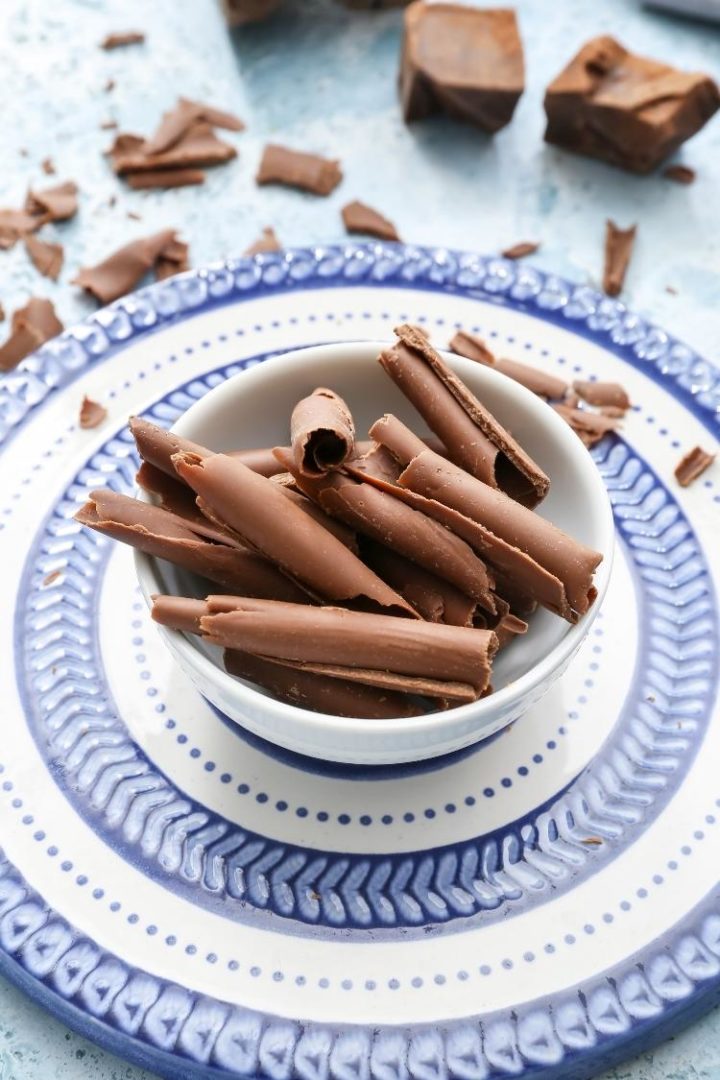
What Are Chocolate Curls Used For?
Shaved chocolate curls are an easy way to elevate any dessert. From cakes to cupcakes to trifles, chocolate curls add a touch of elegance to your favorite sweet treats!
Home cooks don’t often think to add chocolate curls to their desserts, mistakenly thinking they’re difficult or time consuming to make.
However, shaved chocolate curls are incredibly simple to prepare! Simply melt some chocolate, smooth it over a baking sheet, and use an offset spatula to create the curls.
If melting the chocolate sounds like too much work for you, I’ve also included instructions on how to make chocolate curls or chocolate shavings with just a vegetable peeler!
Ingredients in Chocolate Curls
To make chocolate curls, you’ll need ½ cup (4 oz.) of your choice of chocolate (more on that in a moment) and 2 teaspoons of your choice of fat.
You can choose between the following:
- Butter
- Coconut oil
- Vegetable shortening
All of the fat options listed above work equally well for making chocolate curls, it’s just a matter of what you have on hand and your dietary preferences.
Since you’re only using 2 teaspoons of fat per ½ cup of chocolate, you really can’t taste a difference between the butter, coconut oil, or shortening.
If using butter, I recommend using unsalted butter for the purest chocolate flavor.
Coconut oil will impart a very slight coconut flavor to the chocolate curls, but I promise it’s an imperceptible flavor difference.
Shortening is the cheapest option, but I understand if you don’t want to buy an entire container of it just to use 2 teaspoons in this recipe.
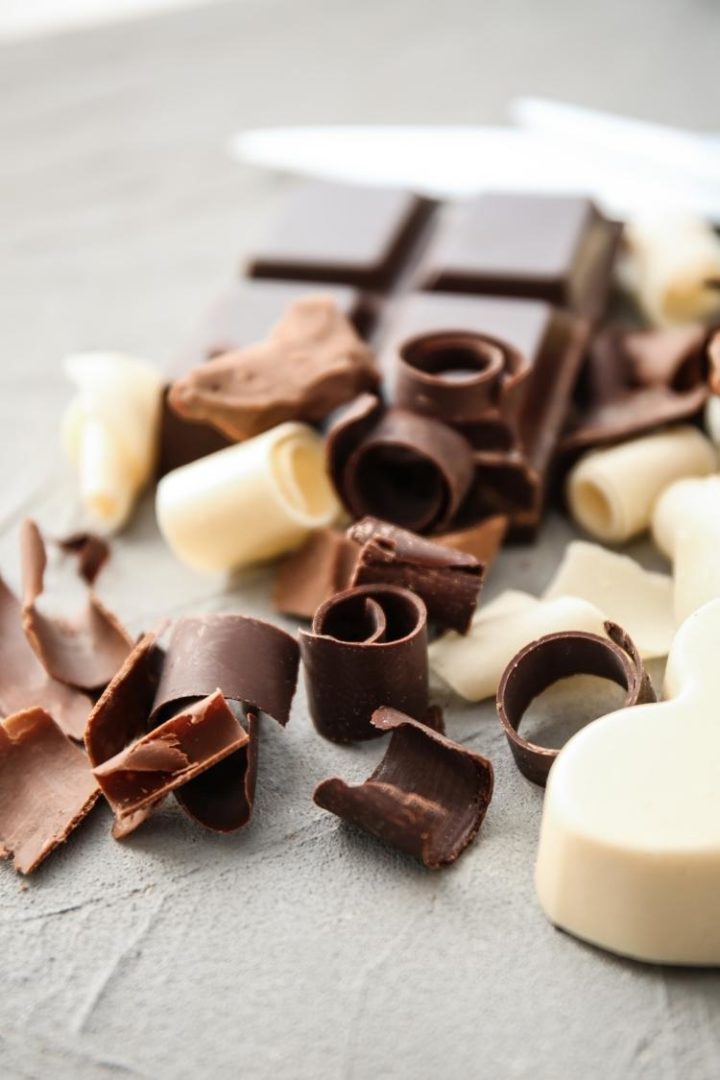
Can You Use Any Type of Chocolate for Chocolate Curls?
Yes, you can use either milk, dark, or white chocolate to make shaved chocolate curls!
However, I recommend using an actual chocolate bar rather than chocolate chips. Chocolate chips contain stabilizers that make the resistant to melting, so they’re not the best option for making chocolate curls.
Can You Color White Chocolate Curls?
Yes, once melted white chocolate can be colored before turning it into chocolate curls.
To color melted white chocolate, you must use an oil-based food coloring that’s intended for coloring chocolate. A regular liquid food coloring from the baking aisle won’t work, as those are water-based and will cause the white chocolate to seize up.
Can You Use Dairy-Free Chocolate?
Yes, most definitely! Most dark chocolates are naturally dairy-free, but you’re welcome to substitute your favorite dairy-free milk chocolate if desired.
To keep the chocolate curls completely dairy-free, melt the chocolate with either shortening or coconut oil rather than butter.
Required Tools for Making Chocolate Curls
Although shaved chocolate curls are a breeze to make, you do need some very specific tools to create them.
Here are the tools you’ll need to curl chocolate perfectly every time:
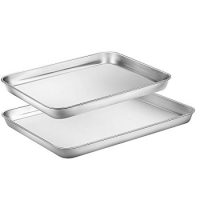
- Baking sheet — You can use either a flat cookie sheet that doesn’t have any sides, or you can flip over a regular baking sheet and use the bottom of it.
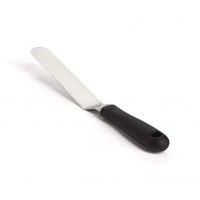
- Offset spatula — You’ll need an offset spatula to smooth the melted chocolate evenly across the entire baking sheet.
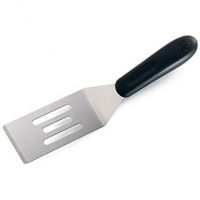
- Metal spatula — The size of the curls depends on how large your metal spatula is. I always use this spatula to make medium-sized curls. Alternatively, a bench scraper or a similar kitchen tool will work.
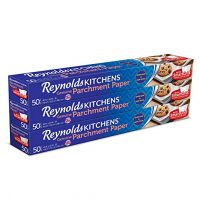
- Parchment or wax paper — I always line the baking sheet before spreading the melted chocolate over it. This makes cleanup later on so much easier!
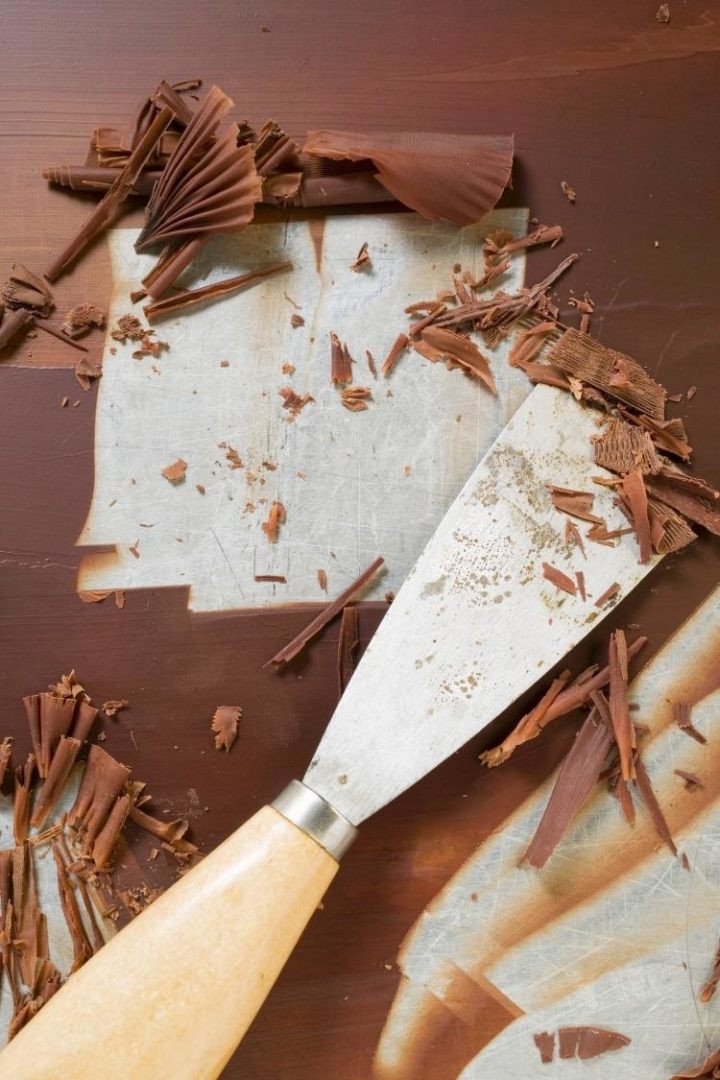
How to Make Chocolate Curls
My preferred method for making chocolate curls involves melting together the chocolate and fat source, then spreading the mixture over the back of a baking sheet and scraping it off to make curls.
Here’s a step-by-step breakdown of how to curl chocolate:
- Flip over a half baking sheet and place parchment paper or wax paper over it. Set aside.
- Combine ½ cup (4 oz.) of chocolate and 2 teaspoons of butter, shortening, or coconut oil in a heat-proof bowl. Set aside.
- Fill a small saucepan about halfway with water. Heat the water over medium-high heat on the stovetop.
- Place the bowl of chocolate over the saucepan, making sure the bottom of the bowl is not in direct contact with the water.
- Continually stir the chocolate until fully melted and smooth.
- Working quickly, spread the melted chocolate mixture over the back of the lined baking sheet. I like to use an offset spatula to smooth the chocolate into an even layer.
- Transfer the baking sheet to the fridge to firm up the chocolate.
- Once firm, use a metal spatula to push forward on the chocolate to create chocolate curls. If the chocolate won’t curl, return it to the fridge until firmer. If the chocolate flakes rather than curls, it needs to sit at room temperature for a few minutes to warm back up slightly.
- Make as many chocolate curls as you can, working at a steady pace.
Tip: You can also melt the chocolate in the microwave at 15-second intervals, but I prefer the double boiler method as it ensures the chocolate won’t seize up suddenly.
Tips for Making Shaved Chocolate Curls
- Melting the chocolate: I prefer melting the chocolate on the stovetop using a double boiler. You can also melt the chocolate in the microwave, but white chocolate in particular tends to seize up when melted this way.
- Adjusting the size of your curls: The larger the metal spatula you use, the larger your curls will be. Likewise, smaller metal spatulas result in smaller curls.
- Chocolate temperature: If the melted chocolate is left in the fridge too long, it’ll harden too much and you won’t be able to make curls. If that happens, let the chocolate sit at room temperature for 3 to 5 minutes, then try again.
How to Make Chocolate Shavings
Yes, there’s a difference between chocolate curls and chocolate shavings, although most people use the two terms interchangeably.
Chocolate curls are more uniform in appearance and are often larger in size. Conversely, chocolate shavings look like smaller flakes of chocolate that are usually sprinkled over an entire dessert rather than dotted individually over the surface.
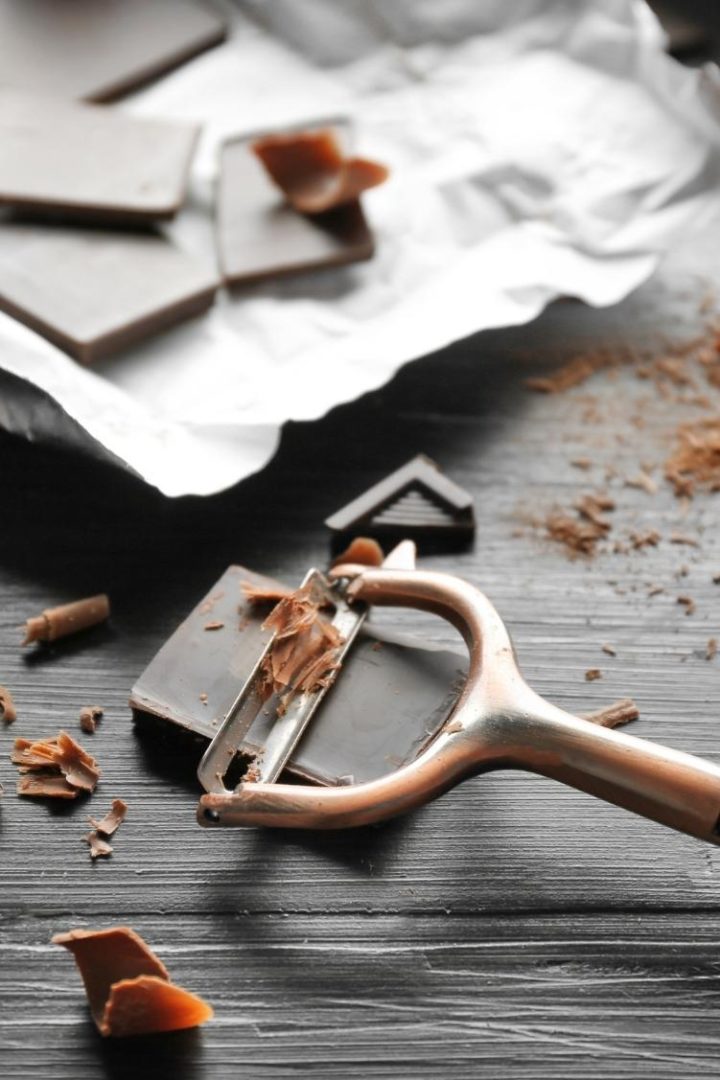
Making chocolate shavings is even easier than making chocolate curls, and you don’t have to melt the chocolate beforehand. Here are the top ways to make chocolate shavings using a vegetable peeler, a knife, or a box grater.
Method #1: Use a Vegetable Peeler
- Working over a cutting board or plate, hold a bar of chocolate on its side.
- Carefully but firmly run the vegetable peeler down the side of the chocolate bar in short bursts.
- Rotate the chocolate bar as needed, using all sides to create chocolate shavings.
Tip: If you run the peeler down the entire length of the chocolate bar, you can make tight chocolate curls instead of chocolate shavings. However, this method for making chocolate curls can be finicky and results in shavings more often than not.
Method #2:. Use a Sharp Knife
- Place a bar of chocolate upside down on a clean kitchen towel so that the smooth side of the chocolate is facing up.
- Scooch the chocolate bar flush against your body. I like to fold the kitchen towel up my body so that the chocolate doesn’t come into contact with my clothing.
- Using a large, sharp knife, scrape the surface of the chocolate bar. You’ll want to scrape the bar in your direction.
- Repeat this motion until you’ve made enough chocolate shavings.
Tip: You may need to use multiple chocolate bars, depending on the amount of shavings needed. As the chocolate bar becomes thinner, it will be more difficult to produce chocolate shavings.
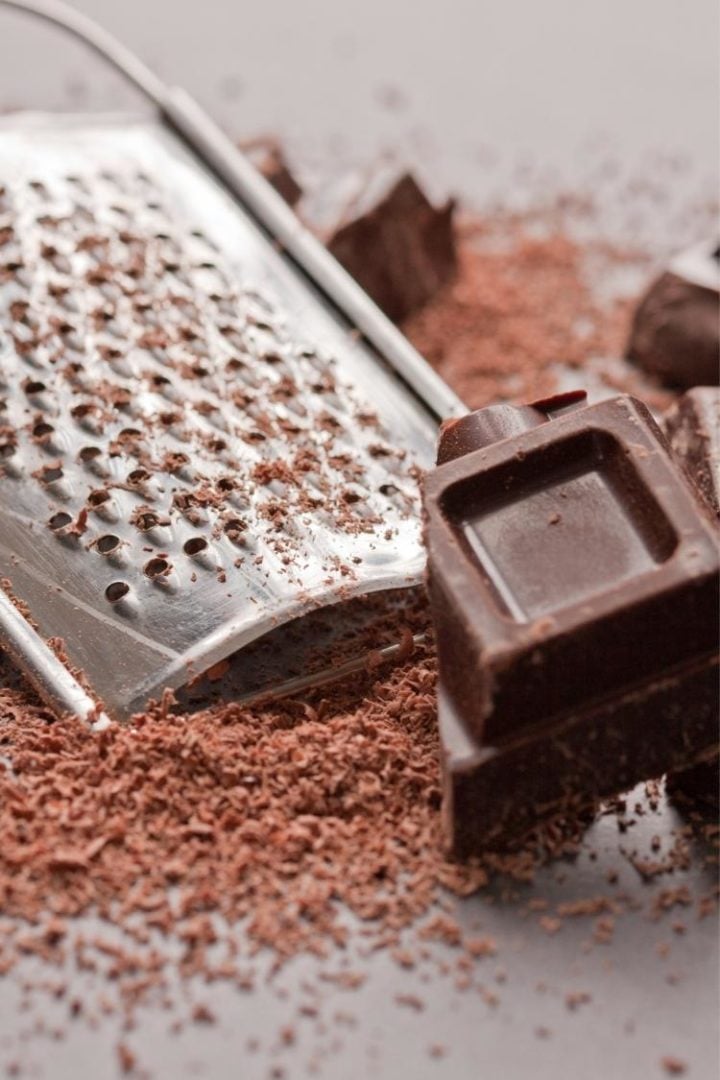
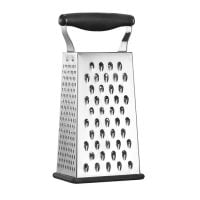
Method #3: Use a Box Grater
- Halve a standard-sized chocolate bar. Each half should easily fit into the palm of your hand.
- Refrigerate the chocolate bar halves, if needed. (You’ll likely only have to do this if your house is warm or if it’s summer).
- Once firm, gently run the chocolate bar over the smallest holes on a box grater to create shavings.
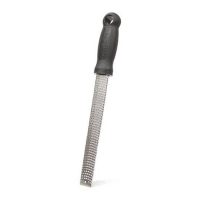
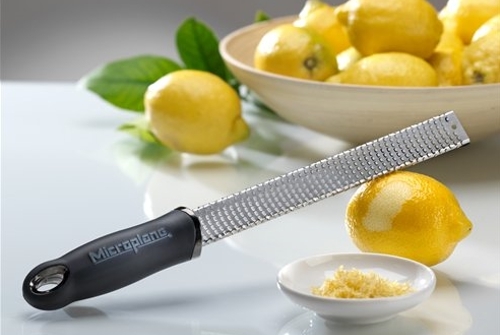
Tip: A microplane zester can be used in place of a box grater.
How to Store Chocolate Curls
Chocolate curls should be stored in the fridge in an airtight container. I recommend storing the curls in a Tupperware container or something similar, rather than a plastic bag. When stored in a plastic bag, chocolate curls tend to get crushed.
If stored properly, chocolate curls will last up to 1 month in the fridge.
Can You Freeze Chocolate Curls?
Yes, chocolate curls can be frozen for up to three months. Freeze them in an airtight freezer container, taking care to stack them gently in the container. Do NOT overfill the container, otherwise the curls will be squished.
Frozen chocolate curls will last up to three months.
Recipes Using Chocolate Curls
Now that you know how to make chocolate curls, you can start garnishing your favorite desserts with them! Below are some of my favorite desserts that would taste even better when topped with homemade chocolate curls or chocolate shavings.
Orange Chocolate Chunk Brownies
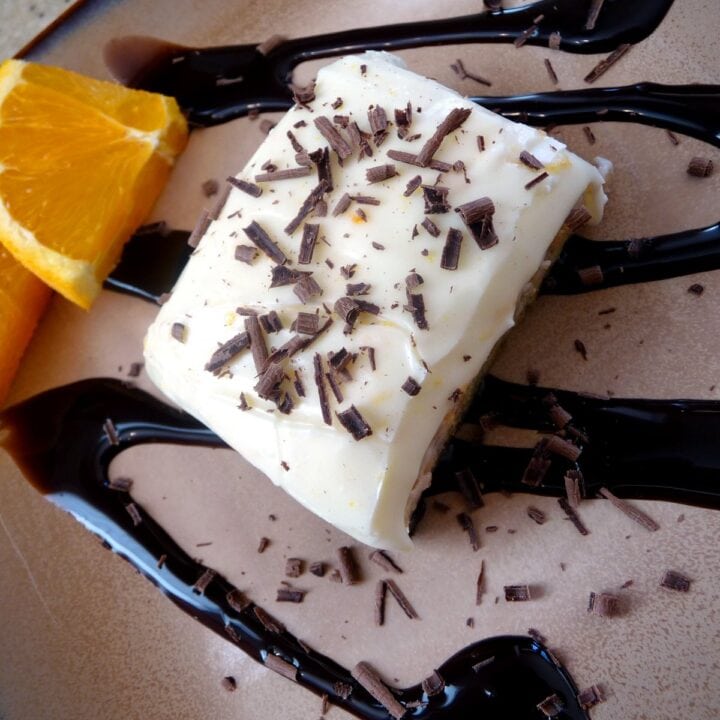
Packed with orange flavor and topped with an orange cream cheese frosting, these Chocolate Orange Brownies are a unique take on the classic dessert. Perfect for parties and potlucks!
Brownie Tart
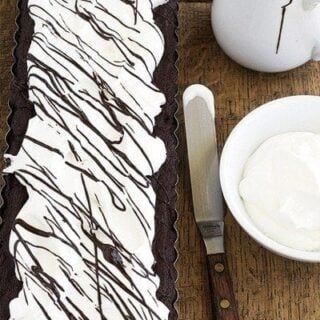
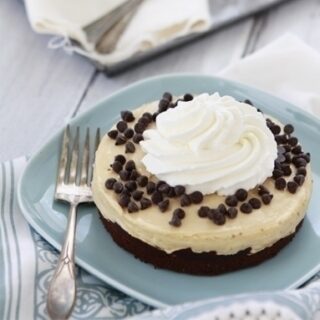
Brownies, tarts, pie, cake, we love them all. Why not combine a deep fudge brownie with a tart and pie and call it brownie pie? The result is a creamy, rich, decadent chocolate dessert.
Peanut-Free Peanut Butter Pie
Just a tad different from the one I grew up with with a crust made of chocolate cookies rather than vanilla wafers and almond butter instead of peanut butter, but still just as good and just as worthy of sharing with someone you love.
Dark Chocolate Orange Pudding
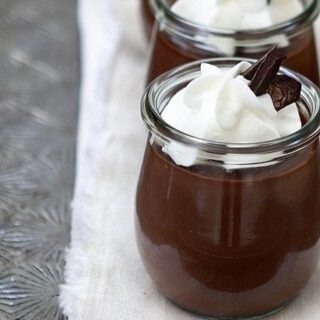
This silky smooth dark chocolate orange pudding is enhanced with three types of Chocolate: semi-sweet, unsweetened, and cocoa powder, proving that Chocolate Pudding isn't just for little kids.
Raspberry Brownie Parfait with Mascarpone Whip
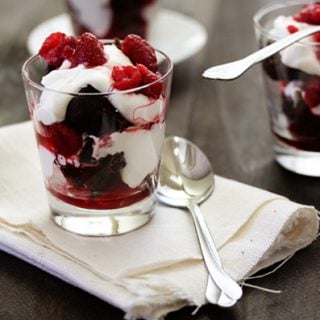
In these Raspberry Brownie Parfait with mascarpone whip, fudgy brownies are layered with mascarpone whipped cream and raspberries for a delightful dessert!
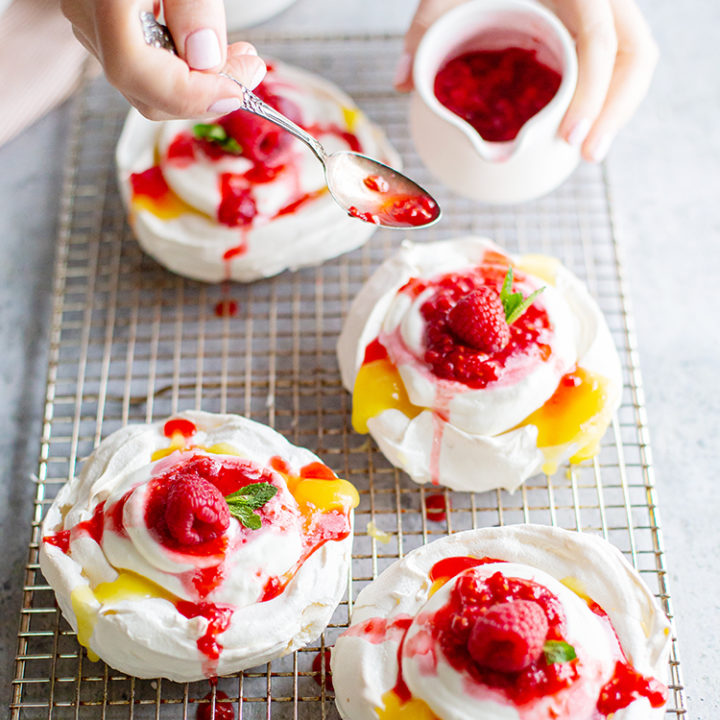
Lemon Curd Pavlova with Raspberries
This Lemon Curd Pavlova is topped with fresh raspberries. You can make lots of mini pavlovas and serve them individually, or make one large pavlova as a dessert centerpiece.
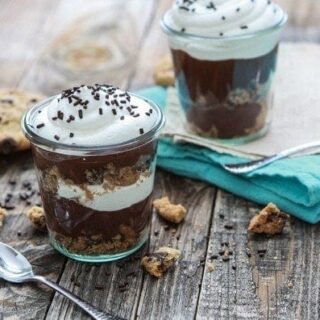
Chocolate Chip Cookie Pudding Parfaits
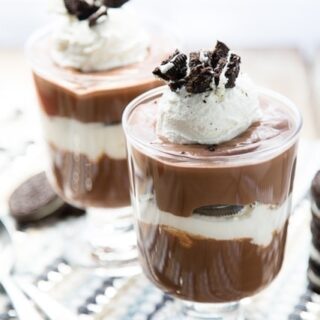
Chocolate chip cookies, chocolate pudding, and whipped cream are layered together in these tasty Chocolate Chip Cookie Pudding Parfaits
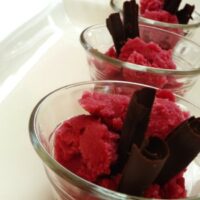
Pomegranate Sorbet with Dark Chocolate Curls
This sorbet is a perfect way to get healthy pomegranate juice without a lot of excess sugar. The dark chocolate curls are beautiful and also offer health benefits.
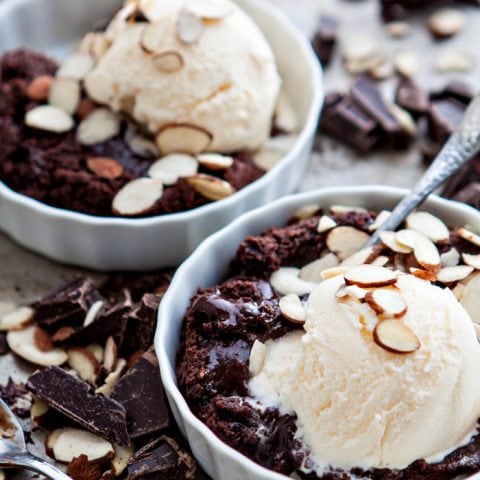
Dark Chocolate Almond Molten Lava Cake Sundaes
Dark Chocolate Almond Molten Lava Cake Sundaes are the perfect dessert for two this Valentine's Day. Cake, with a center that tastes like the most delicious hot fudge, is topped with ice cream and sliced almonds for a pretty presentation and decadent chocolate richness.
Chocolate Pumpkin Cheesecake
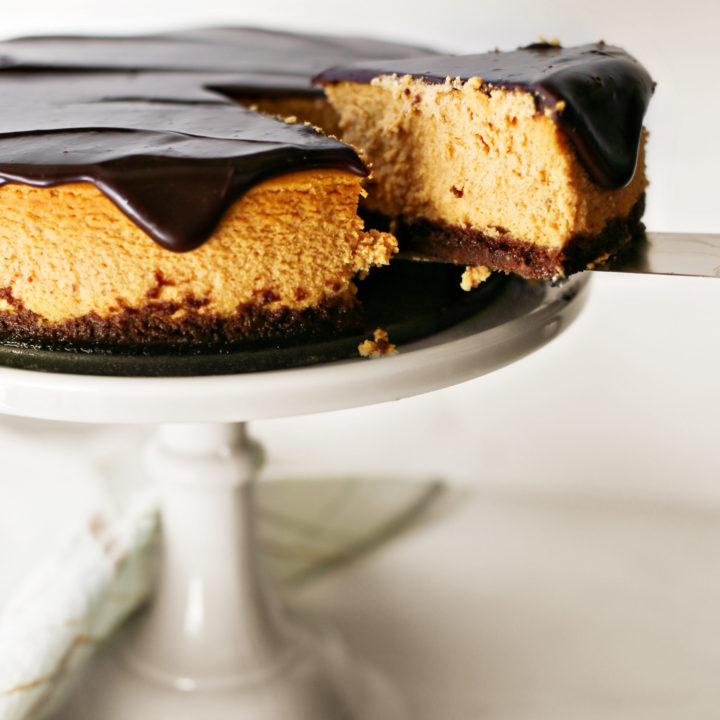
This Chocolate Pumpkin Cheesecake is made with a chocolate cookie crust, creamy pumpkin filling, and is topped with a rich chocolate ganache.
Whole Wheat Chocolate Raspberry Cheesecake Bundt Cake
An extremely moist 100% whole wheat chocolate bundt cake with a tunnel of raspberry cream cheese filling and a healthier chocolate ganache.
Chocolate Raspberry Pudding Parfaits
The combination of White Chocolate Pudding and Dark Chocolate Pudding makes these parfaits deliciously rich, but the chocolate pudding takes less than twenty minutes to whip up from scratch!
Salted Caramel Budino
Layers of chocolate cookie crumbles, rich caramel custard, salted caramel sauce and whipped cream make up this scrumptious Italian dessert.
Healthier Chocolate Parfaits
With a lighter chocolate pudding you can afford to make a parfait out of it!
Chocolate Mint Cupcakes
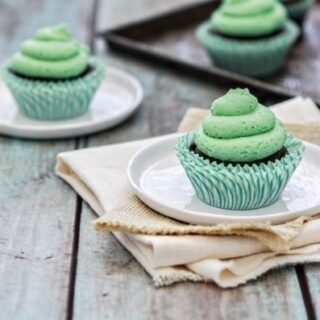
These Chocolate Mint Cupcakes feature chocolate cupcakes with chunks of Andes mint and vanilla mint buttercream
Gluten Free Brownie Trifle
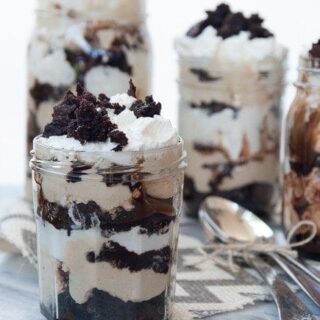
An amazingly delicious and super simple brownie trifle with boxed gluten-free brownies, homemade peanut butter mousse and homemade whipped cream.
Strawberry Fool
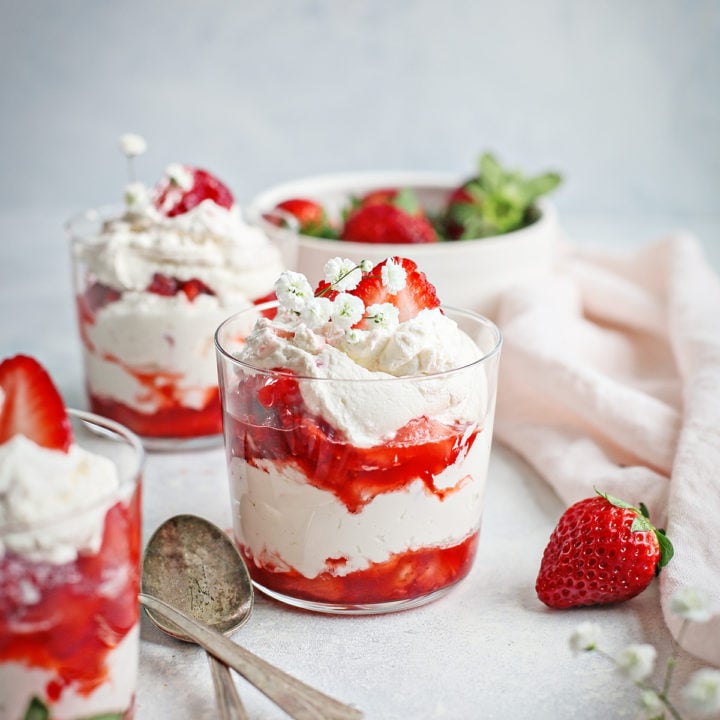
Strawberry Fool is an easy fruit dessert recipe made with whipped cream and fresh strawberries.
Dark Chocolate Cupcakes with Salted Caramel Buttercream and Caramel Glaze
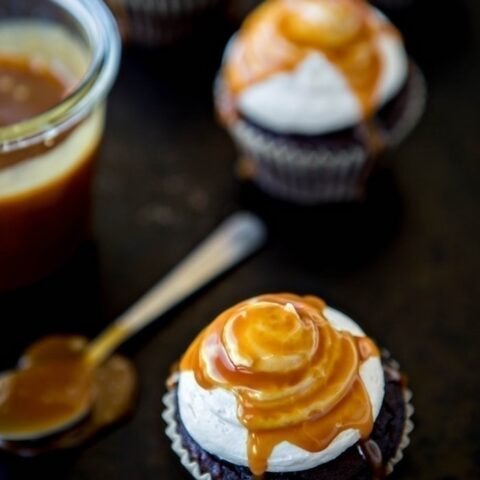
Decadent dark chocolate cupcakes are piped with a salted caramel buttercream and drizzled in homemade Caramel Sauce with Vanilla and Bourbon for a delicious sweet and salty dessert.
More Kitchen Tutorials:
Learning How to Temper Chocolate properly is essential when you want to make homemade candies, such as truffles or chocolate bark. Follow this how-to for all you need to know about tempering chocolate.
Learning How to Make Ganache is just as useful as knowing how to temper chocolate. You can use ganache as frosting, a syrup, and more just by playing around with the ingredient ratios!
During the holidays, it’s vital that you know How to Freeze Cookie Dough. This is a great trick to have up your sleeve if you know you’ll have lots of friends and family over soon.
If you forgot to set your butter out to soften before making a recipe, don’t panic! You can soften butter quickly with or without a microwave. In this post, I’ve shared How to Soften Butter Quickly eight different ways.
Knowing How to Bring Eggs to Room Temperature quickly is useful when baking cakes, cupcakes, waffles, and more. In this post, I’m sharing four methods for bringing eggs to room temperature and explaining why it’s important to do so.
Stay Inspired in the Kitchen!
Want more delicious recipes, kitchen tips, and meal inspiration? Sign up for the Good Life Eats Newsletter and get:
✔ Tried-and-true recipes—from quick weeknight meals to special occasion favorites.
✔ Seasonal meal ideas—helping you make the most of fresh, in-season ingredients.
✔ Time-saving kitchen tips—boosting your confidence and creativity in the kitchen.
How to Make Chocolate Curls
Chocolate curls are easy to make, and they add a touch of elegance to any cake, cupcake, trifle, or cheesecake!
Ingredients
- 1/2 cup chocolate (4 oz.)
- 2 teaspoons butter (vegetable shortening or coconut oil may be substituted)
Instructions
- Flip over a half baking sheet and place parchment paper or wax paper over it. Set aside.
- Combine ½ cup (4 oz.) of chocolate and 2 teaspoons of butter, shortening, or coconut oil in a heat-proof bowl. Set aside.
- Fill a small saucepan about halfway with water. Heat the water over medium-high heat on the stovetop.
- Place the bowl of chocolate over the saucepan, making sure the bottom of the bowl is not in direct contact with the water.
- Continually stir the chocolate until fully melted and smooth.
- Working quickly, spread the melted chocolate mixture over the back of the lined baking sheet. I like to use an offset spatula to smooth the chocolate into an even layer.
- Transfer the baking sheet to the fridge to firm up the chocolate.
- Once firm, use a metal spatula to push forward on the chocolate to create chocolate curls.
- If the chocolate won’t curl, return it to the fridge until firmer. If the chocolate flakes rather than curls, it needs to sit at room temperature for a few minutes to warm back up slightly.
- Make as many chocolate curls as you can, working at a steady pace.
Notes
How to Store Chocolate Curls
Chocolate curls should be stored in the fridge in an airtight container. I recommend storing the curls in a Tupperware container or something similar, rather than a plastic bag. When stored in a plastic bag, chocolate curls tend to get crushed.
If stored properly, chocolate curls will last up to 1 month in the fridge.
Can You Freeze Chocolate Curls?
Yes, chocolate curls can be frozen for up to three months. Freeze them in an airtight freezer container, taking care to stack them gently in the container. Do NOT overfill the container, otherwise the curls will be squished.
Frozen chocolate curls will last up to three months.
Recommended Products
As an Amazon Associate and member of other affiliate programs, I earn from qualifying purchases.
Nutrition Information:
Yield: 4 Serving Size: 1Amount Per Serving: Calories: 129Total Fat: 8gSaturated Fat: 5gTrans Fat: 0gUnsaturated Fat: 2gCholesterol: 10mgSodium: 32mgCarbohydrates: 12gFiber: 1gSugar: 11gProtein: 2g
GoodLifeEats.com offers recipe nutritional information as a courtesy. This provided information is an estimate only. This information comes from online calculators. Although GoodLifeEats.com makes every effort to provide accurate information, these figures are only estimates.

Leave a Comment