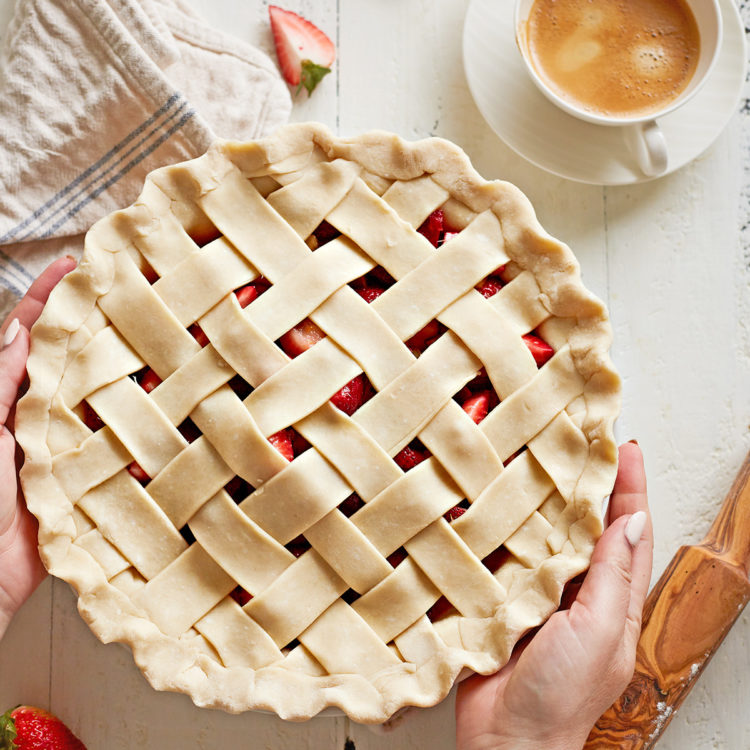
How to Make a Lattice Pie Crust
Love the look of lattice pies but don’t think you have the skill to create such a beautiful design? Think again! Follow these easy instructions to learn How to Make a Lattice Pie Crust in no time!
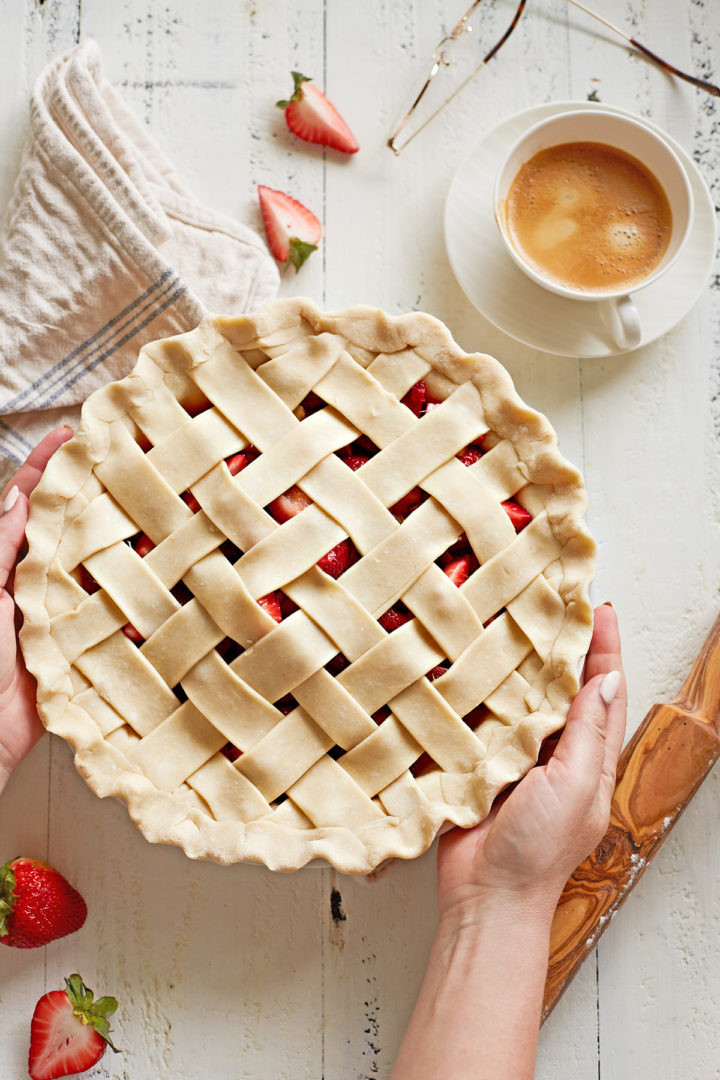
All About Weaving Lattice Pie Crusts
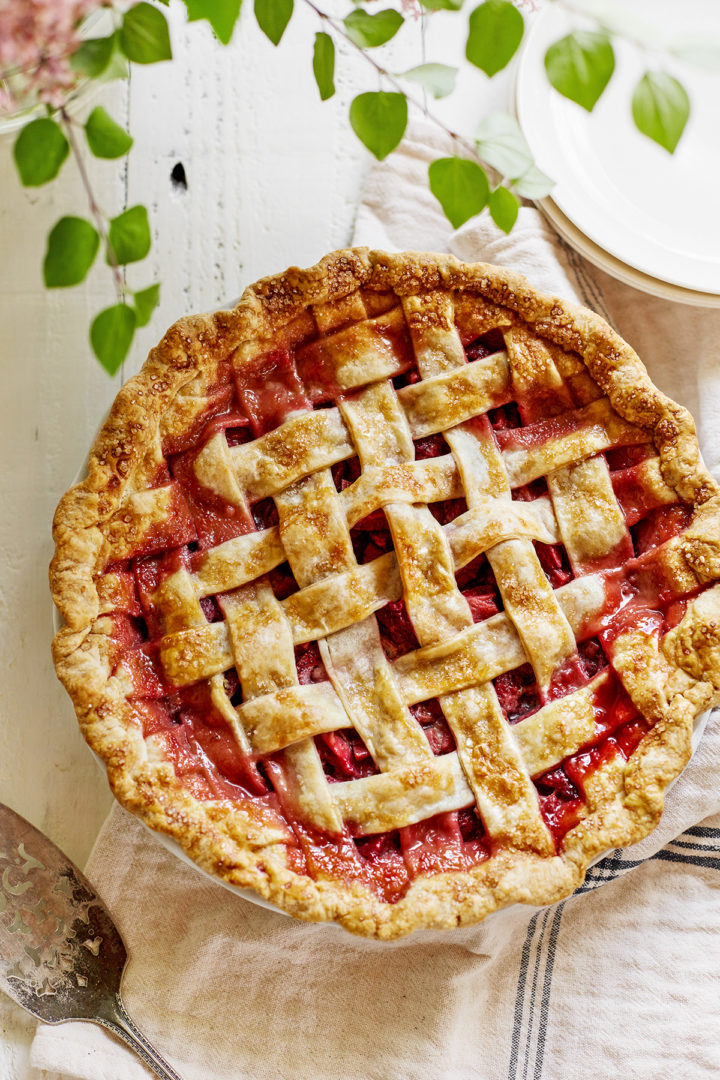
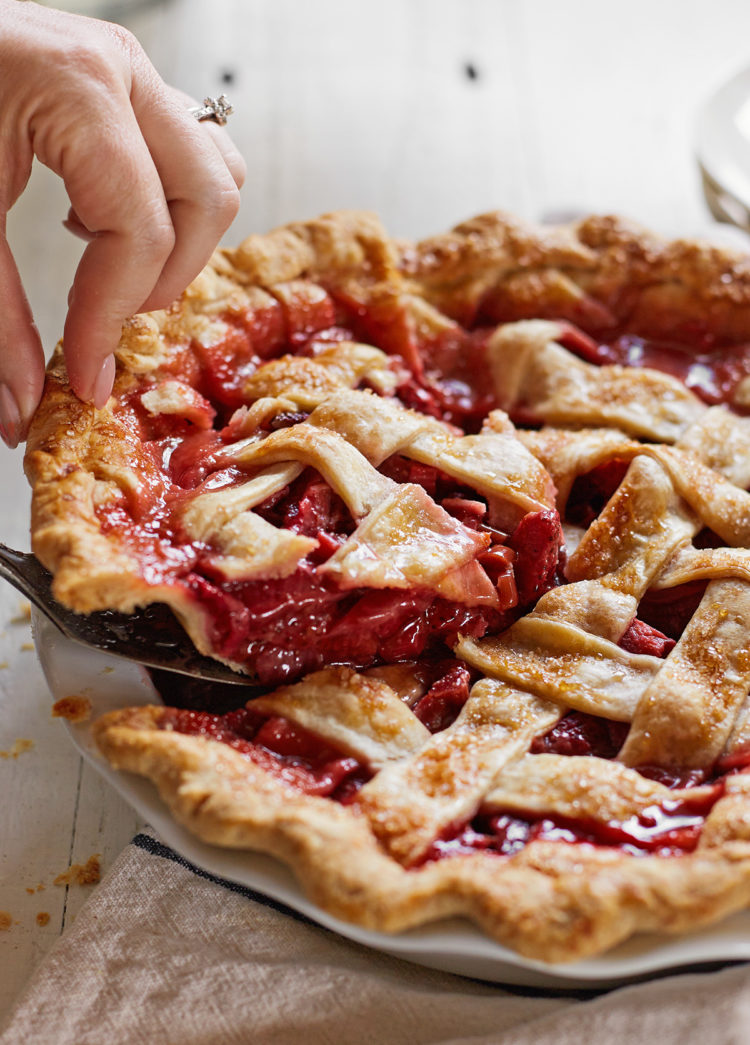
Lattice top pies are showstoppers every time. This type of pie crust design works with a variety of pie fillings, as well as deep dish pies.
Many home bakers think that because lattice crusts look beautiful, they’re difficult to assemble. That couldn’t be farther from the truth!
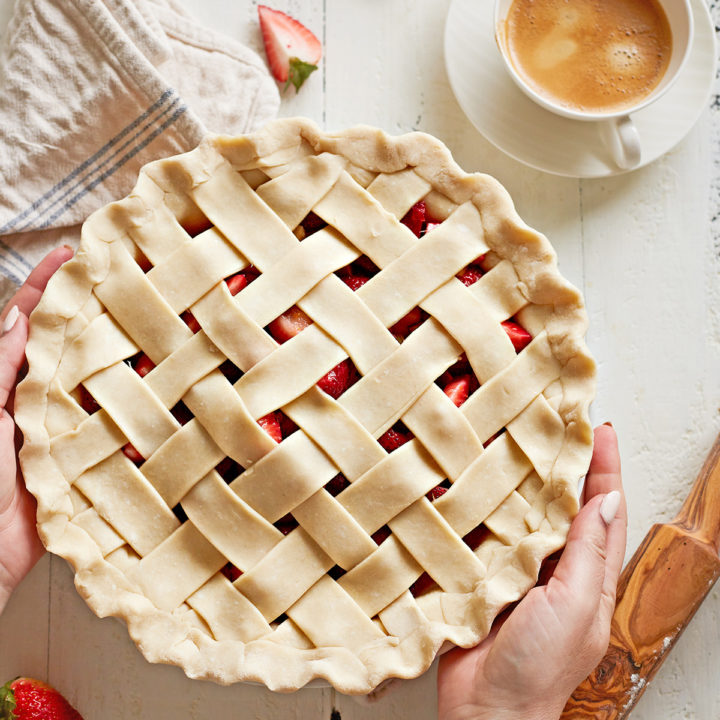
Creating a lattice pie crust requires cutting a circle of pie dough into strips, then it’s just a matter of placing a few of the strips vertically on top of the pie, folding them back to make room for a few horizontal strips of pie dough — and before you know it, you’ve made a lattice pie crust in a matter of minutes!
In this post, I’ve included easy-to-follow instructions for weaving a lattice crust as well as photos that walk you through the process.
This is as basic a tutorial as I can provide, yet it yields beautiful lattice pie crusts every single time.
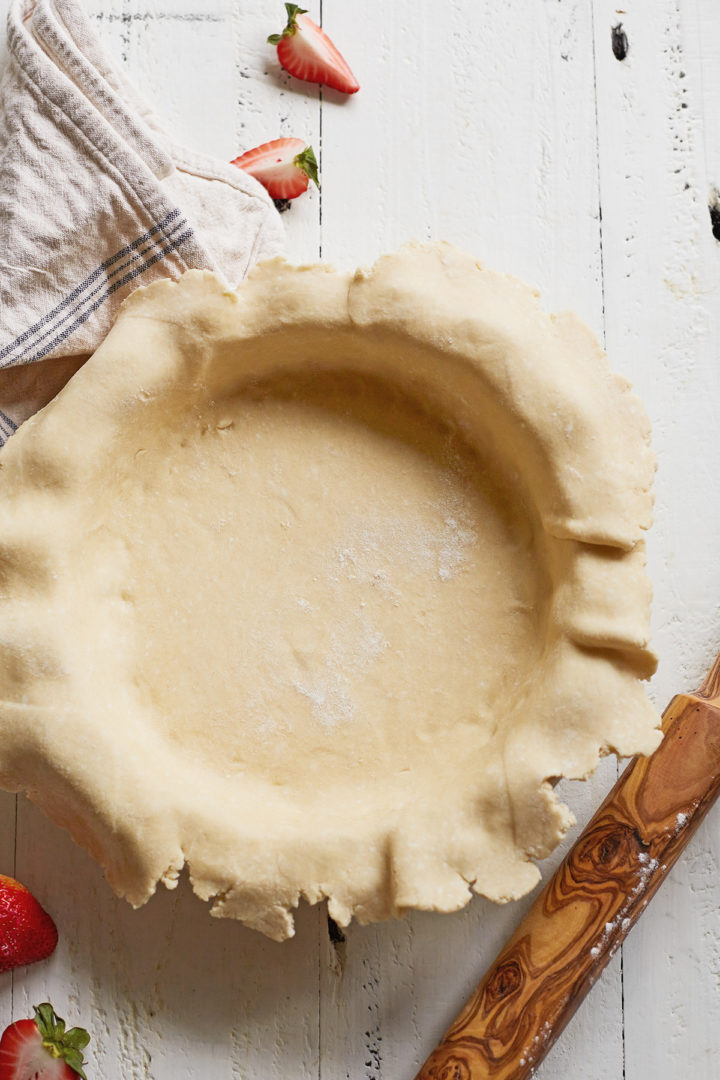
What You’ll Need
For this easy lattice pie crust tutorial, you’ll need to have the following items on hand:
- Pie Crust — Use my trusted butter pie crust recipe or buy your favorite refrigerated pie crusts at the store. (You can also freeze pie dough for making lattice top pies in the future.)
- All-Purpose Flour — Dust your work surface liberally with flour to prevent the pie dough from sticking.
- Rolling Pin — The dough needs to be rolled out into a 12-inch circle.
- Knife, Pastry Wheel, or Pizza Cutter — For slicing the dough into strips.
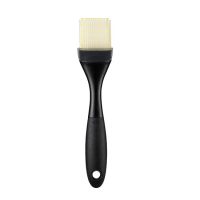
- Pastry Brush — Only needed if you’ll be brushing the lattice crust with an egg wash before baking (most of my pie recipes call for this step).
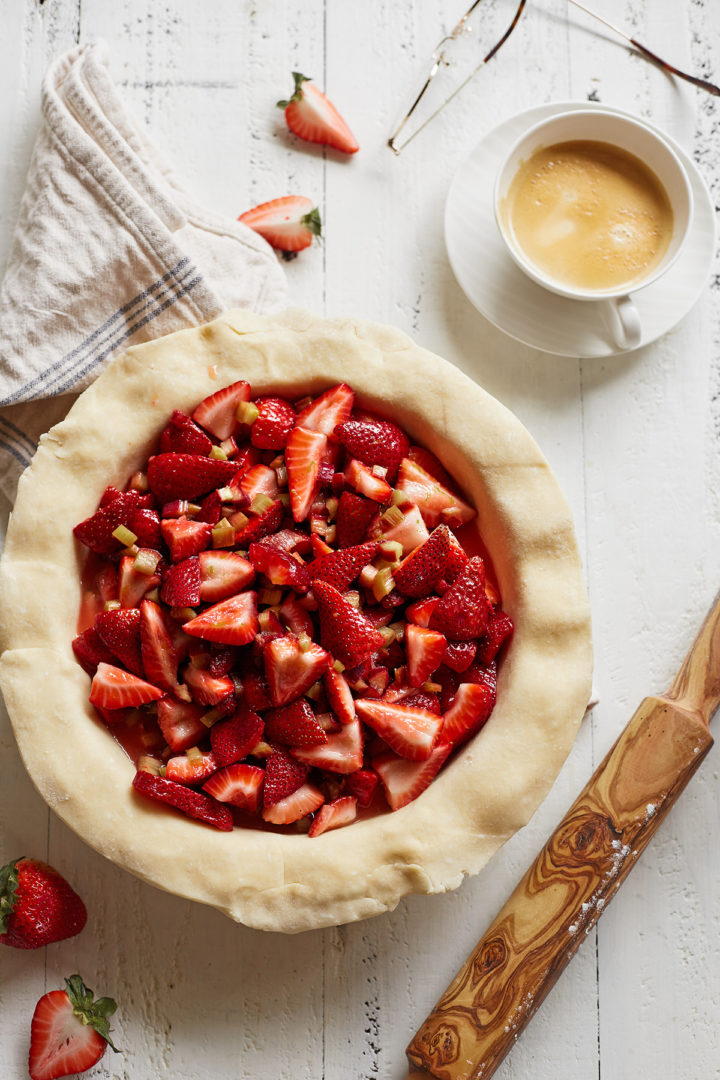
How to Make a Lattice Pie Crust
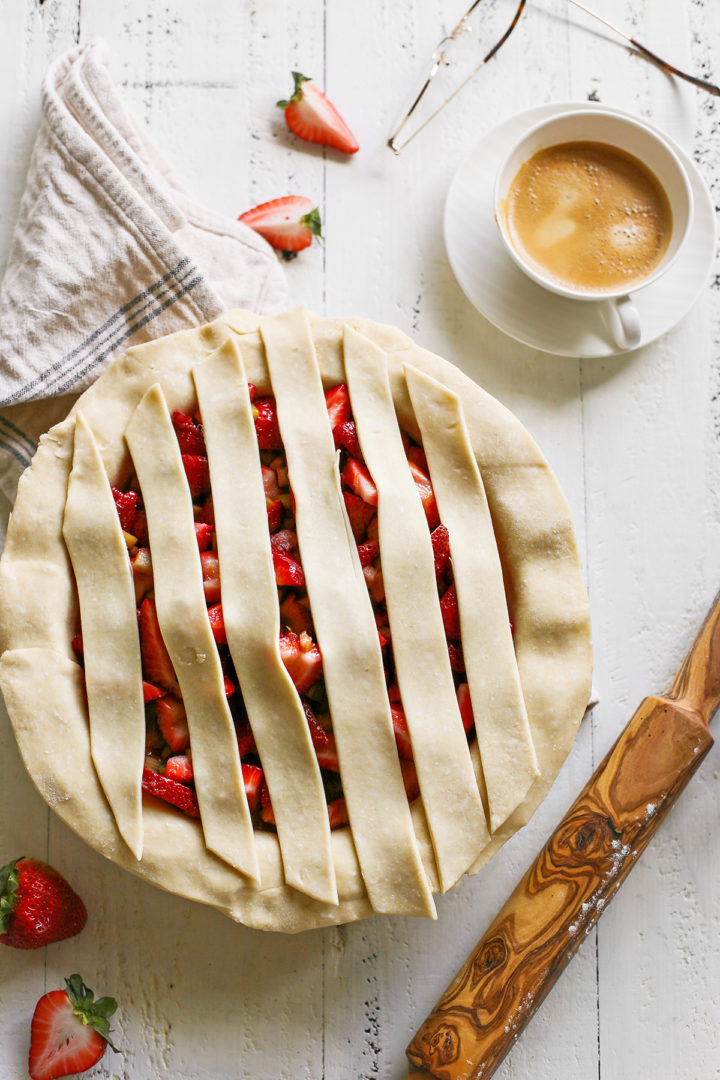
Weaving a lattice pie crust is simple! You’ll want to number the strips of pie dough in your mind as you arrange them over the filling. This makes it easier to remember which strips of dough to fold as you weave the crust.
- Assemble the pie: Place the bottom piece of pie crust in your pie plate of choice, then add the pie filling as the recipe instructs.
- Roll out the dough: Using a rolling pin, roll the second ball of pie dough into a circle that’s roughly 12 inches in diameter and ⅛-inch thick.
- Slice the dough into 12 equal strips, each 1 inch wide.
- Weave the pie crust: Arrange six strips of pie dough on top of the pie. Space them apart evenly and make sure to place the longer strips in the center and the shorter ones at the end.
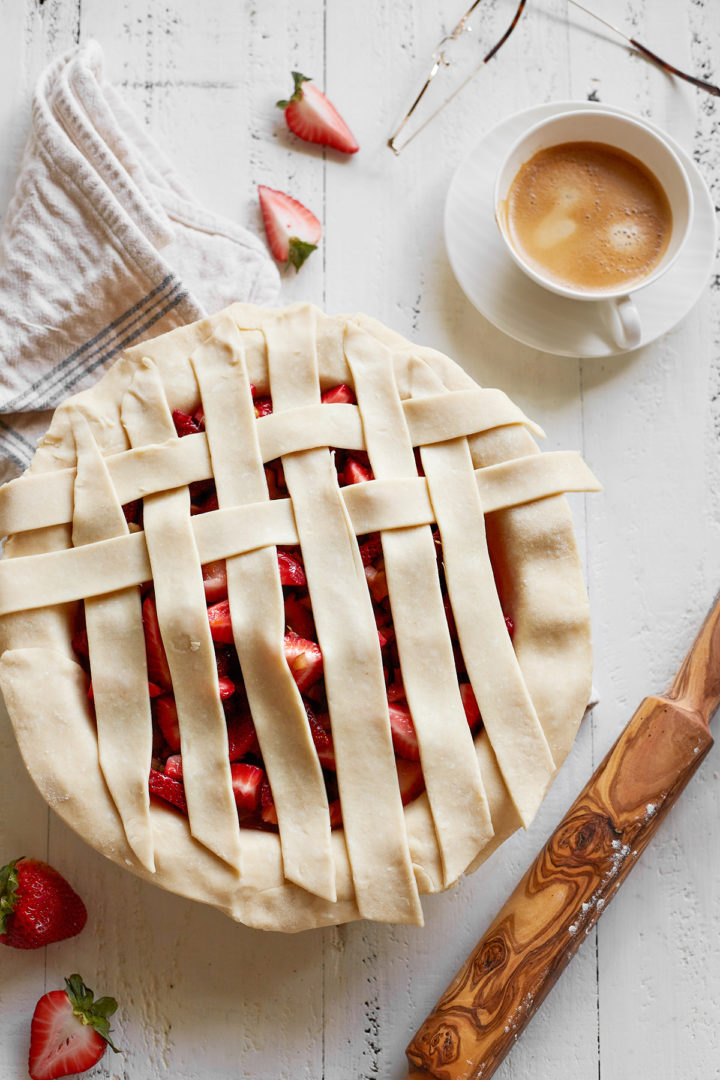
- Fold the 1st, 3rd, and 5th strips back. Then, place one of the unused strips horizontally over them. Unfold the three vertical strips to cover the horizontal one. (You’ll have 5 unused strips remaining at this point.)
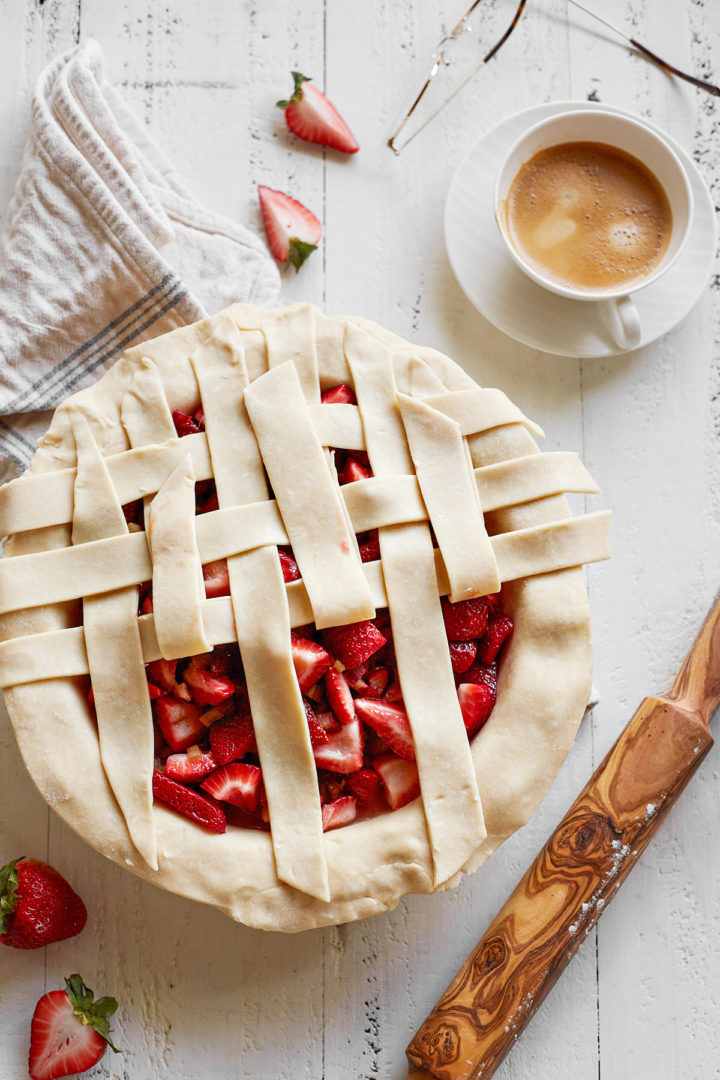
- Fold back the 2nd, 4th, and 6th strips. Lay one of the remaining unused strips horizontally, then refold the three vertical strips to cover the horizontal one.
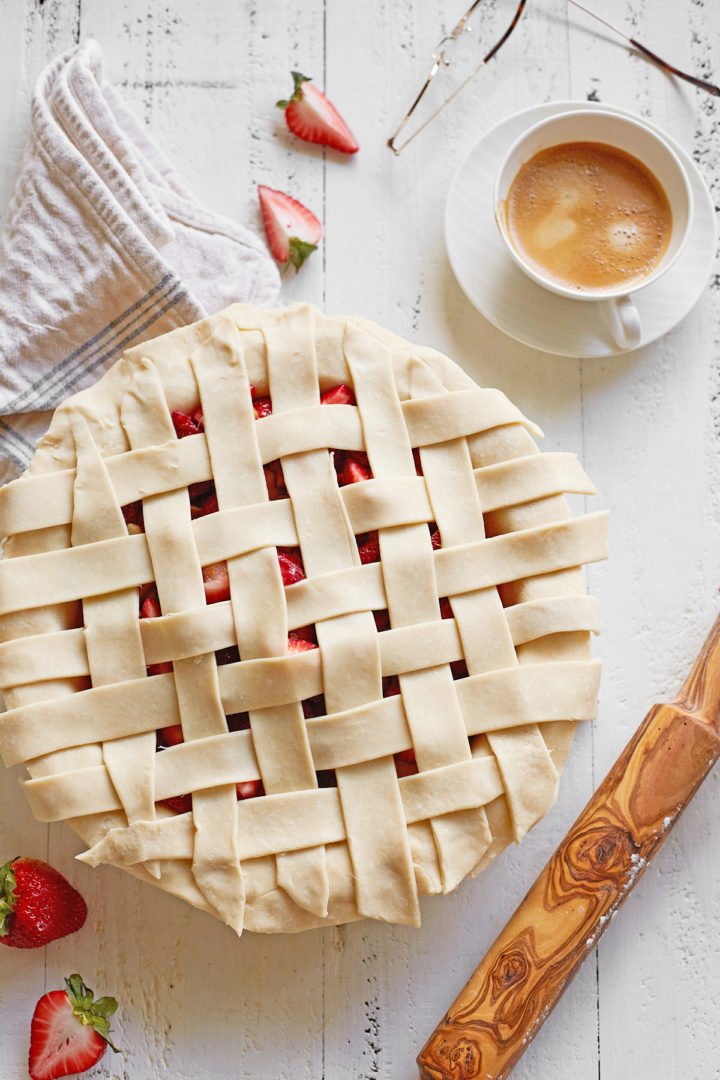
- Repeat this process until you’ve used all 12 of the strips and have a nice woven, lattice pattern of 6 x 6 strips.
- Crimp the pie crust edges: Fold any overhanging dough from the bottom pie crust over the edges, pinching to seal the lattice edges with the bottom pie crust. You want the folded edge flush with the lip of the pie plate. Now, use your thumb from one hand and index finger from the other to create a fluted edge. Set aside.
- Brush with egg wash (optional): To give your lattice pie crust a gorgeous glossy sheen, brush with an egg wash before baking.
The above is simply a quick summary of this lattice crust tutorial. Check out the full recipe in the free printable recipe card at the bottom of this post for all the detailed instructions.
Tips for Weaving a Lattice Crust
- Only work with chilled pie dough! Pie crust recipes always have you refrigerate the dough for an hour or more before rolling out. Chilling the pie dough keeps the butter within the pie dough nice and firm, which makes it easier to roll out the dough and assemble your pies. The cold butter also creates pockets of steam within the pie dough as it bakes, which results in a super flaky pie crust.
- Chill your pie again after assembling. Once the lattice crust has been woven, pop the entire pie into the fridge for 20 to 30 minutes before baking. This ensures the butter is super cold before going into the oven. You’ll make a flakier pie crust this way, and the lattice crust will hold its shape better.
- To create ruffled edges on your woven pie crust, cut the pie dough into strips using a fluted pastry wheel. It’s an effortless way to make your crust even more beautiful!
Pie Crust FAQs
Got questions about how to making a lattice pie crust? Here are the answers to a few commonly asked questions. Feel free to leave any other questions in the comments on this post and I’ll respond with answers.
Why should I bother making a lattice pie crust?
A lattice crust isn’t just beautiful, it’s practical too! The holes within the basket weave design allow steam to escape the pie, which prevents the top pie crust from bursting in the oven.
A lattice crust also has lots of edges, so each strip becomes beautifully golden brown and flaky in the oven. Texture-wise, I prefer a lattice crust to a traditional pie crust for that reason!
Can I create a more complicated lattice pie crust design?
Go for it! You can cut the pie dough into more than 12 strips and weave them into any pattern you like. I like the look and ease of a 6×6 lattice pattern, but you can create any design you like.
You can even try braiding thin strips of pie dough and then making the lattice crust. (I don’t have the time or desire to do that, though!)
Can I lattice a store-bought pie crust?
Yes, so long as you roll out the store-bought crust into a 12-inch circle, you can turn it into a lattice crust.
What should I do if my lattice crust is browning too quickly?
If the edges of your pie are browning too quickly, cover them with a pie shield (you can shape pieces of aluminum foil into a DIY pie shield in a pinch).
If the entire top of the lattice pie is browning too quickly, tent it with a piece of aluminum foil. Do not seal the foil around the edges of the pie plate!
Simply tent the foil over the pie so steam can still escape while preventing it from browning further.
What should I do if the pie dough cracks around the edges when I’m rolling it out?
If your pie dough is cracking as you roll it out, that means it’s dry.
Dip your fingers in ice water and brush them over any cracks to “seal” the pie dough back together. Let the pie dough rest for a minute or two so it has time to absorb the water, then try rolling it out again.
Pie Recipes to Make with a Lattice Crust
Try weaving a lattice crust on top of any of these pies:
- Strawberry Rhubarb Pie
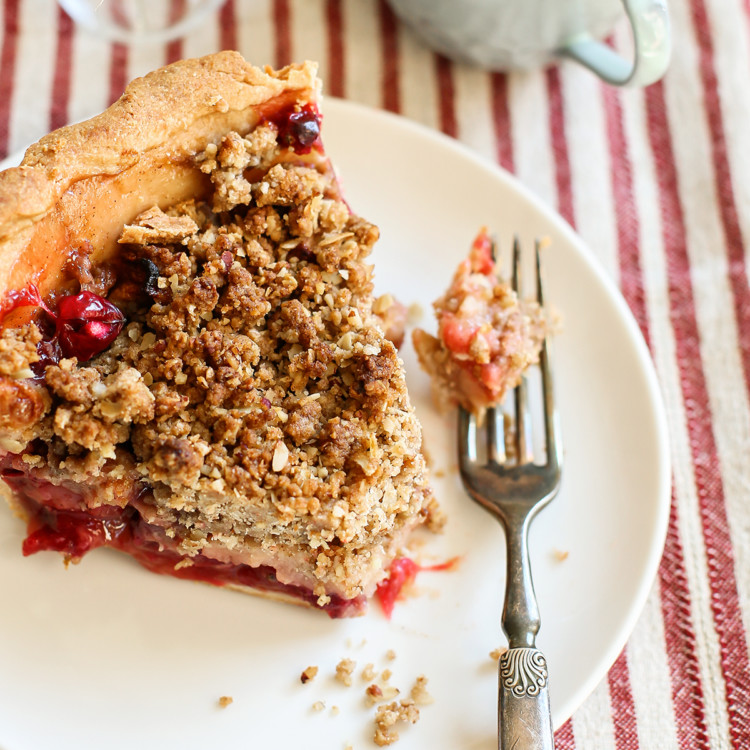
- Deep Dish Cranberry Apple Pie (omit the crumble topping in this recipe)
- Cherry Pie
- Chicken Pot Pie (use a lattice crust in place of the biscuits)
Try Making a Lattice Crust at Home!
Next time you want to level up a homemade pie, try weaving a lattice pie crust!
Did you love how easy to follow this tutorial was? Leave a comment below and give it a review for others to see what you thought.
On Instagram? Share your photo and tag me with @goodlifeeats and #goodlifeeatsrecipes. I’d love to see a photo of your lattice pie crust!
More Baking Tutorials:
If you forgot to set your butter out to soften before making a recipe, don’t panic! You can soften butter quickly with or without a microwave. In this post, I’m sharing How to Soften Butter Quickly eight different ways.
There are 4 different ways to cut butter into flour for recipes like pie crusts or biscuits. Here are the best methods for Cutting Butter Into Flour!
Cookie dough freezes extremely well and is the perfect sweet treat to keep stashed in your freezer to instantly satisfy those sweet tooth cravings. Here’s How to Freeze Cookie Dough and bake it later.
Planning to tackle some holiday baking this year? Read through these Holiday Baking Tips first so your baking goes smoothly. I’ve shared my top holiday baking tips, holiday baking substitutions, how-to’s, and more!
Who doesn’t love a good kitchen tip? Looking for more kitchen tutorials? Check out the entire Kitchen Tips and Tricks archive for lots of great ideas!
Get More Recipes via Email
Did you love this tutorial? Sign up to receive Good Life Eats Email Updates and never miss another recipe!
How to Make a Lattice Pie Crust
Love the look of lattice pies but don’t think you have the skill to create such a beautiful design? Think again! Follow these easy instructions to learn How to Make a Lattice Pie Crust in no time!
Ingredients
- Pie Crust
- All-Purpose Flour
- Rolling Pin
- Knife, Pastry Wheel, or Pizza Cutter
- Pastry Brush (for egg wash)
Instructions
- Assemble the pie: Place the bottom piece of pie crust in your pie plate of choice, then add the pie filling as the recipe instructs.
- Roll out the dough: Using a rolling pin, roll the second ball of pie dough into a circle that’s roughly 12 inches in diameter and ⅛-inch thick.
- Slice the dough into 12 equal strips, each 1 inch wide.
- Weave the pie crust: Arrange six strips of pie dough on top of the pie. Space them apart evenly and make sure to place the longer strips in the center and the shorter ones at the end.
- Fold the 1st, 3rd, and 5th strips back. Then, place one of the unused strips horizontally over them. Unfold the three vertical strips to cover the horizontal one. (You'll have 5 unused strips remaining at this point.)
- Fold back the 2nd, 4th, and 6th strips. Lay one of the remaining unused strips horizontally, then refold the three vertical strips to cover the horizontal one.
- Repeat this process until you’ve used all 12 of the strips and have a nice woven, lattice pattern of 6 x 6 strips.
- Crimp the pie crust edges: Fold any overhanging dough from the bottom pie crust over the edges, pinching to seal the lattice edges with the bottom pie crust. You want the folded edge flush with the lip of the pie plate. Now, use your thumb from one hand and index finger from the other to create a fluted edge. Set aside.
- Brush with egg wash (optional): To give your lattice pie crust a gorgeous glossy sheen, brush with an egg wash before baking.
Recommended Products
As an Amazon Associate and member of other affiliate programs, I earn from qualifying purchases.
Nutrition Information:
Yield: 8 Serving Size: 1Amount Per Serving: Calories: 167Total Fat: 5gSaturated Fat: 3gTrans Fat: 0gUnsaturated Fat: 2gCholesterol: 13mgSodium: 152mgCarbohydrates: 25gFiber: 1gSugar: 4gProtein: 5g
GoodLifeEats.com offers recipe nutritional information as a courtesy. This provided information is an estimate only. This information comes from online calculators. Although GoodLifeEats.com makes every effort to provide accurate information, these figures are only estimates.





Leave a Comment