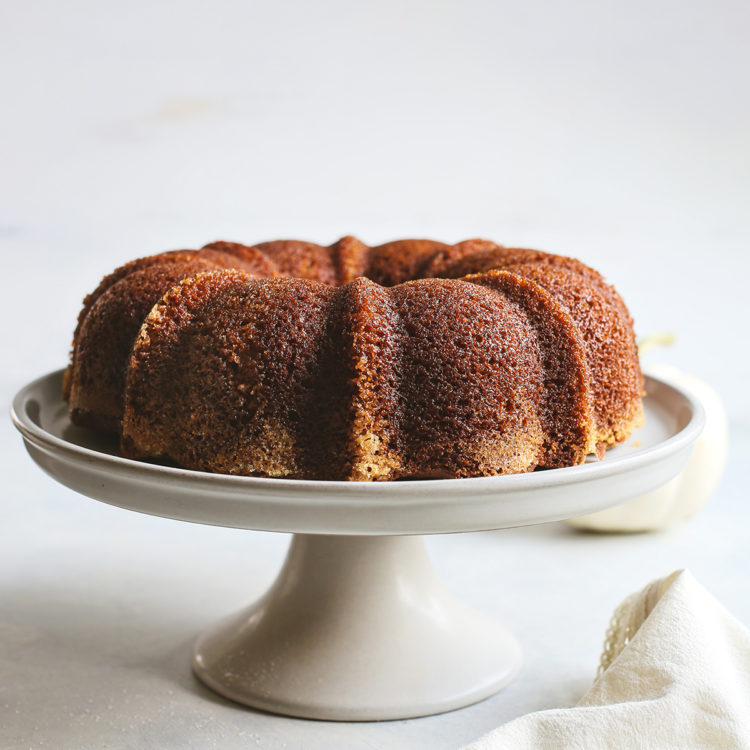
How to Grease and Flour a Pan
Tired of your baked goods sticking to the pan and making a mess? Follow these easy steps to learn How to Grease and Flour a Pan without any cooking spray!
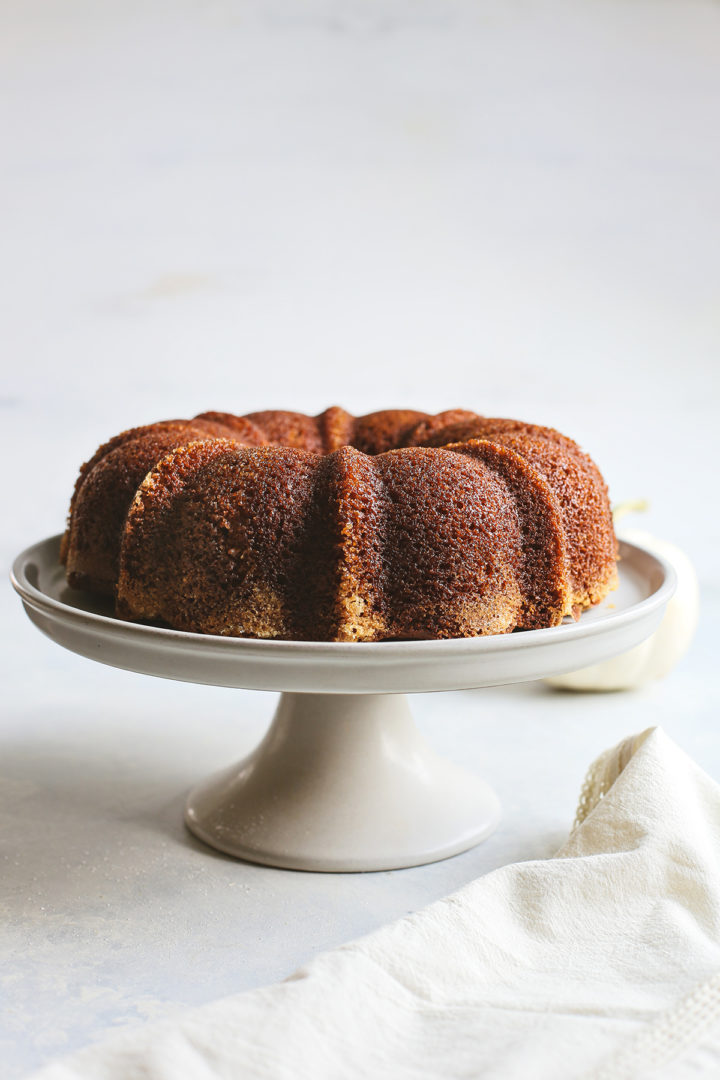
What Does It Mean to “Grease and Flour” a Pan?
When a cake recipe asks you to grease and flour a pan, it means that you need to first coat the pan (bottom and sides!) in a thin layer of oil, butter, or shortening.
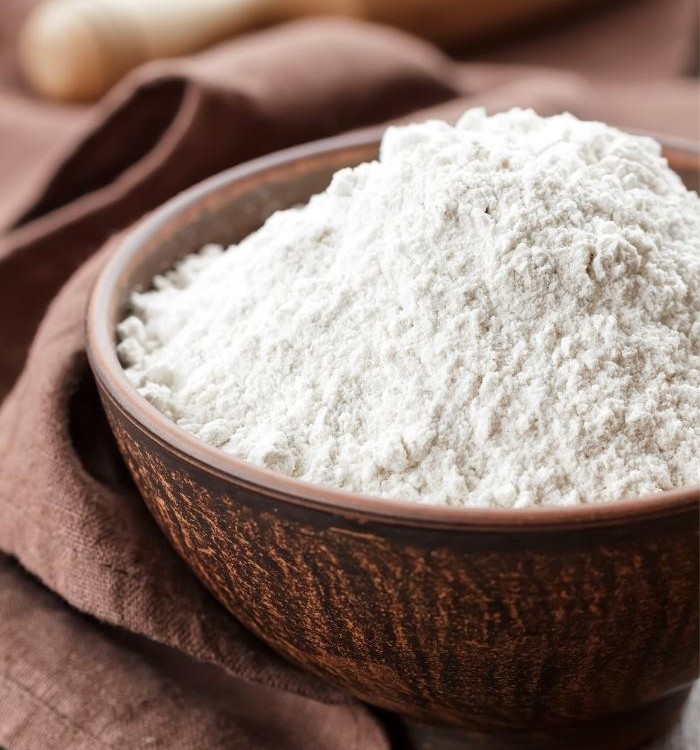
Once that’s done, you need to add a couple tablespoons of flour to the pan and shake it about so a thin layer of flour sticks to the greased bottom and sides.
But here’s my big secret: I don’t actually “flour” my cake pans … I “sugar” them! Keep reading to learn my exact method for greasing and flouring your cake pans.
Why Should You Grease and Flour a Pan?
The grease prevents your baked goods from sticking to the pan — and sometimes you can just stop there and not go the extra mile of flouring the pan.
However, I like to flour baking pans when I’m making cakes or any other baked good that I want to have a good rise. The thin layer of flour along the sides of the pan helps the batter cling to it better and makes it rise higher.
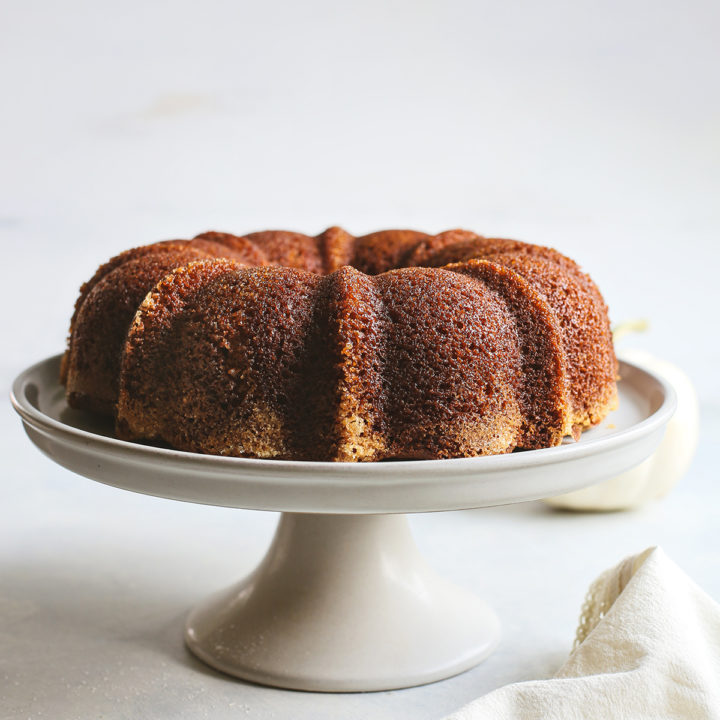
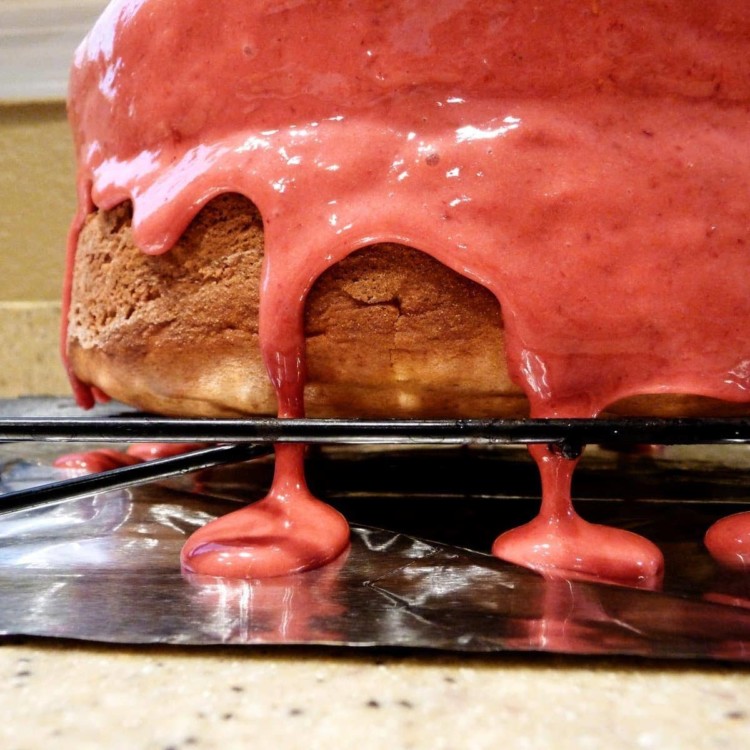
Flouring a pan also creates a soft crust around the edges of your cakes, which makes them release from the pan so much easier. This is especially ideal for larger cakes, such as Bundt cakes.
What You’ll Need to Grease and Flour a Pan
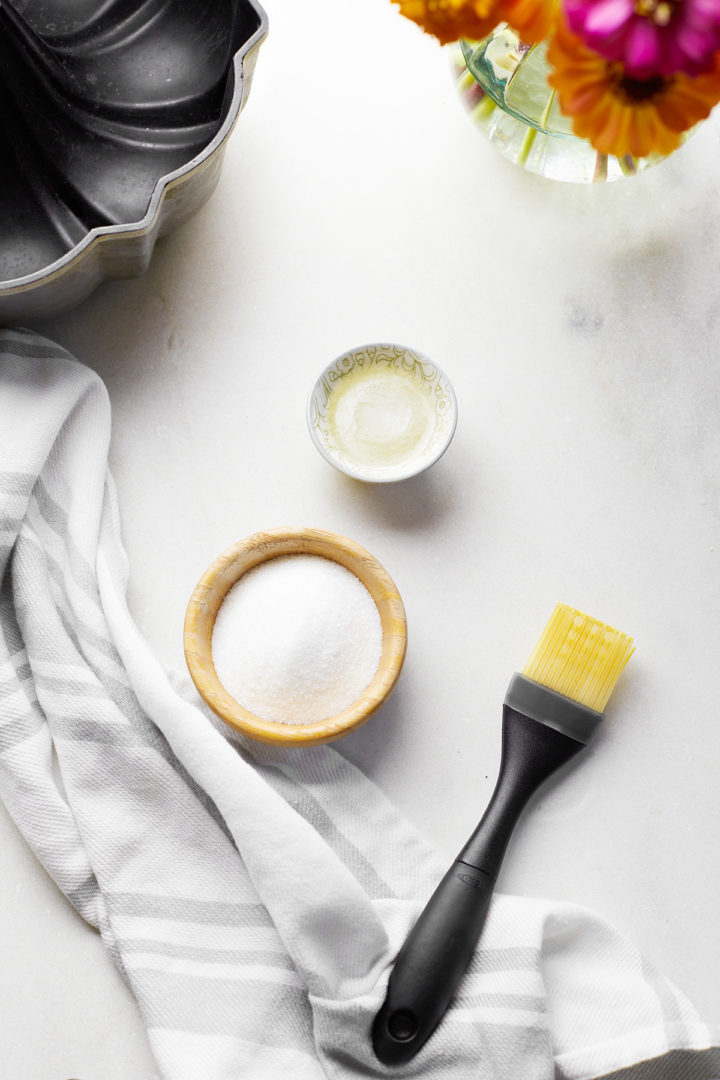
You don’t need any special equipment or fancy ingredients to grease and flour a pan. Here’s what you’ll be using:
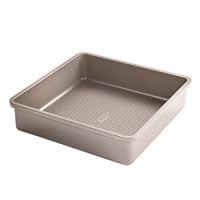
- Pan of choice — This method for greasing and flouring pans works on square baking dishes, loaf pans, Bundt pans, round cake pans, etc.
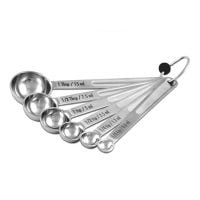
- Tablespoon measuring spoon — For measuring out the shortening and flour or sugar.
- Shortening — I prefer using melted shortening to grease my pans. See the FAQ section of this blog post for more information on why I use shortening to grease and flour cake pans, as well as acceptable alternatives to use.
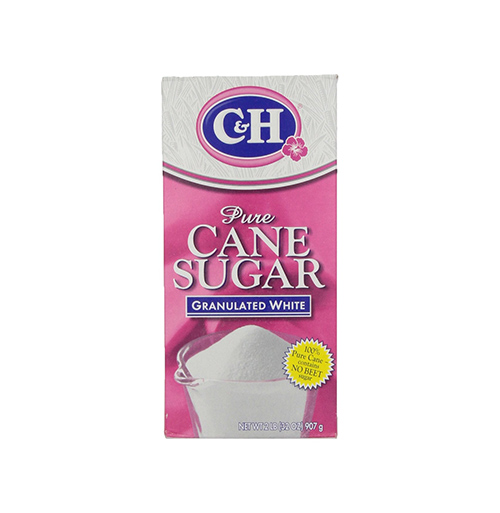
- All-purpose flour OR granulated sugar — I almost always use sugar when greasing pans. It forms a slightly crispy, beautiful crust that tastes absolutely delicious. When you flour a pan, you can wind up with an unsightly white cast on your baked goods (and you might even taste the raw flour, too!).
How to Grease and Flour Any Pan
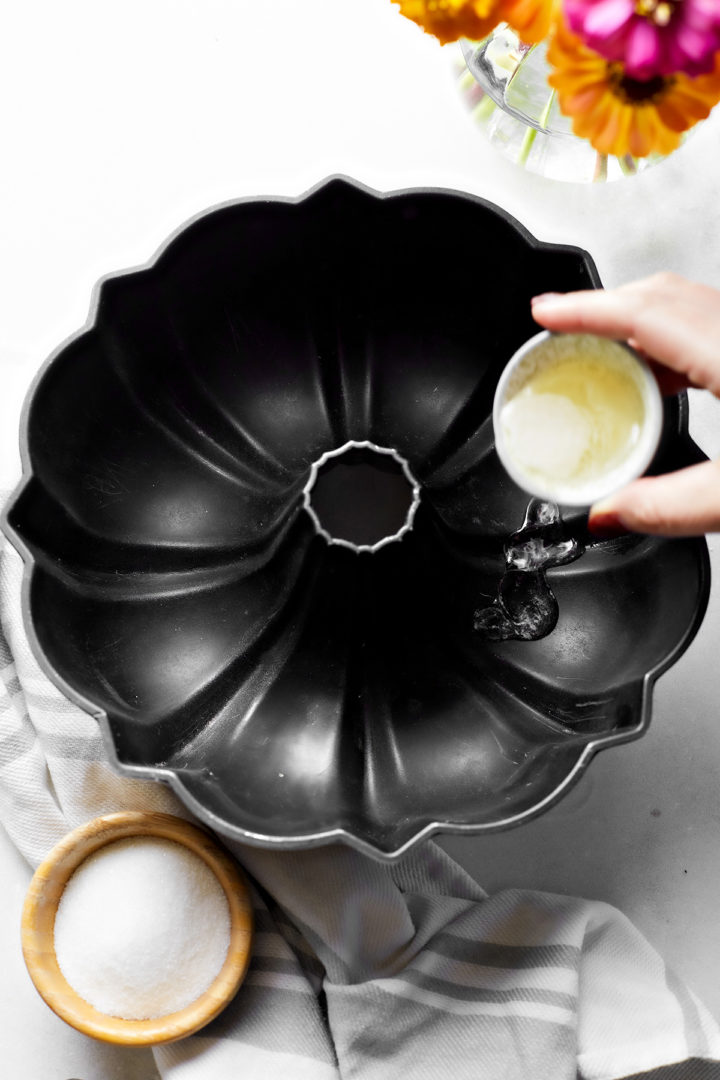
Follow these easy steps to prevent batter from sticking to a loaf pan, Bundt pan, cake pan, or square baking dish:
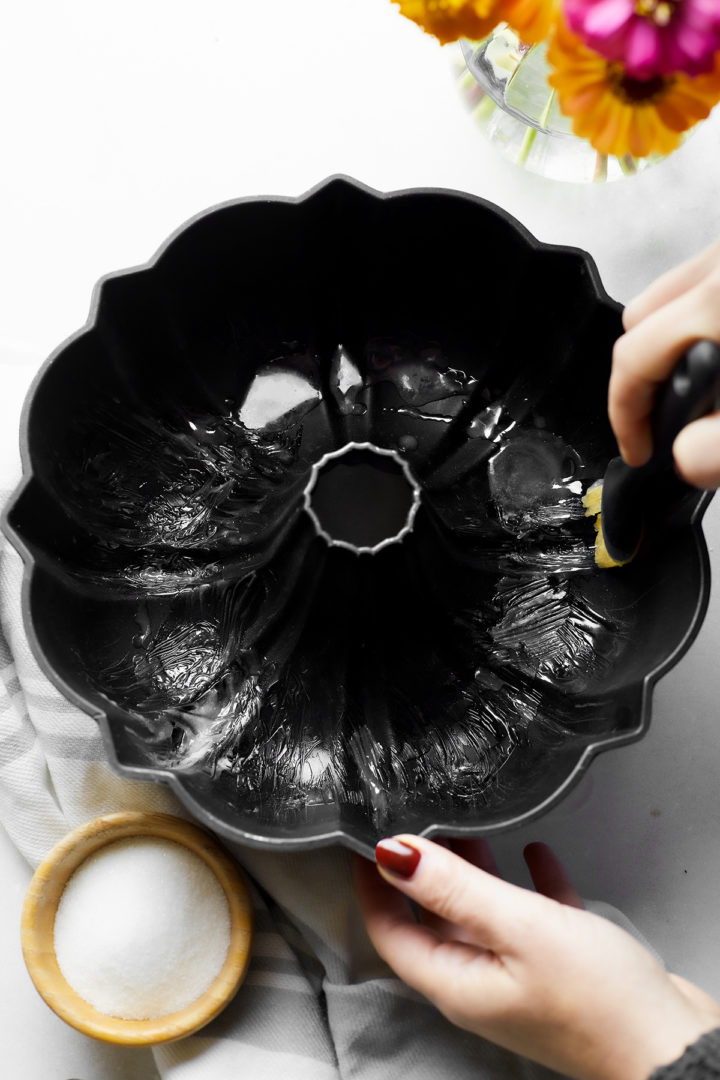
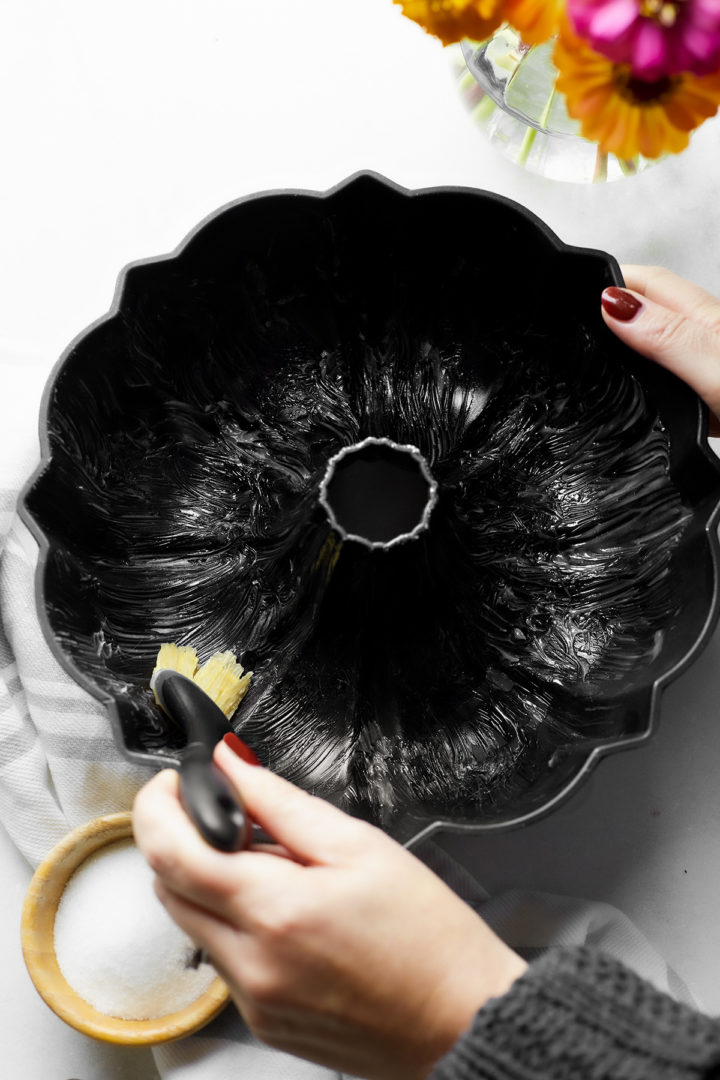
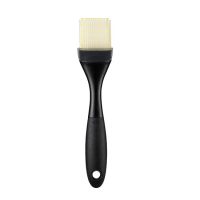
- To your pan, add ½ to 1 tablespoon of melted shortening. Swirl it around the coat the bottom and sides (you can also use a clean paper towel or pastry brush to coat the sides).
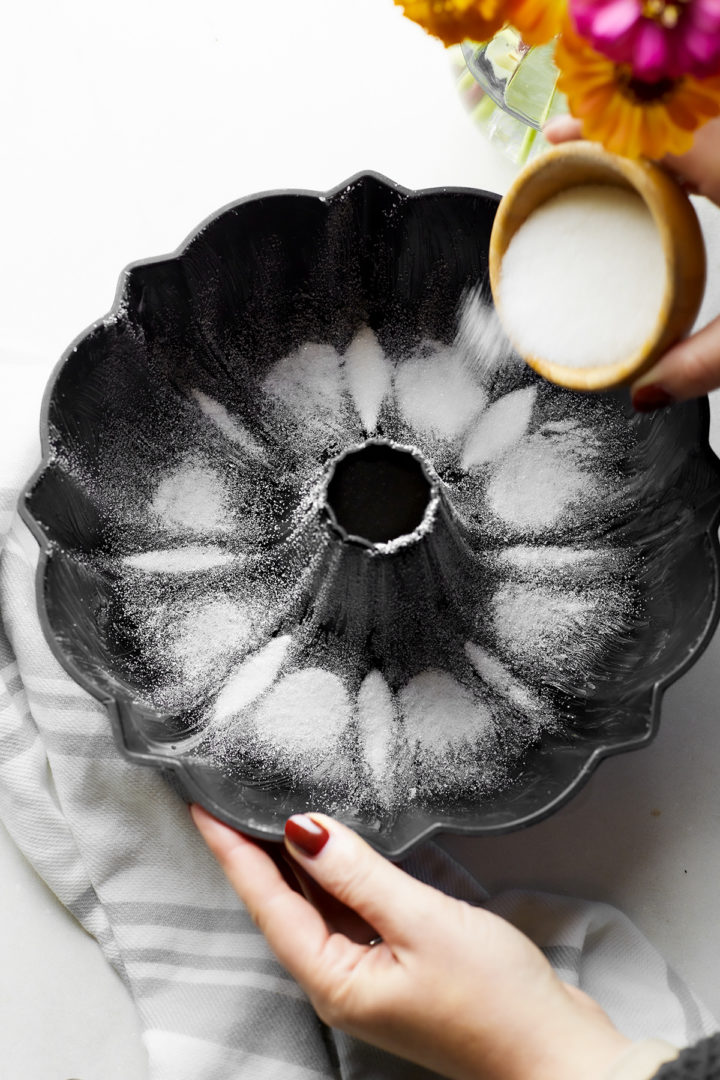
- Add 2 to 3 tablespoons of granulated sugar to the pan.
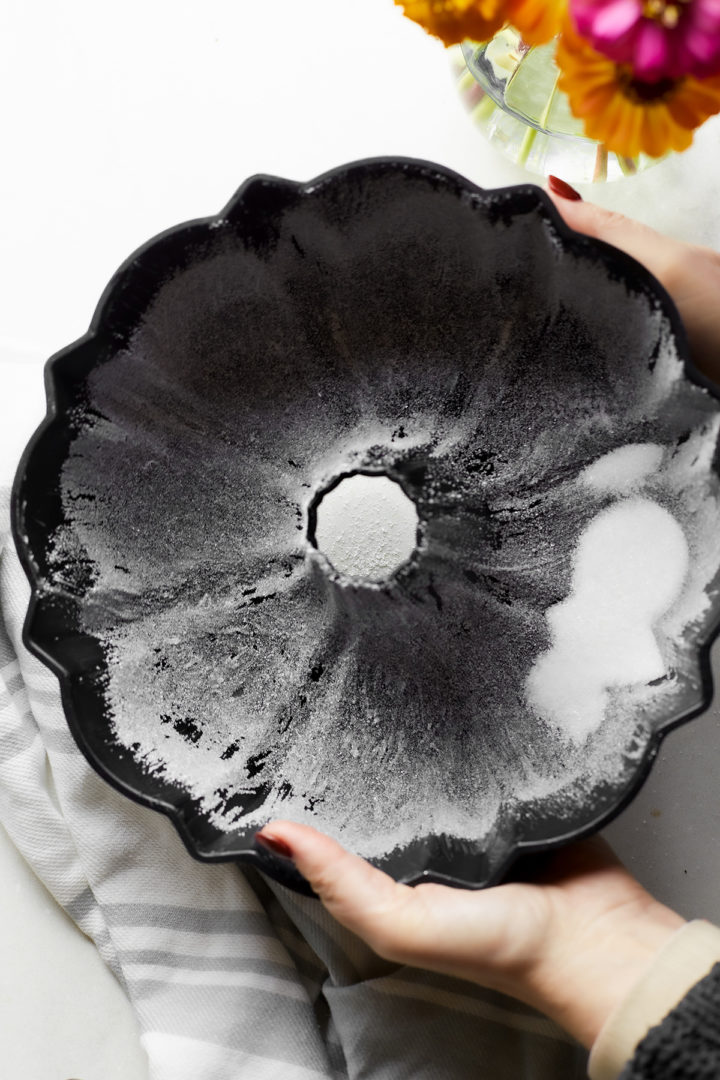
- Tap and shake the pan until the sugar coats the bottom and sides.
Shortening Tip: Use roughly ½ tablespoon of melted shortening to grease 8-inch square pans, 9-inch round pans, and 9×5-inch loaf pans. Use 1 tablespoon of melted shortening to grease 12-cup Bundt pans, 9×13-inch pans, and 10-inch square pans.
Tutorial FAQs
Got questions about greasing and flouring a pan? Here are the answers to a few commonly asked questions. Feel free to leave any other questions in the comments on this post and I’ll respond with answers.
What’s the benefit of sugaring a cake pan vs flouring it?
The sugar clings to the grease (in this case, shortening) and creates a very fine, slightly crispy sweet crust around cakes.
Flouring a pan often creates a thicker crust around the edges of a cake, which isn’t always what you want. Flour can also leave a white cast around the edges, and sometimes even imparts a raw flour flavor.
Both options work well for greasing a pan, but my preference is to grease and sugar cake pans rather than grease and flour them.
Why is it better to grease pans with shortening instead of oil or butter?
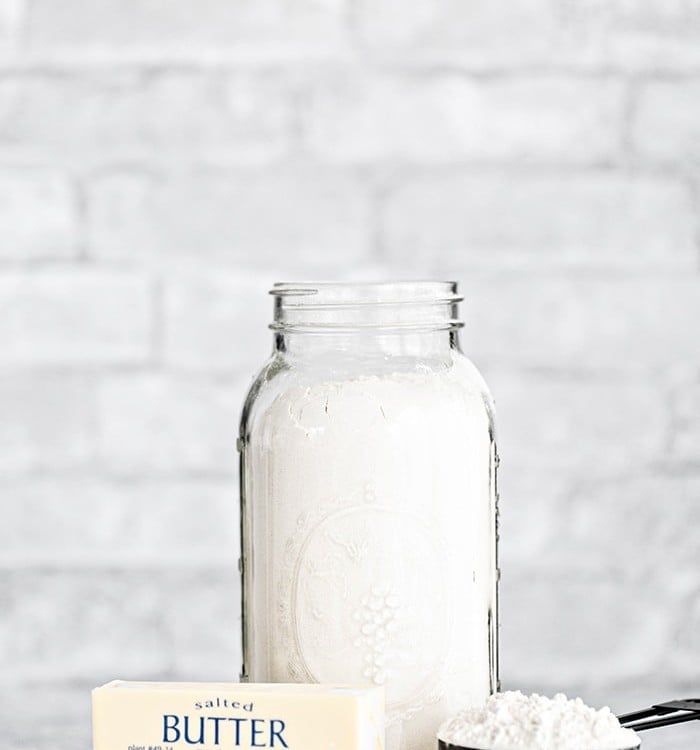
Butter contains milk solids, which can actually cause additional sticking!
Oil (such as vegetable or canola) likes to pool on the bottom of a pan. It can also soak up a lot of the flour or sugar added to the greased pan, which creates a thick, chewy crust around the edges of the cake.
Shortening does none of these things! It coats every last nook and cranny of a pan and is a sticky — but not absorbent — surface for the sugar or flour to adhere to.
Can I use oil or butter anyways if I don’t have shortening?
Go for it! Just use your best judgment when greasing a pan with oil or butter and your cake should be fine.
Can I just grease a pan with non-stick spray?
Of course you can! But non-stick sprays tend to leave behind a thin film of residue, which builds up over time and can ruin your nice pans.
How much sugar or flour should I use when greasing and flouring a pan?
I typically add 2 to 3 tablespoons of granulated sugar to any size pan, tap and shake the pan to coat evenly in the sugar, and then discard any excess.
If using flour instead of sugar to grease a pan, use 2 to 3 tablespoons as well.
How much shortening should I use when greasing a pan?
I always grease and flour Bundt pans, and I use 1 tablespoon of melted shortening to coat my favorite 12-cup Bundt.
Using that logic, you’d need 1 tablespoon of melted shortening to grease: 12-cup Bundt pans, 9×13-inch pans, and 10-inch square pans (really any pan that holds 10 or more cups of batter).
And you’d need around 1/2 tablespoon of melted shortening to grease: 8-inch square pans, 9-inch round pans, and 9×5-inch loaf pans (any pan that holds 6 to 8 cups of batter).
Should you grease a silicone pan?
Technically, no, you do not have to grease a silicone pan. However, I still do because I find that I get better results when I grease and flour silicone pans.
Should you grease a non-stick pan?
Yes, I always do! The non-stick coating on pans erodes over time, so it’s important that you still take the time to grease and flour a pan before pouring any batter into it.
Recipes That Call for Greasing a Pan
You’ll typically be asked to grease a pan when making cake recipes, especially Bundt cakes! Here are some of my favorite recipes that ask you to grease and flour the pan:
- Pumpkin Spiced Bundt Cake
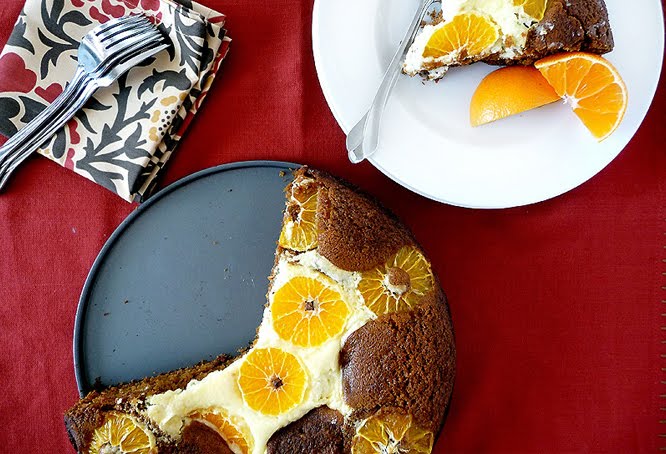
- Citrus Cardamom Cake
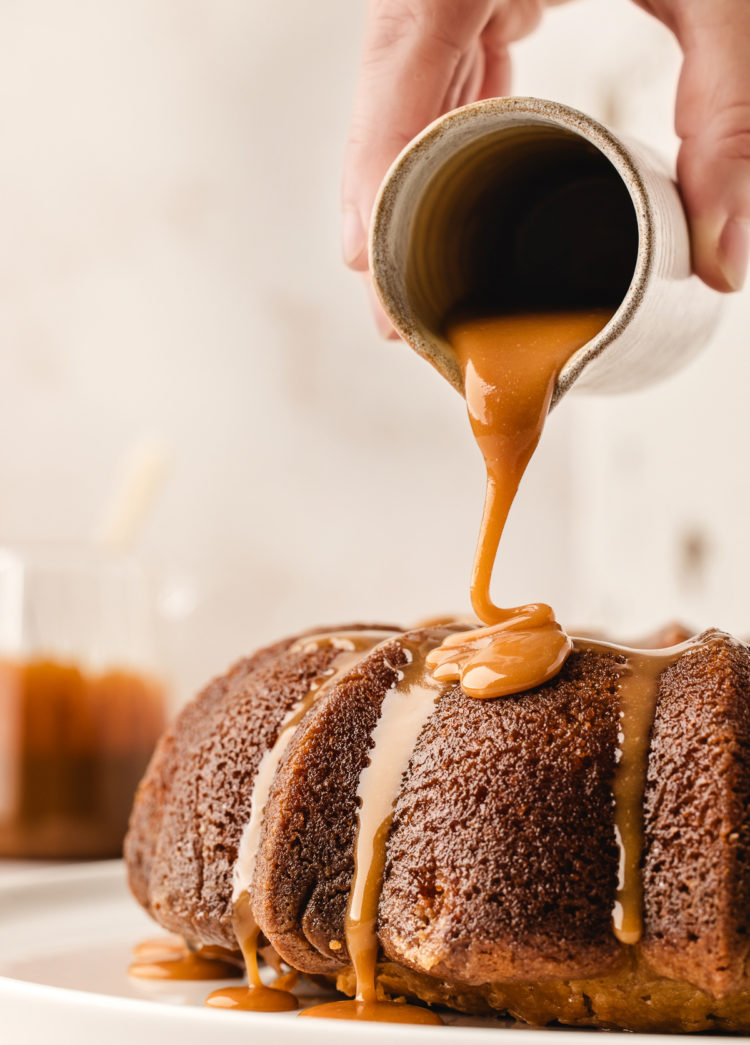
- Salted Caramel Kentucky Butter Cake
- Cranberry Orange Bundt Cake
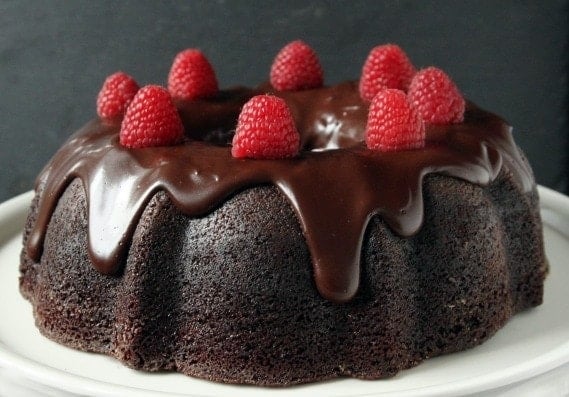
- Chocolate Raspberry Bundt Cake
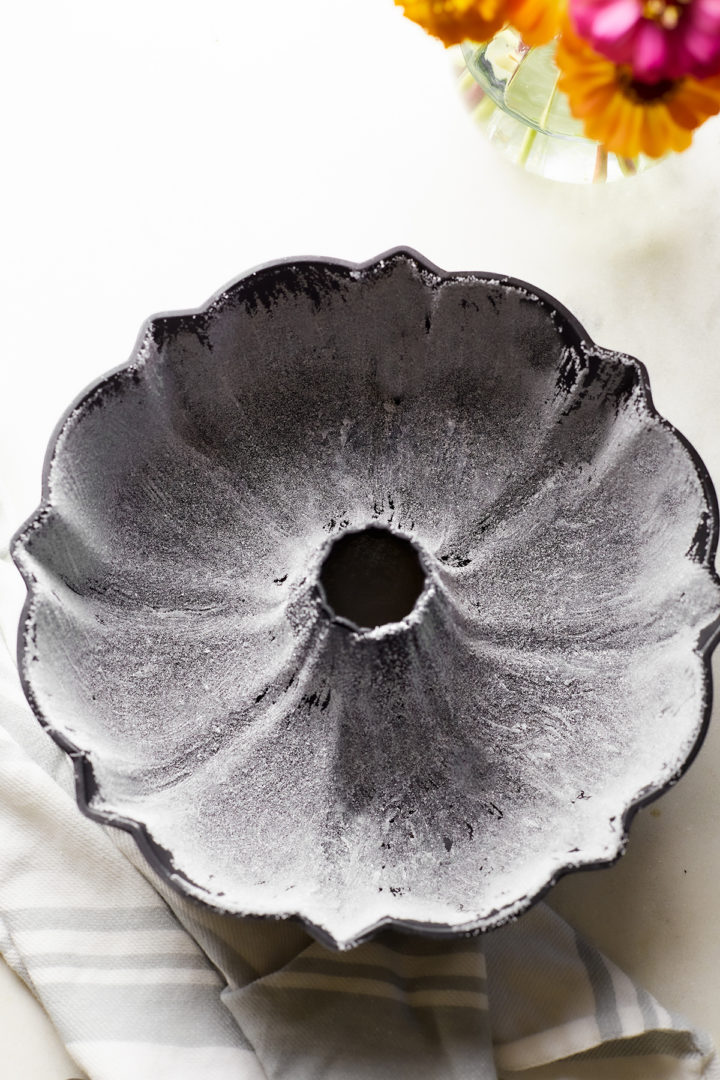
Try Greasing and Flouring a Pan at Home!
Next time you have to grease a cake pan, give this easy tutorial a try!
Did your cake come out of the pan cleanly? Leave a comment below and give it a review for others to see what you thought.
On Instagram? Share your photo and tag me with @goodlifeeats and #goodlifeeatsrecipes. I’d love to see what you’re baking!
More Baking Tutorials:
Don’t want to grease a pan? Here’s my go-to method for Lining Pans with Parchment Paper. It’s a handy skill to know for certain cake recipes, as well as for baking blondies and brownies!
If you forgot to set your butter out to soften before making a recipe, don’t panic! Here’s How to Soften Butter Quickly with or without a microwave.
Knowing How to Bring Eggs to Room Temperature quickly is useful when making cakes, cupcakes, waffles, and more.
Learning How to Separate Eggs is important if you want to bake angel food cakes, macarons, macaroons, meringues, and more. It’s an important kitchen skill you’re about to master!
Here’s How to Make Cake Flour, plus my favorite ways to use it! Cake flour contains less protein than all-purpose flour, which creates lighter and fluffier cakes. This tutorial is handy in a pinch!
Who doesn’t love a good kitchen tip? Looking for more kitchen tutorials? Check out the entire Kitchen Tips and Tricks archive for lots of great ideas!
Get More Recipes via Email
Did you love this kitchen tutorial? Sign up to receive Good Life Eats Email Updates and never miss another recipe!
How to Grease and Flour a Pan
Tired of your baked goods sticking to the pan and making a mess? Follow these easy steps to learn How to Grease and Flour a Pan without any cooking spray!
Ingredients
- ½ - 1 tablespoons Shortening
- 2 - 3 tablespoons All-purpose flour OR granulated sugar
Instructions
- To your pan, add ½ to 1 tablespoon of melted shortening. Swirl it around the coat the bottom and sides (you can also use a clean paper towel or pastry brush to coat the sides).
- Add 2 to 3 tablespoons of granulated sugar to the pan.
- Tap and shake the pan until the sugar coats the bottom and sides.
Notes
Why use shortening instead of butter or oil? Butter contains milk solids, which can actually cause additional sticking! Oil (such as vegetable or canola) likes to pool on the bottom of a pan. It can also soak up a lot of the flour or sugar added to the greased pan, which creates a thick, chewy crust around the edges of the cake.
If you don't have shortening on hand, you can of course use melted butter or oil instead!
Why use sugar instead of flour? The sugar clings to the grease (in this case, shortening) and creates a very fine, slightly crispy sweet crust around cakes.
Flouring a pan often creates a thicker crust around the edges of a cake, which isn’t always what you want. Flour can also leave a white cast around the edges, and sometimes even imparts a raw flour flavor.
Both options work well for greasing a pan, but my preference is to grease and sugar cake pans rather than grease and flour them.
Recommended Products
As an Amazon Associate and member of other affiliate programs, I earn from qualifying purchases.
Nutrition Information:
Yield: 8 Serving Size: 1Amount Per Serving: Calories: 14Total Fat: 1gSaturated Fat: 0gTrans Fat: 0gUnsaturated Fat: 0gCholesterol: 0mgSodium: 0mgCarbohydrates: 1gFiber: 0gSugar: 0gProtein: 0g
GoodLifeEats.com offers recipe nutritional information as a courtesy. This provided information is an estimate only. This information comes from online calculators. Although GoodLifeEats.com makes every effort to provide accurate information, these figures are only estimates.



Leave a Comment