How to Clarify Butter (+ Ways to Use It)
Thanks to its high smoke point and mild flavor, clarified butter is perfect for roasting, sauteing, and shallow frying! This post will explain how to clarify butter at home, as well as its many uses.
This post may include affiliate links. As an Amazon Associate and member of other affiliate programs, I earn a small commission from qualifying purchases.
What Is Clarified Butter?
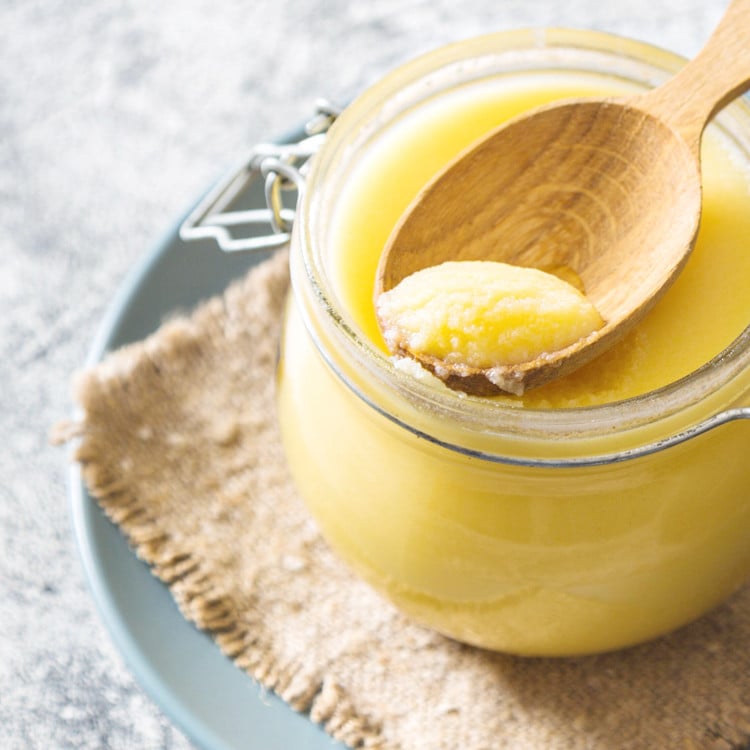
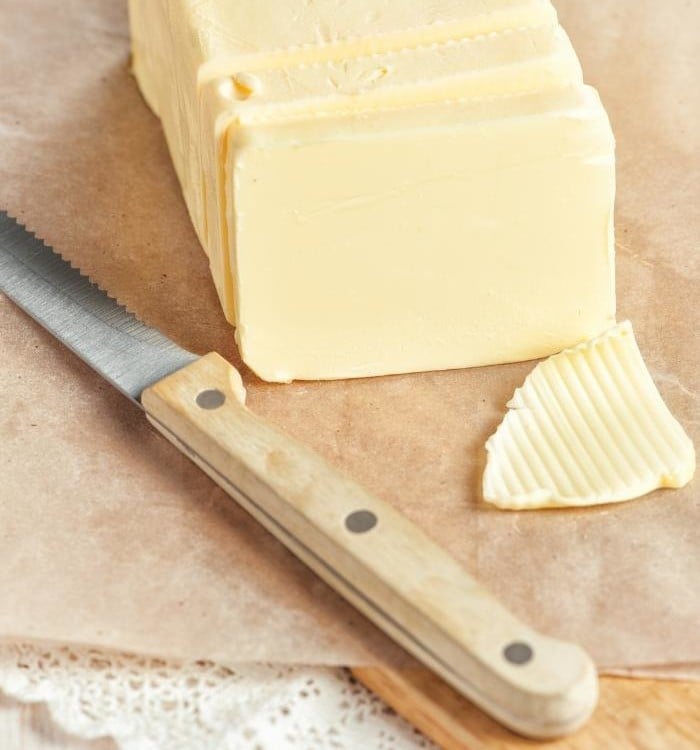
Clarified butter is just ordinary butter that’s been cooked to remove any water and white milk solids.
In short, clarified butter is pure butter fat. As the butter melts, the top layer becomes the foamy milk solids, which are easily scooped away and discarded.
Because it’s pure butterfat, clarified butter has a higher smoke point than regular butter and many other oils. This means it can withstand high temperatures without burning!
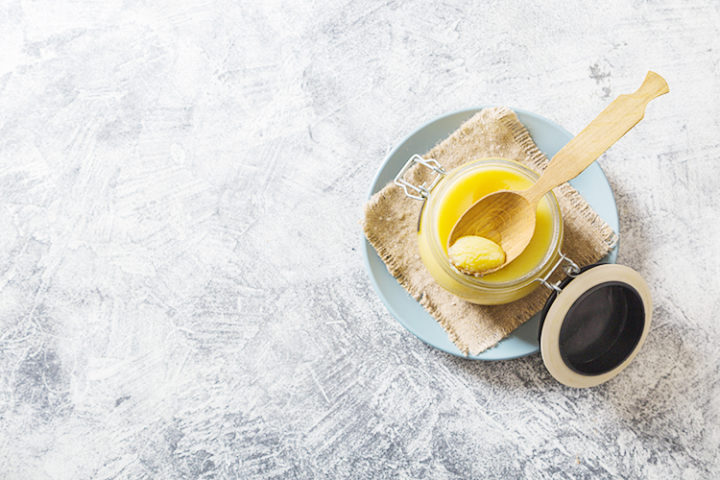
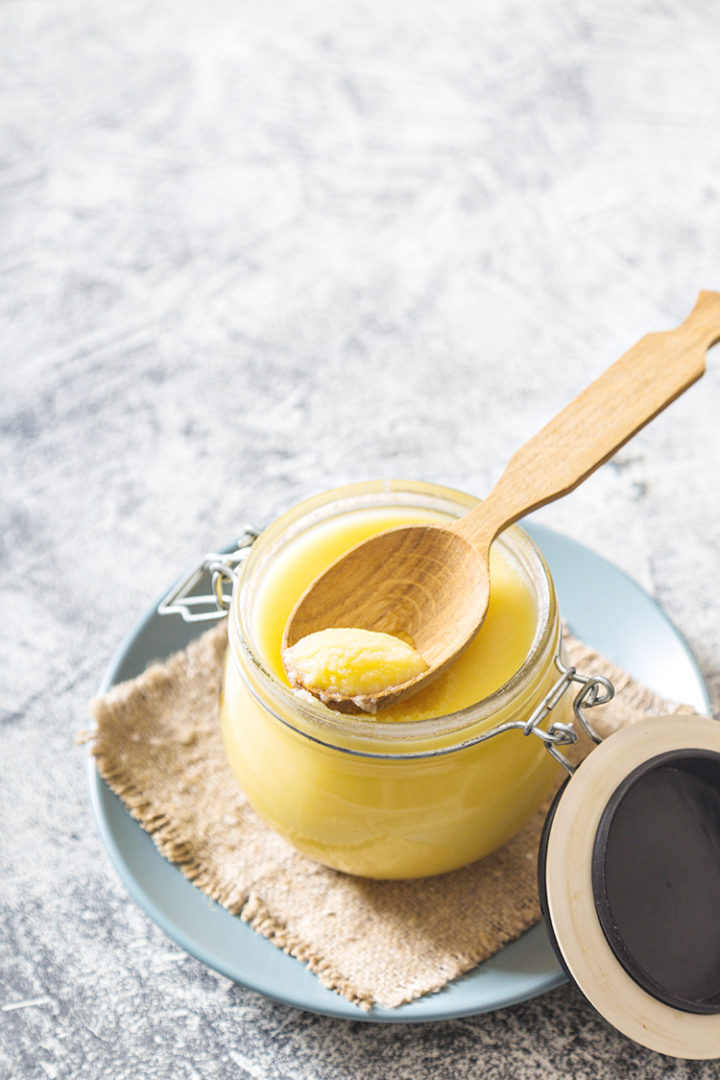
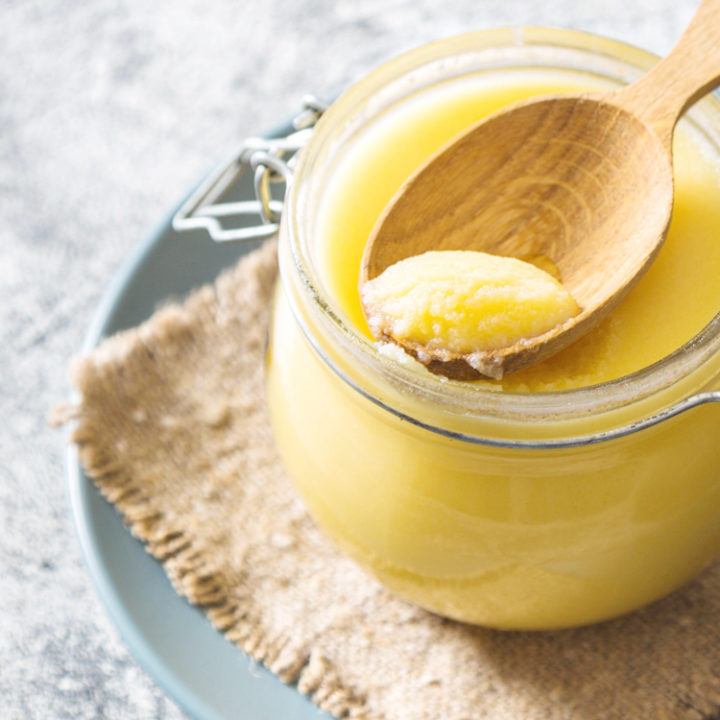
Clarified butter is liquid gold when melted and similar to the consistency of coconut oil when chilled or at room temperature.
You can often find clarified butter sold in jars at the grocery store, but it is so easy to make yourself and much less expensive!
Clarified Butter vs. Ghee
Ghee is actually a type of clarified butter that’s especially popular in Indian cooking. To create ghee, butter is cooked for longer than regular clarified butter.
Ghee is made by cooking butter until the milk solids turn brown (i.e. browned butter!). Only then is the melted butter passed through a cheesecloth-lined sieve to separate the milk solids from the translucent golden butterfat.
Ghee is deeper in color than clarified butter, and it’s also nuttier in flavor. Ghee is also safe to store at room temperature, unlike clarified butter.
Clarified Butter vs. Butter
Regular butter has three components: butterfat, water, and milk solids.
Clarified butter starts with regular butter, but during the cooking process the water and milk solids are removed.
The milk solids present in regular butter is why it burns more easily. By removing them to create clarified butter, you’re left with a substance that burns only at very high temperatures.
Why Use Clarified Butter?
The main benefit of cooking with clarified butter is its higher smoke point. Unlike regular butter and many oils, clarified butter can withstand high temperatures without burning.
Clarified butter is ideal for sauteing, roasting, or shallow frying meat and vegetables. It can withstand high temperatures for longer periods of time!
Clarified butter is slightly buttery in flavor, but since its flavor is fairly mild it’s incredibly versatile.
Another benefit of using clarified butter is that it has a longer shelf life than regular butter.
Clarified Butter Smoke Point
Clarified butter has a smoke point of 450 degrees F (232 degrees C). For comparison, regular butter has a smoke point of 350 degrees F. You can see why cooking with clarified butter is so great!
Tools Needed to Clarify Butter
To make clarified butter, you’ll need the following:
- Saucepan – for melting the butter.
- Spoon – for scooping out the milk fat after melting the butter.
- Cheesecloth – to line the strainer.
- Fine Mesh Strainer – for straining the melted butter. (A coffee filter works, too.)
- Jar – for storing the clarified butter.
How to Clarify Butter
Clarified Butter might sound fancy and complicated, but the good news is that it only takes a few easy steps to prepare.
It is actually quite easy to make. It just requires a little bit of patience because the cooking process can take 30 minutes or more, depending on how many sticks of butter you are clarifying.
Keep in mind that you should NOT stir the butter once it begins melting.
If you stir the butter, the milk solids won’t separate properly from the butterfat. You need the milk solids to sink to the bottom of the pan so that you can separate them from the butterfat later in the prep process.
Now that you know to not stir the butter, we can move onto the clarifying process:
Clarifying Butter: Step by Step
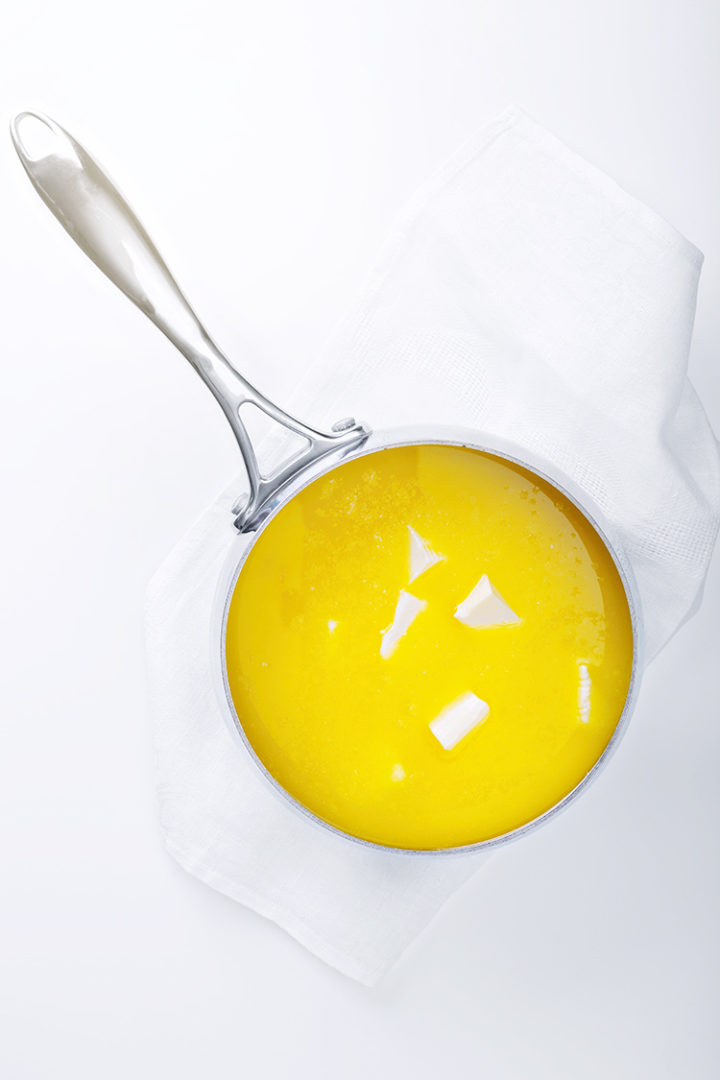
- Melt butter (regular unsalted) in a skillet over low heat.
- Continue cooking over low heat, uncovered. Do NOT stir the butter. Let the butter cook until it starts to foam and bubble. (The foaming indicates that the water is evaporating).
- Once foamy, remove the pot from the heat and let it sit for 5 minutes. Do not stir or disturb the butter at this stage.
- Using a spoon, skim the foam from the top.
- Then, pour the butter through a cheesecloth set in a fine mesh sieve over a bowl. This will remove the milk solids and should leave you with a clear, yellow liquid.
Tip: The exact cook time will vary depending on how much butter you’re clarifying. However, this method is best when making a bulk batch (i.e. 1 pound or more).
Clarified Butter Uses
Due to its high smoking point, you can safely cook with clarified butter at much higher temperatures. This makes clarified butter the best butter to use for recipes that require cooking at temperatures higher than 350 degrees F.
Clarified butter is ideal for recipes that require high temperatures for long periods of time. It can be used for sauteing, shallow frying, or roasting.
I do not recommend baking with clarified butter. The milk solids contained in regular butter help provide moisture and flavor to baked goods, and lower fat clarified butter would likely result in drier cakes and cookies.
Some specific clarified butter uses I can recommend include:
- Pouring it over homemade popcorn
- Making a hollandaise sauce
- Using it to make crispy roast potatoes
- Tossing it with other veggies prior to roasting or baking
- Using it to make French Toast
- Shallow frying hash browns in it
Does Clarified Butter Need to Be Refrigerated?
Yes! It should be sealed in an airtight container and refrigerated.
Can Clarified Butter be Frozen?
Yes, clarified butter can be frozen in an airtight container. You can freeze clarified butter just like you would freeze regular butter. I recommend freezing clarified butter if you made a big batch of it!
How Long Does Clarified Butter Last?
Homemade clarified butter will last up to 1 month in the fridge and up to 6 months in the freezer. Store it in a sealed container, but don’t seal it until it cools completely. Otherwise, you risk trapping moisture inside the container.
Tips for Making Clarified Butter
- Cook over low heat — This helps the water evaporate without burning the milk solids.
- Use unsalted butter — I personally don’t like when the final product tastes salty. Plus, unsalted clarified butter is more versatile
- Clarify butter in larger batches — Since you’re removing the water and milk solids, you won’t get an equal amount of clarified butter compared to the regular butter you first melted. Plus, clarifying butter is a time-consuming process, so why not make it in bulk since you’re standing over the stove anyways?
- Use a heavy-bottomed pot — An enameled cast iron pot or something similar is ideal since it distributes heat evenly. This way, there will be even less chance of the butter burning during the clarifying process!
- If you accidentally cook the butter too long (i.e. until the milk solids brown), that’s okay! Your clarified butter may turn out more like ghee, but so long as it’s just browned and not burnt you’re fine.
Recipes Using Clarified Butter
Now that you know how to clarify butter, it’s time to get cooking! Here are some recipes that call for clarified butter, or which you could substitute regular butter for ghee or homemade clarified butter.
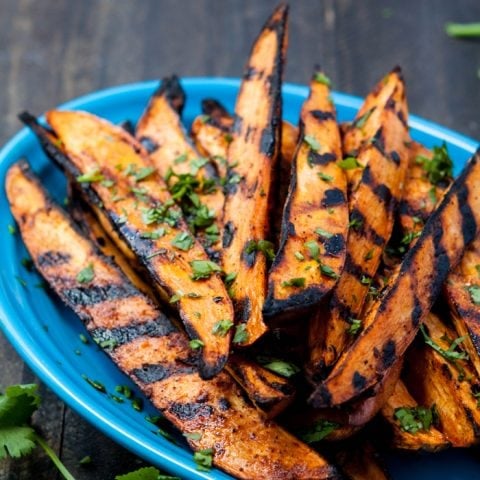
Smokey Grilled Sweet Potato Wedges
These Smokey Grilled Sweet Potato Wedges are full of flavor.
They're super simple to whip up and contain only 4 ingredients - Southwestern Pork Rub, Sweet Potatoes, Oil, and Cilantro for Garnish.
Bacon, Apple and Cheddar Grilled Cheese
If we are feeling fancy, we usually have something we can throw in between the two slices of bread with the cheese to make it seem more like a meal than just a sandwich. I love making custom sandwiches like this.
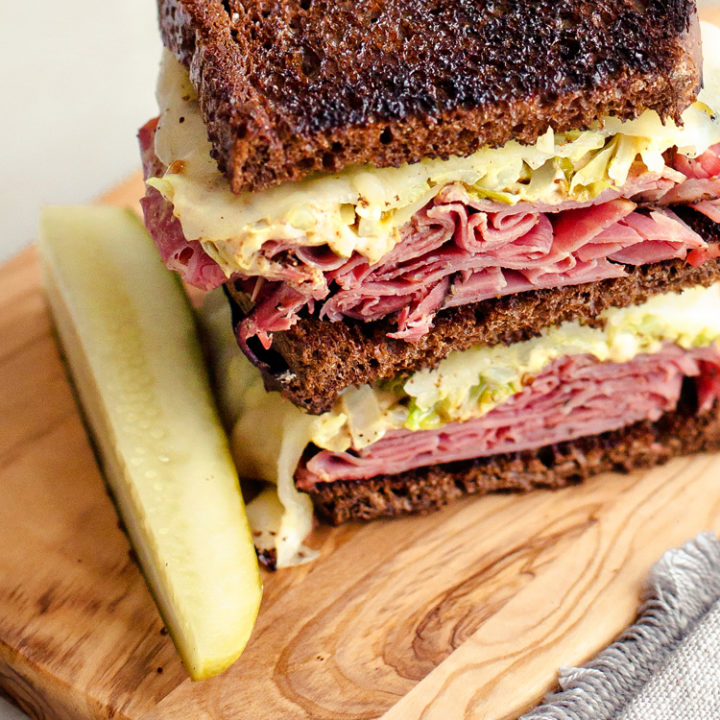
Reuben Sandwich
This Reuben Sandwich is a great way to use up leftover St. Patrick's Day corned beef. This unique reuben sandwich recipe features roasted cabbage, melted Swiss cheese, and corned beef. Imagine the combination of a grilled cheese sandwich and a great reuben - it's the perfect sandwich!
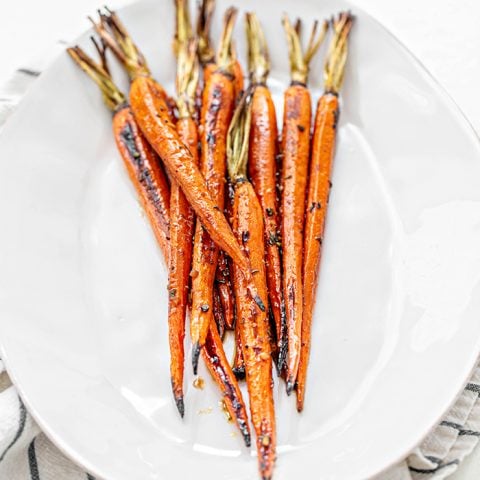
Roasted Honey Balsamic Carrots
This recipe for Honey Balsamic Carrots is a super simple way to make oven roasted carrots with lots of flavor! Keeping the carrots whole gives this side dish of whole roasted carrots a great presentation on the table!
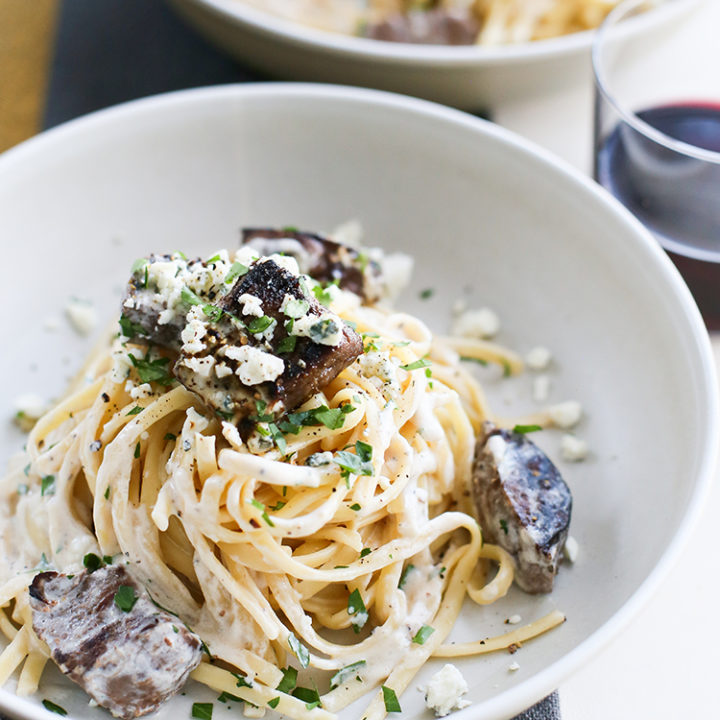
Gorgonzola Pasta with Beef Tenderloin
Creamy Gorgonzola Pasta is tossed with balsamic beef tenderloin for the ultimate pasta dinner! Serve with sautéed greens or steamed veggies for a complete meal.
Homemade Microwave Popcorn
Homemade Microwave Popcorn is super simple to make and it is a great snack when you’re craving something a little salty and a little crunchy.
Browned Butter Rosemary Popcorn
Regular popcorn gets a bit of an update with browned butter, rosemary, pepper and sea salt.
Herb-Grilled Potatoes
I love cooking on the grill, because then I'm not heating up the house, and there aren't any pots and pans to clean up!
Shrimp Scampi with Tomatoes
Dinner can be on the table in 20 minutes with this recipe! Shrimp cooks quickly even from frozen so it is the perfect weekend dinner.
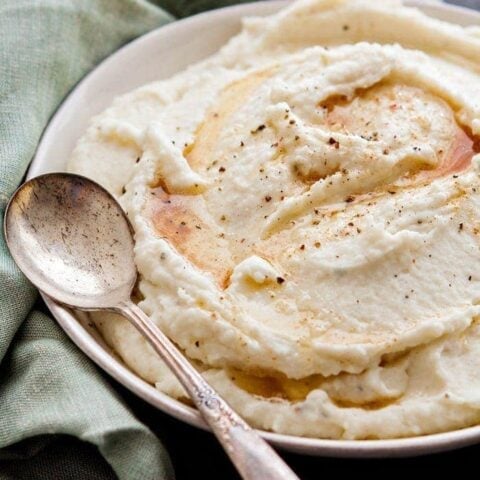
Browned Butter Parmesan Mashed Potatoes
Classic buttery russet potato mashed potatoes are elevated thanks to the addition of plenty of browned butter and fresh grated parmesan in this Browned Butter Parmesan Mashed Potatoes. They're perfect for Thanksgiving!
More Kitchen Tutorials Using Butter:
Can you freeze butter? Absolutely! In this post, I walk you through how to freeze butter and how to defrost it. Plus, I answer other FAQs about freezing butter.
If you forgot to set your butter out to soften before making a recipe, don’t panic! You can soften butter quickly with or without a microwave. In this post, I’m sharing How to Soften Butter Quickly eight different ways, plus answering FAQs about softening butter and its uses.
Not sure what it means when a recipe tells you to cut butter into flour? I’ve got the answers! Here’s how to cut butter into flour perfectly every time.
This all-butter pie crust recipe requires just 5 ingredients and is made in your food processor. It’s so easy to prep and comes together in no time!
Who doesn’t love a good kitchen tip? Looking for more kitchen tutorials? Check out the entire Kitchen Tips and Tricks archive for lots of great ideas!
Stay Inspired in the Kitchen!
Want more delicious recipes, kitchen tips, and meal inspiration? Sign up for the Good Life Eats Newsletter and get:
✔ Tried-and-true recipes—from quick weeknight meals to special occasion favorites.
✔ Seasonal meal ideas—helping you make the most of fresh, in-season ingredients.
✔ Time-saving kitchen tips—boosting your confidence and creativity in the kitchen.
How to Clarify Butter
Thanks to its high smoke point and mild flavor, clarified butter is perfect for roasting, sauteing, and shallow frying! This post will explain how to clarify butter at home, as well as its many uses.
Ingredients
- 16 ounces Unsalted Butter
Instructions
- Melt regular unsalted butter in a skillet over low heat.
- Continue cooking over low heat, uncovered. Do NOT stir the butter. Let the butter cook until it starts to foam and bubble. (The foaming indicates that the water is evaporating).
- Once foamy, remove the pot from the heat and let it sit for 5 minutes. Do not stir or disturb the butter at this stage.
- Using a spoon, skim the foam from the top.
- Then, pour the butter through a cheesecloth set in a fine mesh sieve over a bowl. This will remove the milk solids and should leave you with a clear, yellow liquid.
Notes
Does Clarified Butter Need to Be Refrigerated?
Yes! It should be sealed in an airtight container and refrigerated.
Can Clarified Butter be Frozen?
Yes, clarified butter can be frozen in an airtight container. You can freeze clarified butter just like you would freeze regular butter. I recommend freezing clarified butter if you made a big batch of it!
How Long Does Clarified Butter Last?
Homemade clarified butter will last up to 1 month in the fridge and up to 6 months in the freezer. Store it in a sealed container, but don't seal it until it cools completely. Otherwise, you risk trapping moisture inside the container.
Recommended Products
As an Amazon Associate and member of other affiliate programs, I earn from qualifying purchases.
Nutrition Information:
Yield: 32 Serving Size: 1Amount Per Serving: Calories: 102Total Fat: 12gSaturated Fat: 7gTrans Fat: 0gUnsaturated Fat: 4gCholesterol: 30mgSodium: 2mgCarbohydrates: 0gFiber: 0gSugar: 0gProtein: 0g
GoodLifeEats.com offers recipe nutritional information as a courtesy. This provided information is an estimate only. This information comes from online calculators. Although GoodLifeEats.com makes every effort to provide accurate information, these figures are only estimates.








Leave a Comment