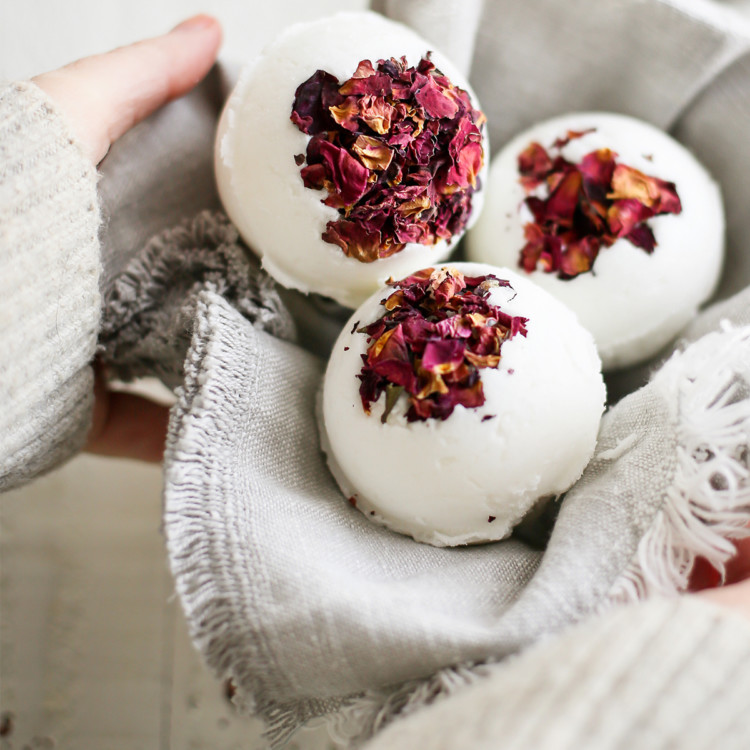
Easy DIY Bath Bombs (How to Make Homemade Bath Bombs)
These moisturizing DIY Bath Bombs are simple to make and are perfect for soothing dry, scaly, itchy winter skin. Homemade bath bombs also make a great gift idea!
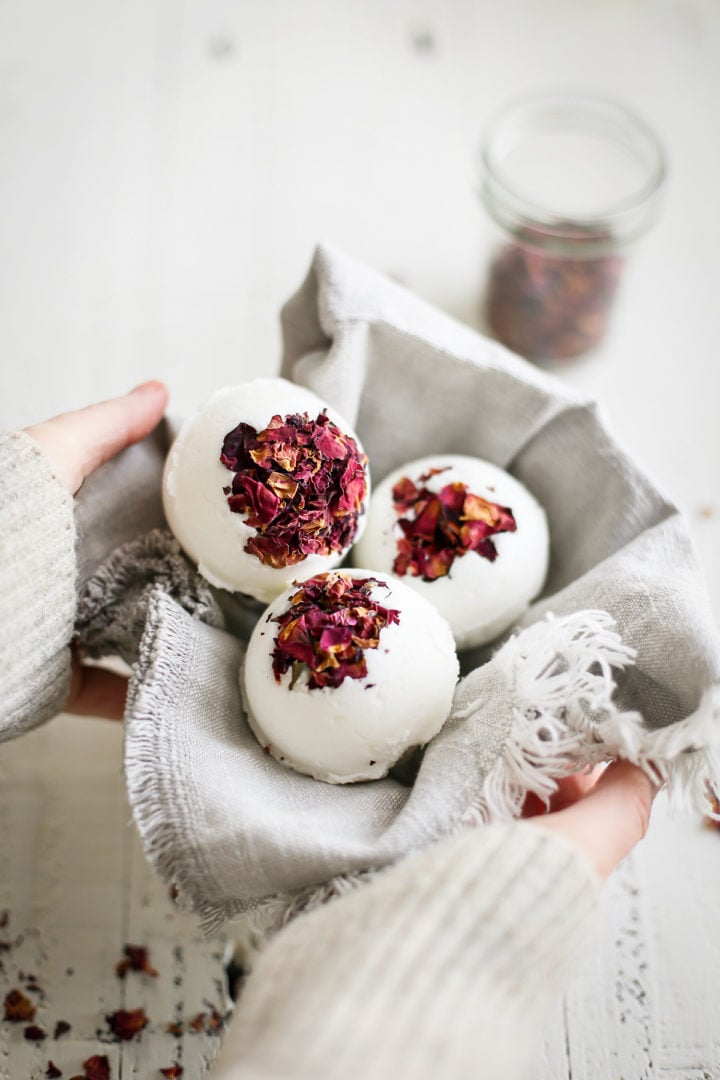
Click HERE to save this recipe for DIY Bath Bombs!
DIY Bath Bombs Recipe
Do you suffer from dry, itchy, scaly skin during the winter months? Frigid temperatures, cold wind, and dry air can wreck havoc on the skin. These homemade bath bombs are perfect to help dry skin!
These DIY moisturizing bath bombs might be small, but they pack a powerful punch thanks to each of the ingredients. They only contain 4 ingredients and are incredibly simple to make.
In this post, I’ve included instructions on how to make homemade bath bombs, as well as how to use them and ways you can switch up the scents using essential oils.
Click HERE to save these Bath Bomb Ingredients!
This post may include affiliate links. As an Amazon Associate and member of other affiliate programs, I earn a small commission from qualifying purchases.
Tools Needed to Make this Easy DIY Bath Bomb Recipe
You’ll need a few different tools to prepare and shape these bath bombs with essential oils. Here’s what I recommend having on hand before beginning this DIY project:
- Hand Mixer with Large Bowl or Stand Mixer – to whip the coconut oil and combine the ingredients.
- Measuring Cups and Spoons – to measure the ingredients to make the homemade bath bombs
- Silicone Spatula – to scrape the sides of the bowl as you mix the dry ingredients and wet ingredients together.
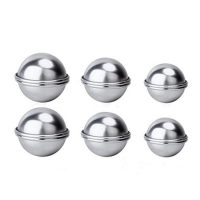
- Metal Bath Bomb Molds – to shape the bath bombs into balls.
- Parchment Paper – to line the baking sheet with
- Baking Sheet – to place the shaped bath bombs on to harden in the fridge.
Click HERE to save this How to Make Bath Bombs Tutorial!
DIY Bath Bombs Ingredients
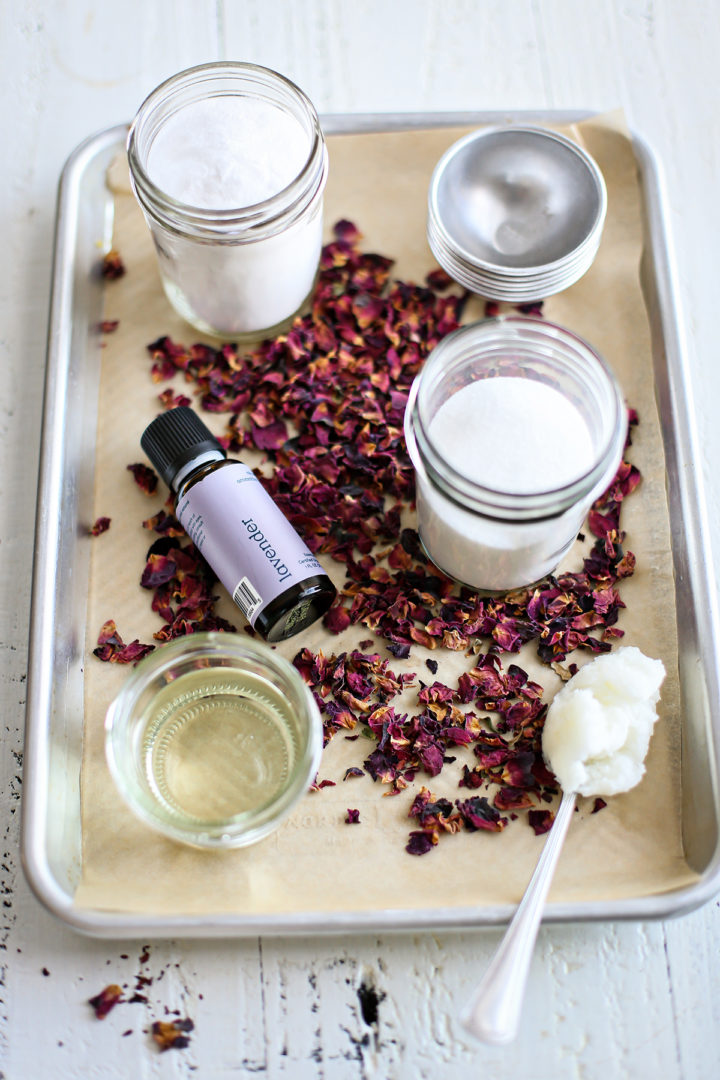
Because the ingredients list is so short and uses all-natural ingredients, these bath bombs are great for sensitive skin. Here’s a quick overview of the simple ingredients you’ll need to make this easy bath bomb recipe:
Epsom Salts — Epsom salts gently exfoliate and soften dry, rough skin.
Baking Soda — Baking soda neutralizes acids and alkalizes, and it can renew and soften dry skin.
Vitamin E Oil — Vitamin E supports new cell generation and locks in moisture, plus it aids in helping to keep skin hydrated and glowing.
Coconut Oil — Coconut oil is a great all over moisturizer. Unlike commercial moisturizers that are full of water (and other chemicals), coconut oil’s moisturizing powers are deep and long lasting. It helps remove excessive dead cells on the skin’s surface, which transforms dry, scaly skin into smooth moisturized skin.
For the complete ingredient list and detailed instructions to make this easy DIY gift idea, scroll to the bottom of this post for the FREE printable recipe card.
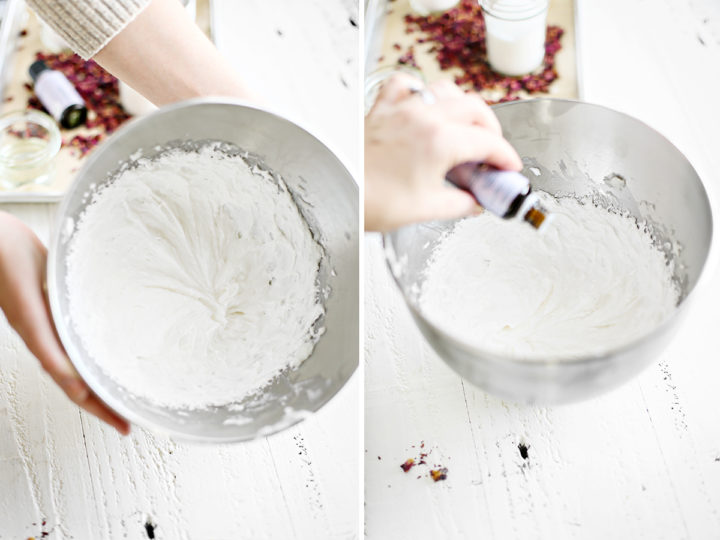
Click HERE to save these instructions for DIY Bath Bombs!
How to Make Homemade Bath Bombs
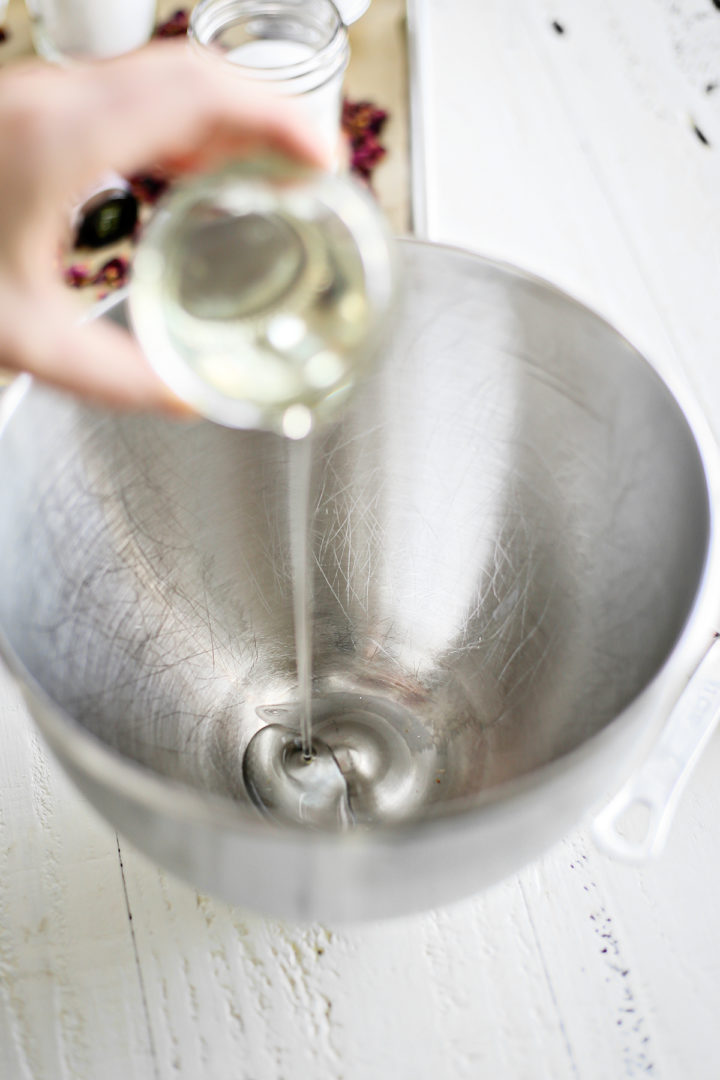
- Add the oils to the bowl of a stand mixer. Mix on high speed using the wire whisk attachment until fluffy (about 3 – 5 minutes).
- Add the epsom salt, citric acid, and baking soda to the bowl and stir until combined.
- Scoop mounds of the mixture into the bath bomb molds.
- Release onto a parchment paper-lined cookie sheet.
- Chill the DIY bath bombs for 30 minutes until firm.
- Remove from the refrigerator and transfer the moisturizing bath bombs into a bag or jar with a lid. Store in a cool, dry place.
The above is simply a quick summary of this bath bomb recipe. Check out the full recipe in the free printable recipe card at the bottom of this post for all the detailed instructions.
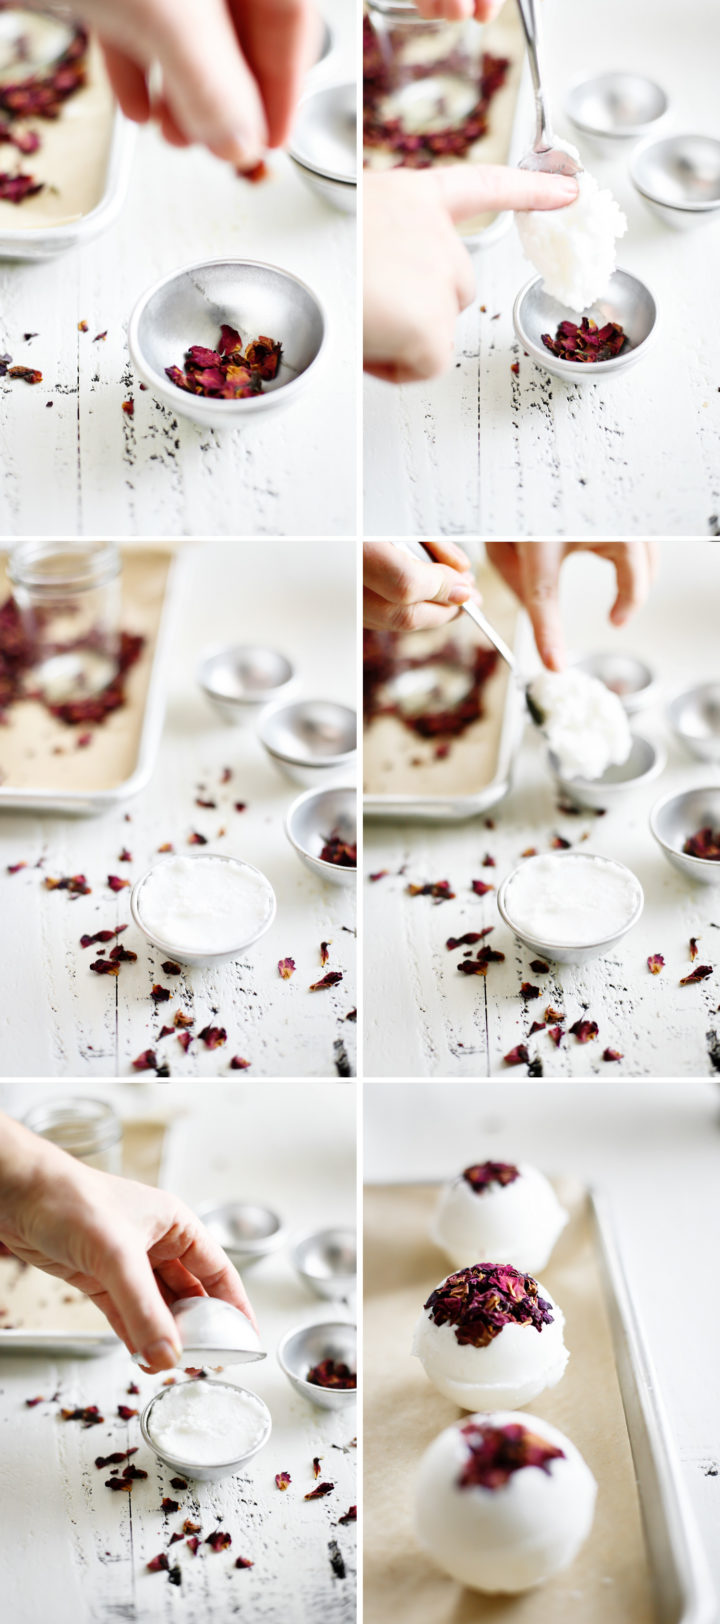
Click HERE to save these Tips for Making Homemade Bath Bombs!
Tips for Making DIY Bath Bombs
To achieve the right consistency in these homemade bath bombs, you should use solid coconut oil, NOT liquid coconut oil.
Also note that solid coconut oil is solid at room temperature. If you’re having issues with your DIY bath bombs being too soft, it could be because your house is too warm.
You can firm the coconut oil by placing it in the refrigerator for a few hours. You can also place the prepared bath bomb mixture in the refrigerator after mixing it up before you form the balls.
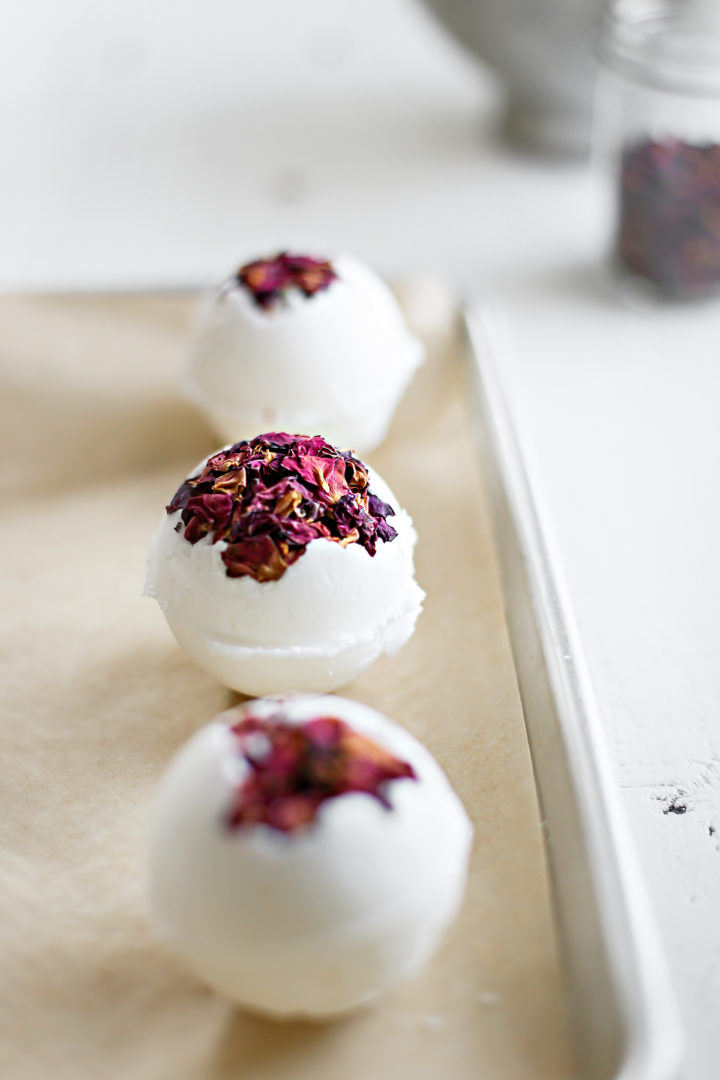
Click HERE to save these Sensitive Skin Bath Bombs!
How to Customize Your Own DIY Bath Bombs
The best part about making your own bath bombs is that you can customize them according to your preferences! Here are some fun ideas to customize your homemade bath bombs:
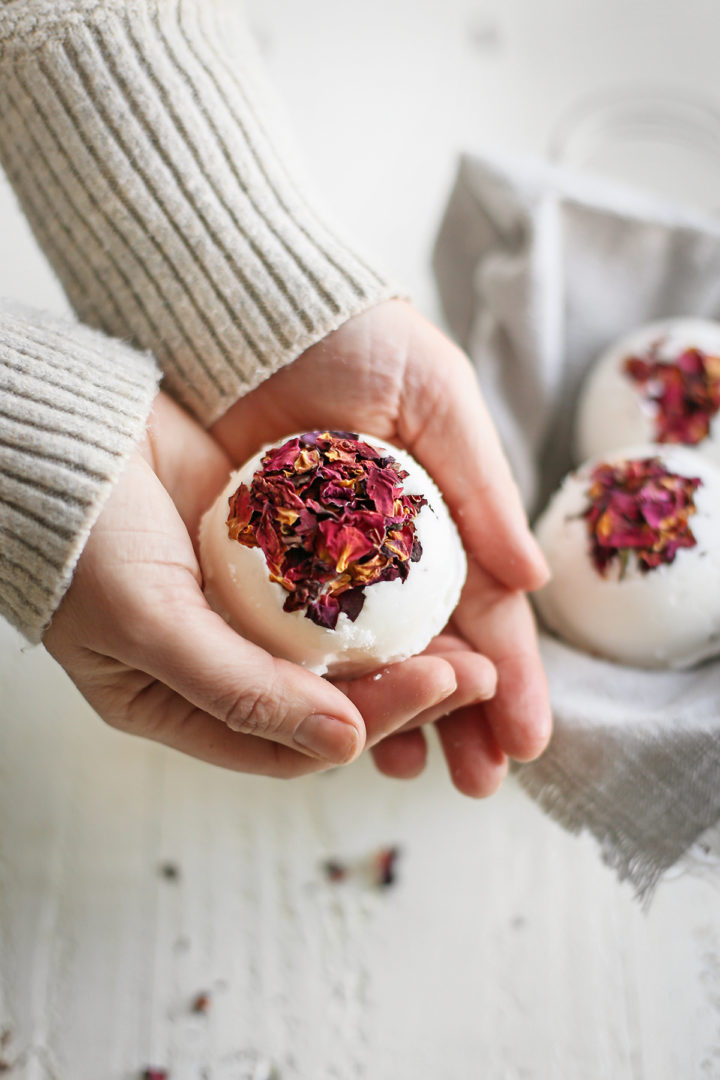
- add dried flower buds such as dried rose buds or lavender buds to the bath bomb mixture.
- make fun shapes using ice cube trays, a silicone mold, or bath bomb mold.
- scent them use your favorite essential oils or combination of scents.
- use vitamin e oil, almond oil, or jojoba oil depending on your preference. Almond oil will give a pleasant hint of almond in the scent, but it should not be used if there is an almond allergy.
How to Scent DIY Bath Bombs
If you’d like to add a scent for a nice aromatherapy experience during your bath — in addition to the soothing powers these DIY Moisturizing Bath Bombs offers your skin — you can add some essential oils to the recipe.
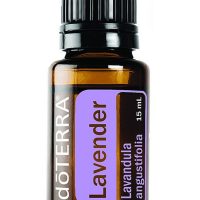
I recommend scents like lavender essential oil, ylang ylang, vanilla, eucalyptus, and roman chamomile for their relaxing and rejuvenating properties, but you can use whatever you like!
If you have a cold and congestion, scents like eucalyptus and peppermint oil work well.
Can I Make DIY Bath Bombs Fizzy?
Yes. To make to make fizzy bath bombs, you’ll add citric acid to them. Citric acid is what will create the fizzy reaction in bath bombs.
Based on my research, I have found that the ratio of baking soda to citric acid should be around 2 to 1, and that is what this homemade bath bomb recipe uses.
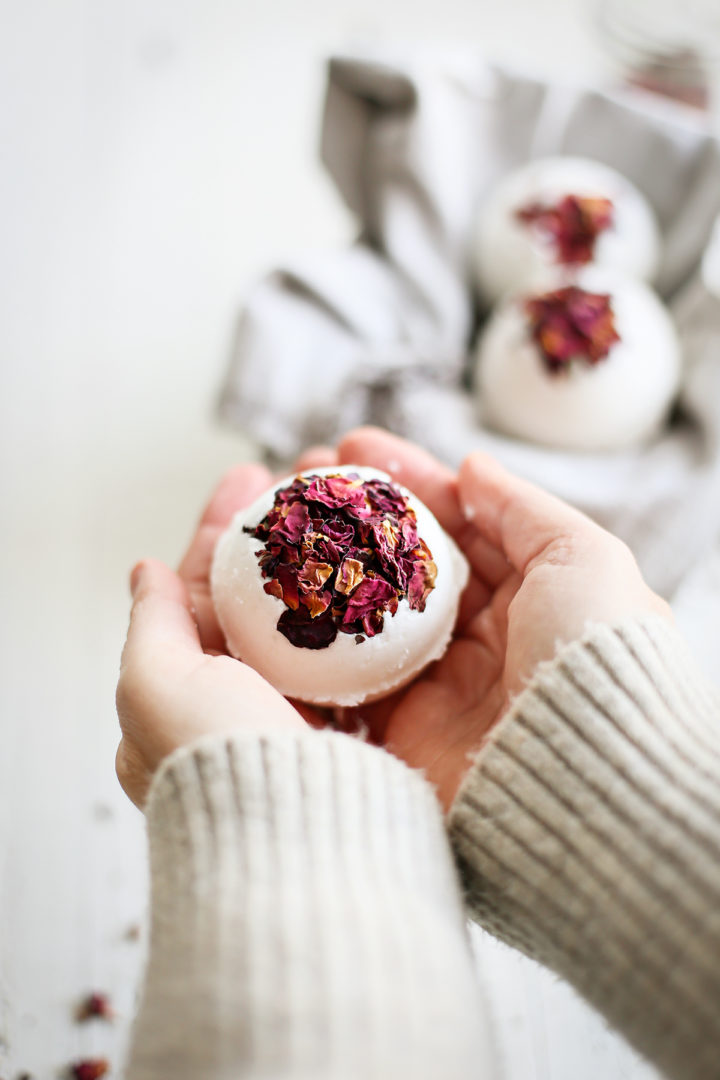
Click HERE to save this infor on How to Use a Bath Bomb!
How to Use a Bath Bomb
Wondering how to use a bath bomb? Here’s how I like to use them:
Fill a bathtub up with hot water (or your temperature preferences) and dissolve these easy DIY bath bombs in the bath water. Then, soak in the hot bath for a spa-like experience. I always leave feeling refreshed and with soft, silky skin.
Taking a relaxing bath is a great way to detox the body (see How to Take a Detox Bath). Grab a good book, fill the tub, and enjoy some relaxation — try these 16 Ways to Carve Out Me Time.
How to Store DIY Bath Bombs
Homemade bath bombs should be stored in an airtight container (such as a glass jar) at room temperature in a cool, dark place.
You don’t want to store them near heater vents or a window – the heat can cause them to soften.
How Long Does this Bath Bomb Recipe Last?
If stored in an airtight container at room temperature, these DIY bath bombs will last for a few months.
Make sure you don’t inadvertently introduce moisture into the container by reaching in with wet hands or dripping water in them. This will prevent them from not lasting as long.
Try this Homemade Bath Bomb Recipe!
Next time you’re looking for a simple bath bomb recipe to make your own bath bombs, give this easy recipe a try!
Did you think it was a fun project? Leave a comment below and give it a review for others to see what you thought of this easy DIY bath bomb recipe.
On Instagram? Share your photo and tag me with @goodlifeeats and #goodlifeeatsrecipes. I’d love to see your photo of these amazing bath bombs!
More Homemade Beauty Products:
Do you suffer from rough, dry skin? Try this Rosemary Mint Sugar Scrub to exfoliate the body and remove dry, dead skin.
For an instant moisture boost, massage this 1-Ingredient Whipped Coconut Body Butter into moist skin after a shower or bath.
This recipe for All-Natural Lemon Kitchen Hand Scrub is great to remove dry skin and odors from the hands while leaving the skin moisturized.
Coconut oil is a great all-purpose beauty product. Read all about the 7 Easy Ways to Use Coconut Oil in Your Beauty Routine.
Get More Easy Recipes via Email
Did you love this recipe for DIY Bath Bombs? Sign up for Good Life Eats Email Updates and never miss another recipe!
Have you ever wondered how to make bath bombs?
DIY Bath Bombs
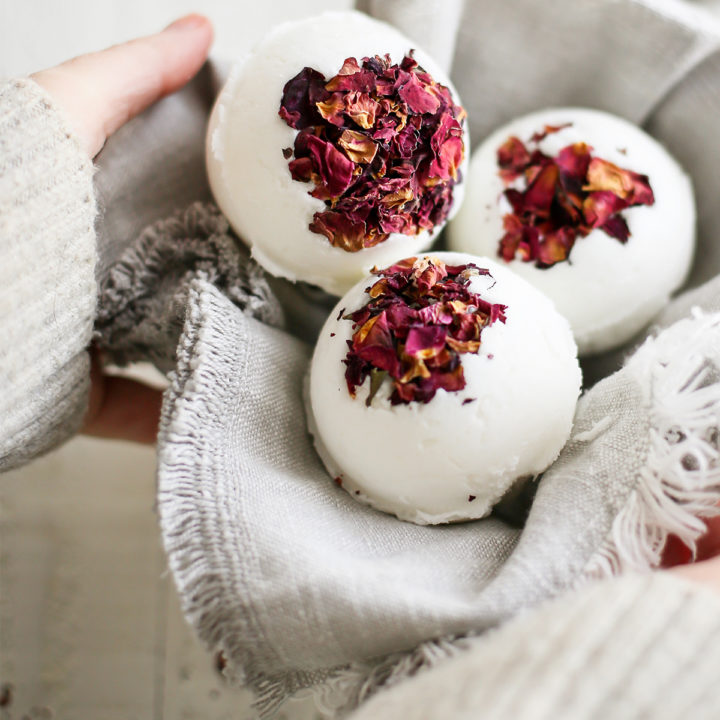
These DIY Moisturizing Bath Bombs only contain 4 ingredients, are incredibly simple to make and are perfect for soothing dry, scaly, itchy winter skin.
Materials
- 1 cup Solid Coconut Oil
- 2 tablespoons Jojoba Oil, Almond Oil, or Vitamin E Oil
- 1 cup Epsom Salt
- 1 1/2 cup Baking Soda
- 3/4 cup Citric Acid
- Dried Rose Petals
- Essential Oil
Tools
- Hand Mixer with Large Bowl or Stand Mixer
- Measuring Cups and Spoons
- Silicone Spatula
- Metal Bath Bomb Molds
- Parchment Paper
- Baking Sheet
Instructions
- Line a cookie sheet with parchment paper. Set aside.
- Add the coconut oil and jojoba oil, almond oil, or vitamin e to the bowl of a stand mixer.
- Mix on high speed using the wire whisk attachment, scraping the sides periodically with a spatula, until the oil is whipped and fluffy (about 3 - 5 minutes).
- Stir in desired scent and amount of essential oils.
- Add the epsom salt, baking soda, and citric acid to the bowl and stir on low speed until combined.
- Place about 2 teaspoons of the dried rose petals in the boom of one half of the bath bomb mold.
- Using a spoon, scoop the bath bomb mixture on top of the rose petals. Press the bath bomb mixture tightly into the mold.
- After that, fill the other half of the round mold, packing tightly. Then, press the two halves together until it is formed into a round ball.
- Release onto the prepared cookie sheet. Alternatively, you can use a cookie scoop to form the balls if you don't have a bath bomb mold.
- Transfer the cookie sheet to the refrigerator for 30 minutes and chill until the rounded mounds become firm.
- Remove from the refrigerator and transfer the moisturizing bath bombs into a bag or jar with a lid.
- Store in a cool, dry place.
Notes
Fizzy Bath Bombs
The combination of citric acid and baking soda in a 1:2 ratio will make these homemade bath bombs fizzy when they dissolve in the bath. If you don't want them to be fizzy, then replace the citric acid with additional baking soda and/or epsom salts.
Essential Oils
If you like a scent for a nice aromatherapy experience in addition to the soothing powers this offers your skin, you can add some essential oils to the recipe.
I recommend oils like lavender, ylang ylang, eucalyptus, and roman chamomile for their relaxing and rejuvenating properties.
Usage Instructions
To use, add 1 moisturizing bath bomb to a tub of warm water. Soak your body in the tub for 20 - 30 minutes.
Recommended Products
As an Amazon Associate and member of other affiliate programs, I earn from qualifying purchases.
DIY Health and Beauty
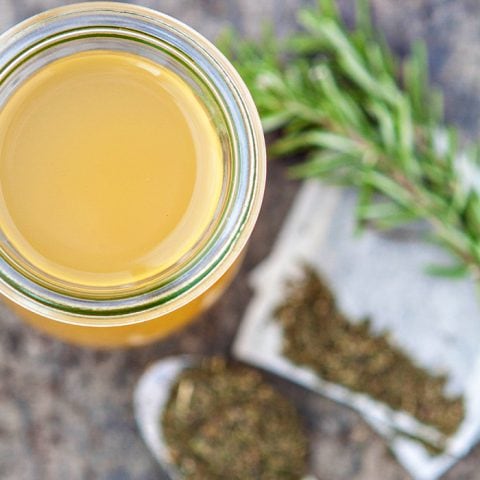
Recipe for Homemade Cough Syrup and Sore Throat Soother
This Homemade Cough Syrup is a great natural remedy to have on hand for sore throats and lingering coughs.
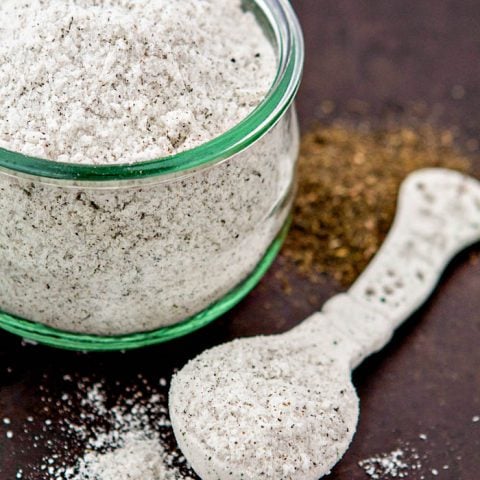
Rosemary Mint Sugar Scrub
This Rosemary Mint Sugar Scrub is perfect for homemade gifting.
It exfoliates and moisturizes dry winter skin while offering a pleasant and invigorating aroma to a tired body in the morning.
Green Tea Apple Cider Vinegar Hair Rinse
Green Tea Apple Cider Vinegar Hair Rinse is a great way to refresh the scalp, treat dry scalp and dandruff and promote healthy hair growth.
Lavender Eucalyptus Green Tea Detox Bath Salts + How to Take a Detox Bath
A Lavender Eucalyptus Green Tea Detox Bath is a great way to rejuvenate the mind, body, and skin. Read all about why detox baths work and tips for the best, most beneficial detox bath.
Vanilla Bean Sugar Scrub
This Vanilla Bean Sugar Scrub with Lavender will make your hands so soft, and it smells heavenly!
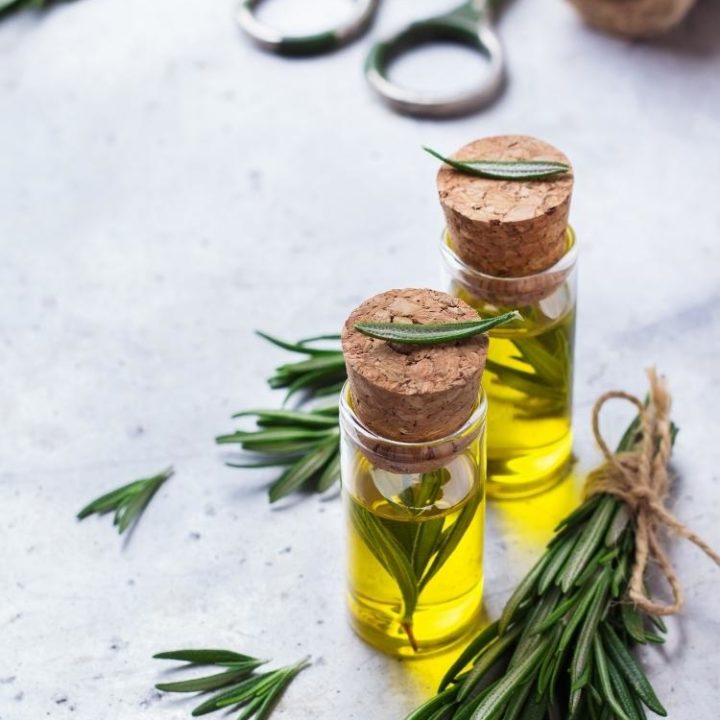
DIY Rosemary Hot Oil Hair Treatment
This DIY Rosemary Hot Oil Hair Treatment is a great way to soothe dry scalp and dandruff, promote healthy hair growth, add shine, and seal moisture into your hair.
7 Easy Ways to Use Coconut Oil in Your Beauty Routine
Though I love using coconut oil for cooking, it definitely isn't only useful in the kitchen. In addition to cooking with it, I actually use coconut oil for several other purposes that have nothing to do with food. In fact, coconut oil is a really useful ingredient in my daily beauty routine.
All-Natural Moisturizing Kitchen Hand Scrub
Featuring lemon, oil, sugar and salt, this All-Natural Moisturizing Kitchen Hand Scrub is a simple DIY gift to prepare – perfect for the holiday season or teacher gifts.






Cal says
Finally made these, not a fan. These liquefy even when using solid coconut oil in a cold kitchen. Oh well.