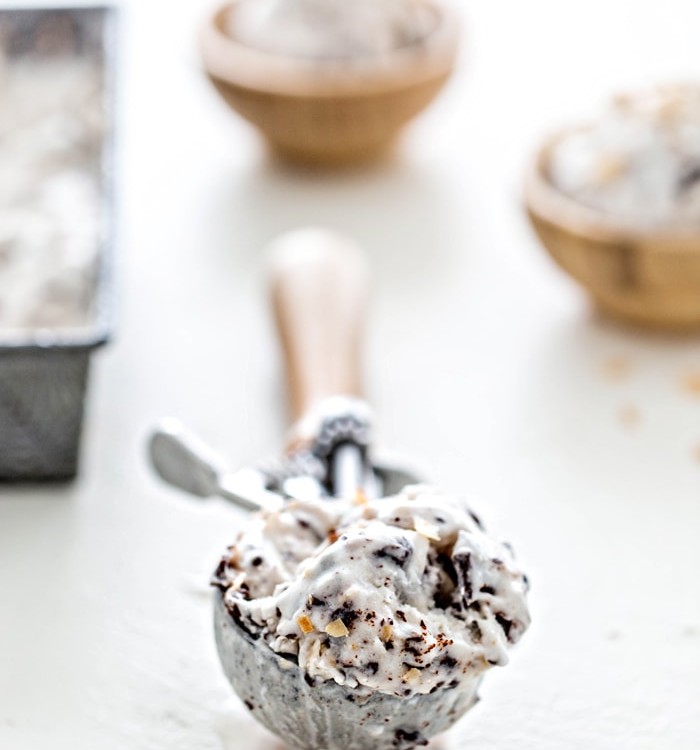
Toasted Coconut Chocolate Chunk Ice Cream
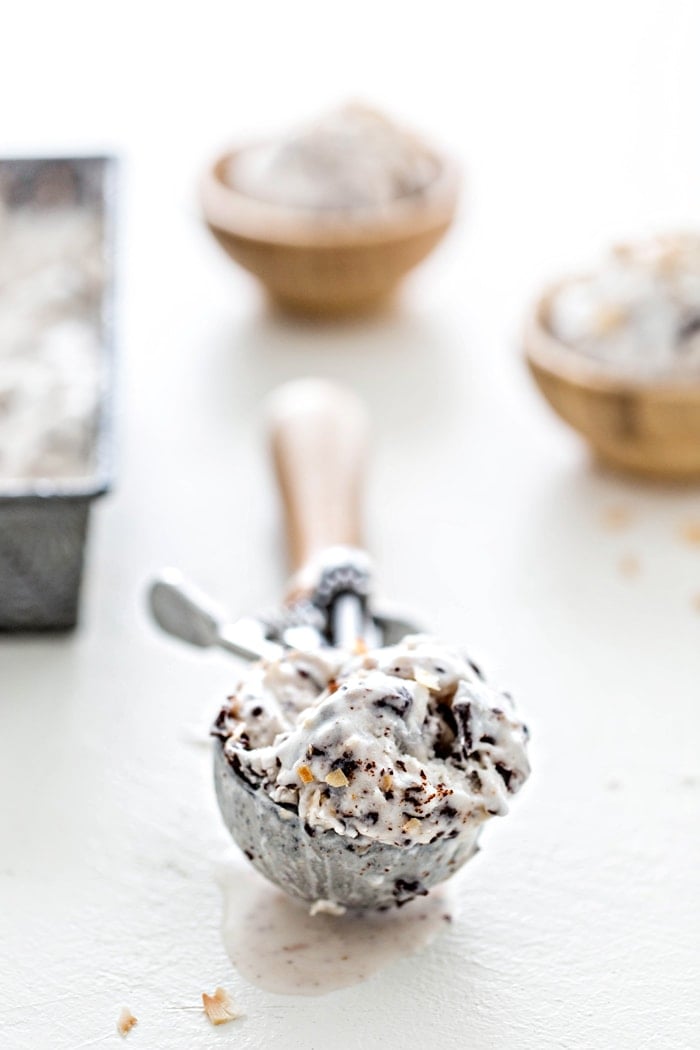
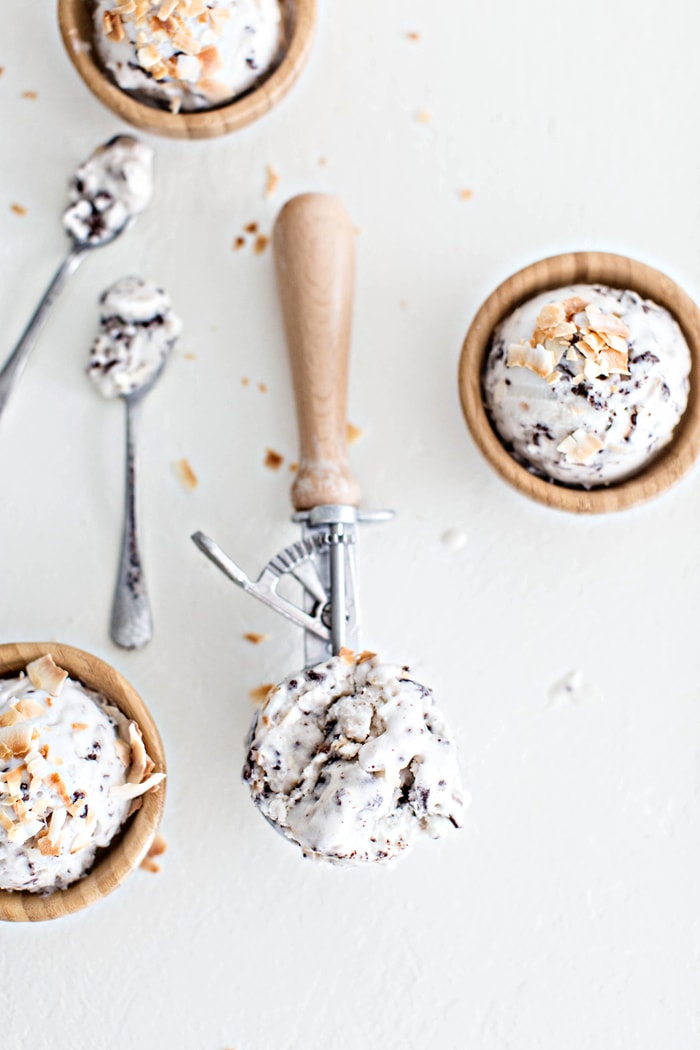
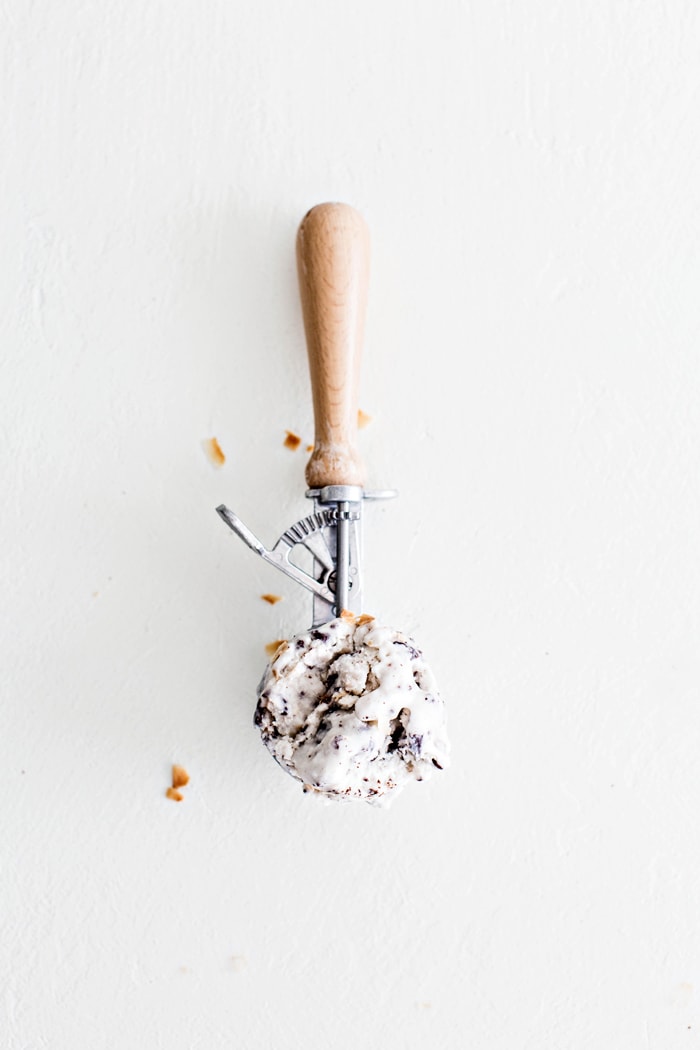
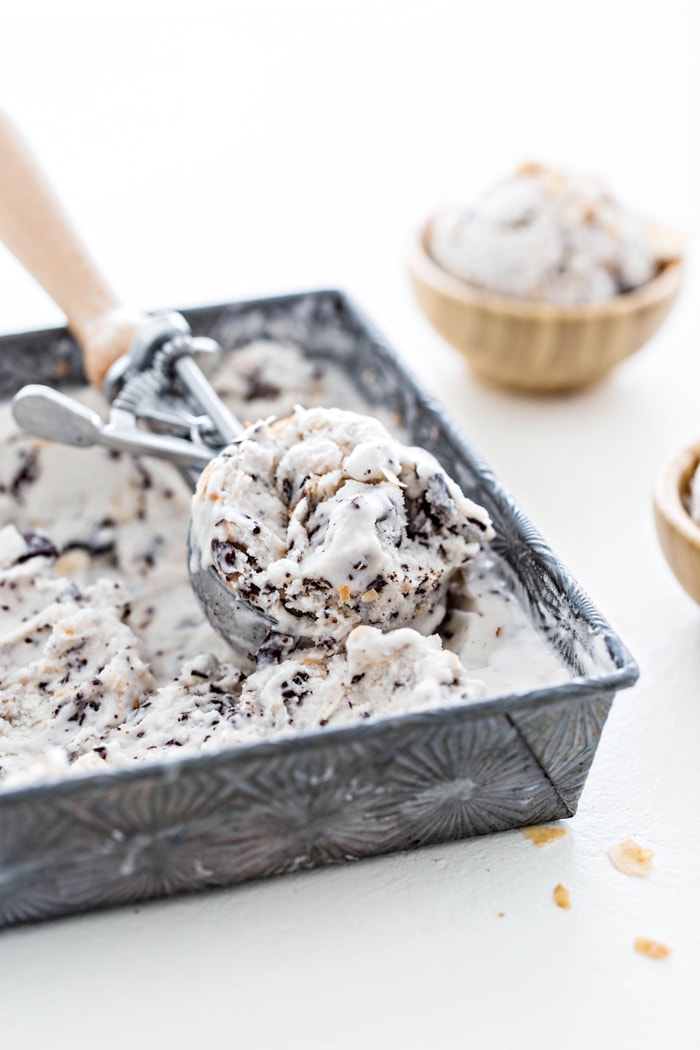
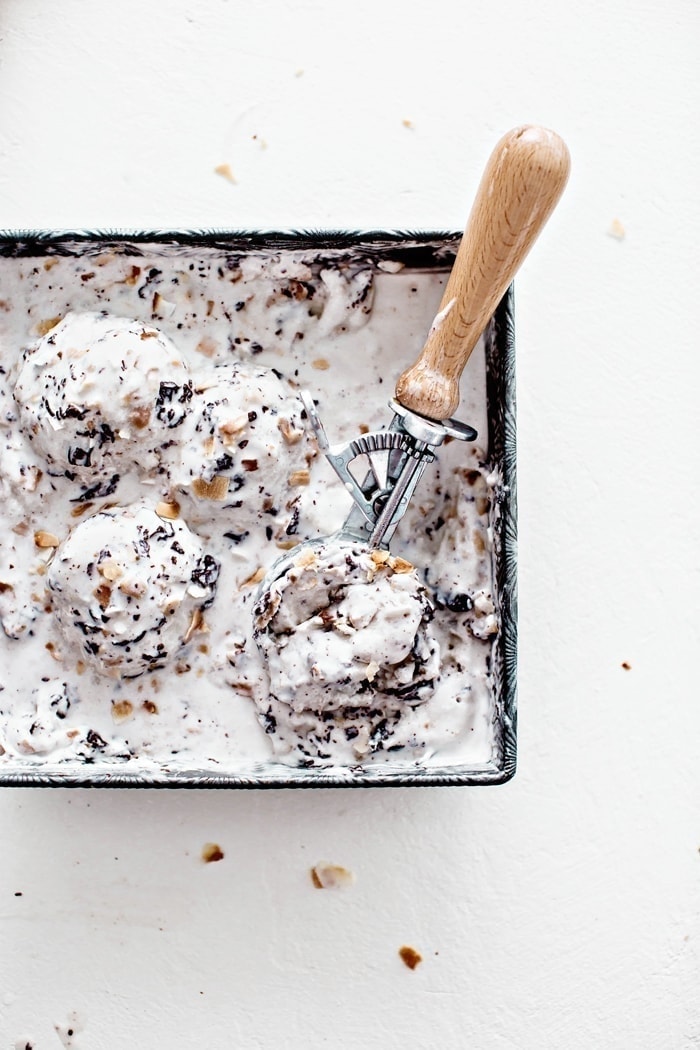
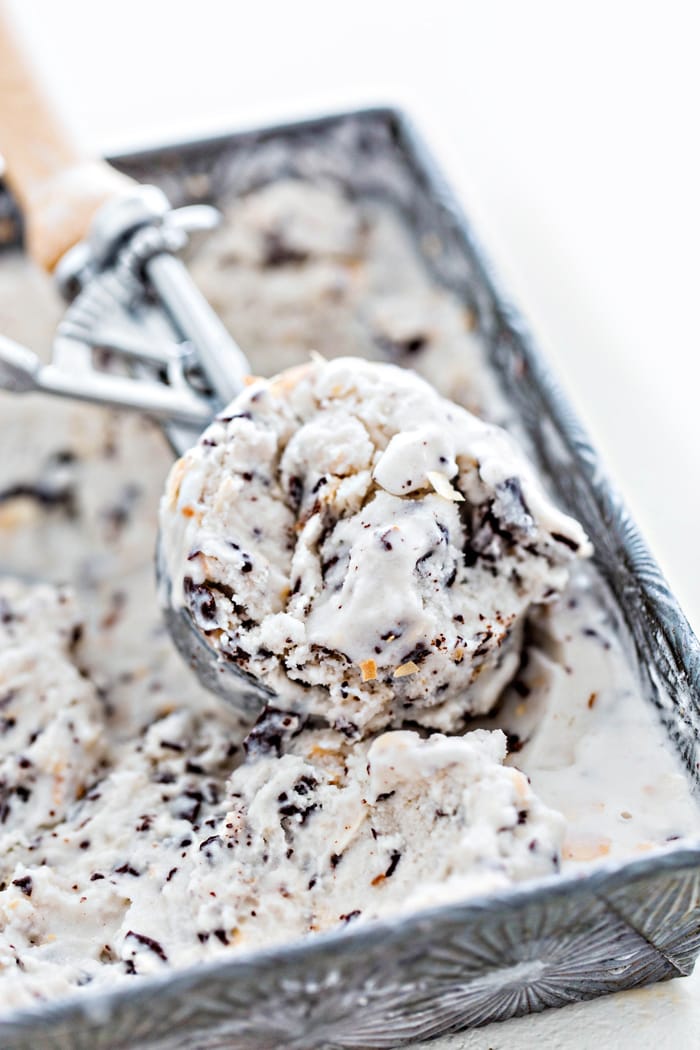
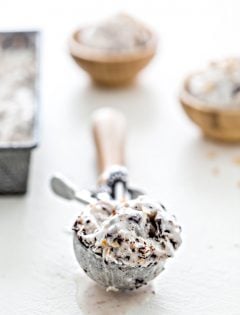
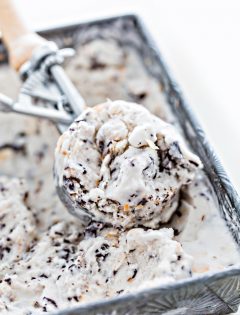
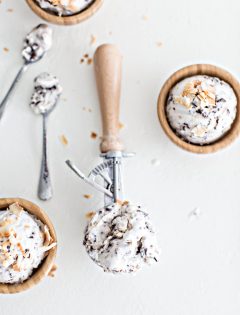
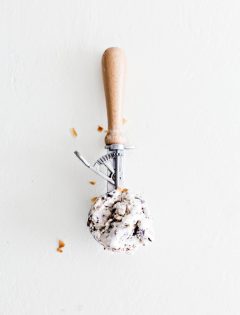
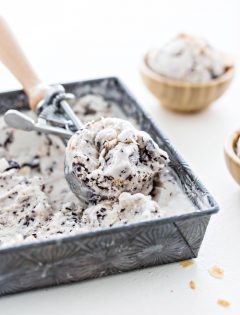
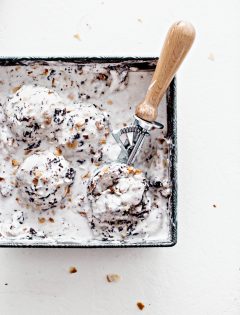
You’ll never believe that this decadent Toasted Coconut Chocolate Chunk Ice Cream is non-dairy! Toasted coconut and dark chocolate chunks are mixed in to a completely dairy-free coconut ice cream base.
Click HERE and save this Coconut Milk Ice Cream to Pinterest!
I’ve recently been taking a bit of a break from a few things in my diet at my doctor’s recommendation. I’ve completely eliminated dairy and gluten from the past month, and been avoiding egg, corn, and soy as much as possible.
None of these are food allergies (I’ve been tested), but I just haven’t feeling as good or had my energy at optimal levels lately, so my doctor recommended I do a diet reset of sorts for a couple months.
It hasn’t been too bad, but the thing I miss absolutely the most is dairy. I LOVE cheese. I LOVE butter. And it is summer, so I kind of miss ice cream right now.
I know, there are tons of non-dairy ice cream options on the market these days, but we wanted to test out making a dairy-free coconut ice cream at home.
We pretty much loved it – everyone, even the dairy-eaters. It barely lasted a day.
Click HERE and save this Non-Dairy Toasted Coconut Chocolate Chunk Ice Cream to Pinterest!
Dairy-Free Coconut Ice Cream Ingredients
So, this ice cream doesn’t have any traditional milk or cream. And it’s also eggless, so you might be wondering what is in dairy-free coconut ice cream. It’s coconut! In a few different forms.
To make the dairy-free coconut ice cream base you’ll need:
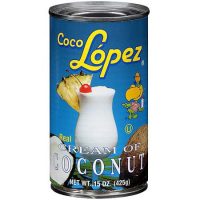
- Canned Cream of Coconut (you can usually find this on the aisle near canned drinks or drink mixes, or in most liquor stores because it is often used in cocktails)
- Unsweetened Canned Coconut Milk (full fat)
- Unsweetened Coconut Milk (the kind for drinking)
- Vanilla Extract
- Salt
I love that the ingredients in this recipe are actually pretty simple and most of them are shelf stable so you can keep them on hand for whenever a craving for coconut ice cream strikes.
How to Make Dairy-Free Coconut Ice Cream
This non-dairy ice cream recipe might sound complicated but the steps are actually pretty basic. If you want it to be simpler, the basic ice cream is delicious without the mix ins.
- Toast the coconut (see my tutorial toasted coconut tutorial here)
- Gather the ingredients for the coconut ice cream base – make sure they are chilled first.
- Make the chocolate chunk mixture.
- Blend the ingredients for the ice cream base.
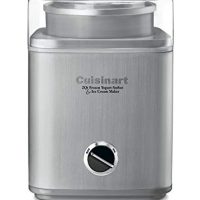
- Place the base mixture in your ice cream maker.
- Churn.
- Add the toasted coconut.
- When it is almost done churning, add the special chocolate chunk mixture.
Click HERE and save this Dairy-Free Toasted Coconut Chocolate Chunk Ice Cream to Pinterest!
Ice Cream Add Ins for this Non-Dairy Coconut Ice Cream
I like to mix things up and get a little fancy by adding some yummy mix ins, but you can totally keep this just a basic recipe for dairy-free coconut ice cream, and it tastes great!
My favorite mix ins for this non-dairy coconut ice cream are:
- Toasted Coconut
- THE BEST Chocolate Chunks
Learn how to toast coconut flakes in 3 different ways (they’re all super easy!), how to store toasted coconut, how long toasted coconut lasts, and the many different ways you can use this fun, tasty ingredient!
When you’re looking for chocolate to make the chocolate chunks, make sure the chocolate bar or chocolate chips that you select are dairy-free.
I haven’t had any problems finding dairy-free chocolate chips. Plenty of dark chocolate options don’t contain any dairy at all.
There are also several brands of chocolate chips on the market that are 100% free of all the common allergens, such as Enjoy Life Dark Chocolate Chocolate Chips.
Click HERE and save this Non-Dairy Coconut Ice Cream to Pinterest!
How to Make THE BEST Chocolate Chunks for Ice Cream
You might be wondering why this recipe doesn’t tell you to just throw some chopped up chocolate in the ice cream and call it good.
Have you ever took a bite of chocolate chunk ice cream and felt like you were biting down on a rock? Frozen chocolate gets really hard and it doesn’t taste all that good.
I love the combination of coconut and dark chocolate. I wanted smooth, melt-in-your-mouth, rich chunks of dark chocolate for my coconut ice cream.
My special method for adding chocolate chunks to your ice cream ensures that they are still edible after the ice cream has been in the freezer for a few days – and you won’t end up with a chipped tooth either.
Ingredients for Ice Cream Chocolate Chunks
- Coconut Oil
- Dark Chocolate (I like extra dark chocolate chips)
My secret for getting yummy chunks of dark chocolate in this toasted coconut ice cream is to combine the dark chocolate and coconut oil until melted – just barely heat it until it is melted because you don’t want it super hot.
After the ice cream has almost completed the churning process (say like 90% done), slowly pour this chocolate mixture into the cold, churning ice cream.
The coconut oil will make it so the chocolate freezes upon contact with the cold ice cream – this way the chocolate doesn’t end up all mixed in to the coconut ice cream.
At first it might seem like you’re adding a chocolate swirl to your ice cream, but after the chocolate freezes, you’ll let it churn and that process will break the chocolate into nice chunks that are mixed throughout the ice cream.
The best part about this method is that due to the coconut oil, the chocolate is firm but soft. So, you won’t be biting into hard rocks of chocolate when you enjoy a bowl of this Coconut Ice Cream.
It might sound like an extra step, but it’s definitely worth it.
Homemade Ice Cream Tips
There are a few things that will make the ice cream making process even easier and will yield better results:
Store the insert to your ice cream maker (if it has one) in the freezer. You’ll want it to be completely frozen solid before beginning this recipe otherwise it won’t stay cold enough to fully churn the ice cream.
Make sure all the ingredients in this recipe are pre-chilled. It will make the base freeze much faster if the liquids are already cold.
After preparing the ice cream, store it in an airtight container in your freezer if you have any leftovers. This will help prevent crystals from forming on the ice cream.
Click HERE and save this Dairy-Free Recipe for Coconut Ice Cream with Chocolate Chunks and Toasted Coconut to Pinterest!
More Homemade Ice Cream Recipes
Looking for more ice cream recipes? I’ve got a bunch over in the frozen desserts archives. Here are a few of my favorite homemade ice cream recipes!
Don’t see what you’re looking for here? Head over to the Recipe Index to browse all of the recipes!
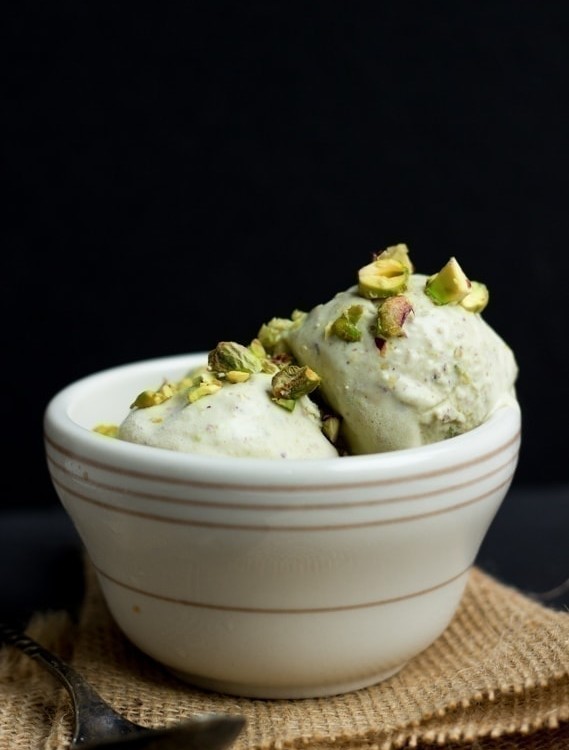
Looking for another recipe for non-dairy ice cream? Try your hand at this delicious Homemade Dairy-Free Pistachio Ice Cream!
This easy lemon ice cream recipe is sweetened with agave nectar and is ultra creamy thanks to a combination of milk, cream, and half and half.
Creamy vanilla no churn ice cream is layered with chewy brownie chunks and swirled with sweet and salty vanilla bourbon caramel sauce. This No Churn Brownie Chunk Ice Cream is the perfect dessert for a hot, summer day!
Another one of our favorite recipes for homemade ice cream is this recipe for No Churn Pumpkin Spice Ice Cream. Pumpkin Ice Cream is swirled with layers of Pumpkin Caramel and Crunchy Gingersnaps – so decadent!
For a lighter Homemade Ice Cream recipe, I am in love with this recipe for No Churn Vanilla Frozen Yogurt with Balsamic Roasted Strawberry Rhubarb. Creamy vanilla frozen yogurt is swirled with sweet and tangy balsamic roasted strawberries and rhubarb.
This Key Lime Pie Ice Cream recipe is always a big hit this time of year. Classic Key Lime Pie in ice cream form. What could be better for summer? Maybe that it only requires 4 ingredients to make!
Don’t own an ice cream maker? No worries — this No Churn Blueberry Cheesecake Ice Cream doesn’t require one! Plus, blueberries + cheesecake? I’m in!
Click HERE and save this Coconut Ice Cream with Chocolate Chunks and Toasted Coconut to Pinterest!
Have you ever made homemade ice cream?
Love this recipe for Coconut Ice Cream with Chocolate Chunks and Toasted Coconut?
Sign up for Good Life Eats email updates and never miss another recipe
Toasted Coconut Chocolate Chunk Ice Cream
You'll never believe that this decadent Toasted Coconut Chocolate Chunk Ice cream is non-dairy! Toasted coconut and dark chocolate chunks are mixed in to a completely dairy-free coconut ice cream base.
Ingredients
Coconut Ice Cream Base
- 1 can Full Fat Unsweetened Coconut Milk
- 1 can (15 ounce) Cream of Coconut
- 1 cup Unsweetened Coconut Milk
- 1 teaspoon Vanilla Extract
- 1/4 teaspoon Sea Salt
Mix Ins
- 1 1/2 tablespoons Coconut Oil
- 2 ounces Dark Chocolate
- 1/2 cup Toasted Unsweetened Shredded Coconut
Instructions
To Make the Coconut Ice Cream Base
- Add the canned coconut milk, cream of coconut, and regular coconut milk to the blender.
- Blend until well combined.
- Transfer the coconut milk mixture to your ice cream machine and churn according to manufacturer directions.
Make the Chocolate for the Chocolate Chunks
- Combine the dark chocolate and coconut oil in a microwave safe bowl. Microwave at 50% power for 30 second intervals.
- Stir after each interval and continue until the chocolate and coconut oil are both melted and are combined.
- Let sit at room temperature until ready to add to the ice cream. If it becomes too thick to pour, microwave for 30 seconds at 50% power and stir.
- Preparing the chocolate to add to the ice cream in this way makes it so the chocolate pieces aren't like rocks. Instead, they are creamy yet solid to bite into and melt in your mouth.
To Add the Mix Ins
- After the ice cream is thick and appears mostly churned, add in the toasted coconut and let it churn until it is fully combined and distributed throughout the coconut ice cream.
- Then, slowly pour the magic shell in while the ice cream continues to churn.
- The chocolate and coconut mixture will freeze upon contact with the cold ice cream base.
- As the ice cream churns, the frozen pieces of chocolate will break into bite sized chunks or shards of chocolate.
Freezing and Storage Instructions
- Transfer the prepared ice cream to a freezer safe container and freeze the ice cream until it is solid enough to scoop and serve. About 2 hours.
- Serve.
- Store any leftovers in a freezer safe container with a lid.
Notes
Homemade Ice Cream Tips
There are a few things that will make the ice cream making process even easier and will yield better results:
- Store the insert to your ice cream maker (if it has one) in the freezer. You'll want it to be completely frozen solid before beginning this recipe otherwise it won't stay cold enough to fully churn the ice cream.
- Make sure all the ingredients in this recipe are pre-chilled. It will make the base freeze much faster if the liquids are already cold.
- After preparing the ice cream, store it in an airtight container in your freezer if you have any leftovers. This will help prevent crystals from forming on the ice cream.
Recommended Products
As an Amazon Associate and member of other affiliate programs, I earn from qualifying purchases.
Nutrition Information:
Yield: 6 Serving Size: 1Amount Per Serving: Calories: 94Total Fat: 10gSaturated Fat: 8gTrans Fat: 0gUnsaturated Fat: 1gCholesterol: 0mgSodium: 95mgCarbohydrates: 2gFiber: 1gSugar: 1gProtein: 1g
GoodLifeEats.com offers recipe nutritional information as a courtesy and is an estimate only. This information comes from online calculators. Although GoodLifeEats.com makes every effort to provide accurate information, these figures are only estimates.

Deborah says
Omg I just made it and it took all my will power not to eat it all !!! It was such an easy recipe that is so incredibly sweet and creamy!! Will make another batch probably tomorrow lol
Katie says
Hahaha! I love this! Thanks for sharing and I hope you enjoy it!