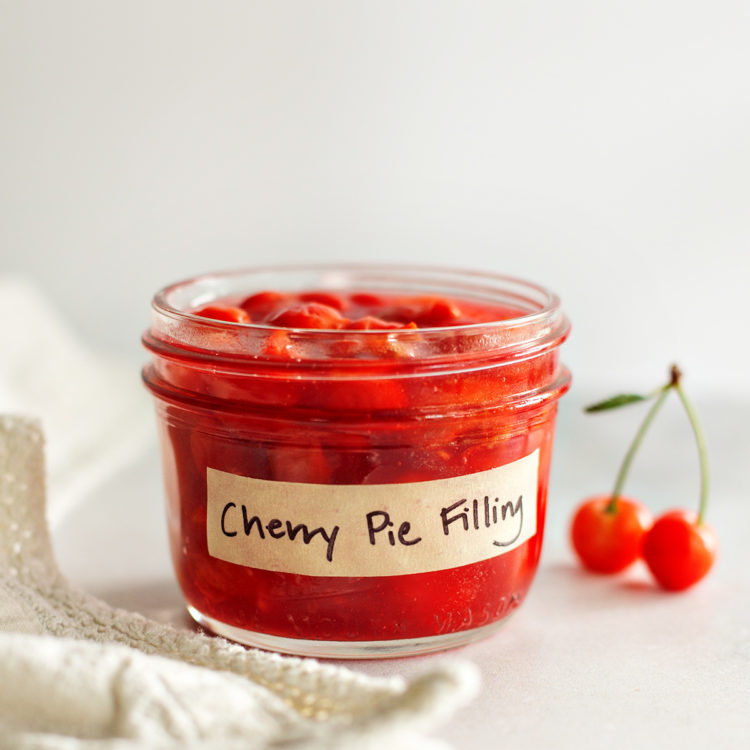
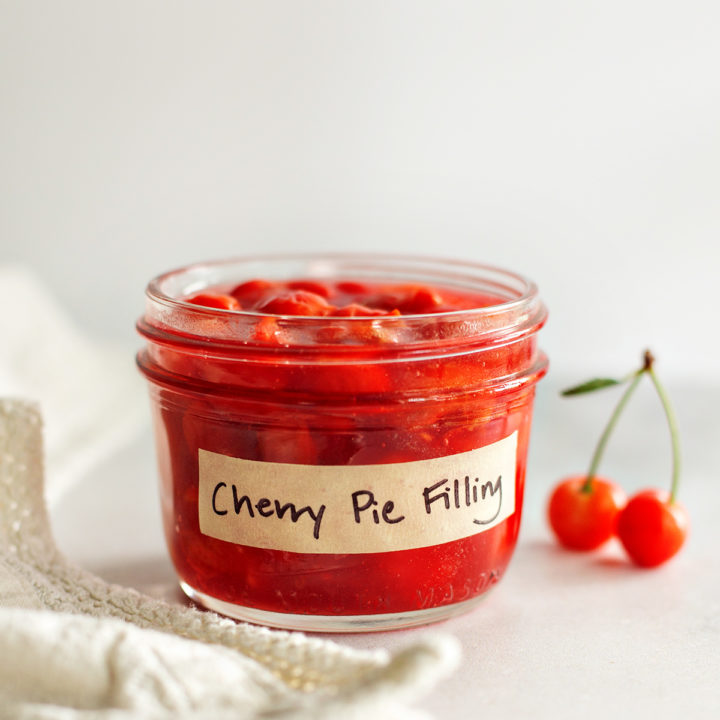
Cherry Pie Filling
The perfect balance of sweet and tart, Homemade Cherry Pie Filling takes less than 20 minutes to prepare! Use it to make pie, spoon it over cheesecake or ice cream, or add it to your favorite dump cake recipe!
Making Cherry Pie Filling
Those few weeks of the summer when tart cherry varieties (like Morello and Montmorency) are in season are perfect for making cherry pie. While you can certainly make cherry pie year-round using frozen cherries, nothing beats the flavor of fresh, in-season cherries when baking.
Although I love eating cherry pie, did you know that you can actually make the cherry pie filling separately without having to go through all the steps of making an entire pie?
Homemade cherry pie filling is great to have on hand for no-bake recipes like cheesecake bars, plus it can be used as an ice cream topping or in dump cake. And, of course, you can prep the cherry pie filling in advance to enjoy later in a pie!
Scratch cherry pie filling is super easy to make and is a great way to use in-season cherries (or frozen cherries from last summer!). Not to mention it has way more flavor than the canned stuff!
This post will explain how to make the BEST cherry pie filling, plus share my top tips for preparing it.
What Is Cherry Pie FIlling?
The name says it all! Cherry pie filling is a mixture of cooked cherries suspended in a sticky, sweet-tart sauce.
Cherry pie filling is cooked on the stove, meaning you can use it in a pie or in any other dessert you wish. It can also be used as a topping for ice cream, yogurt, and more!
Canned cherry pie filling is often all sauce and no cherries, but this homemade recipe really packs in the fresh fruit. The sauce is thick, but not stiff, and it’s the perfect blend of sweet and tart — just like the cherries themselves!
Tools Needed for This Recipe
Making cherry filling for pie is a quick and easy process, but there are a few useful kitchen tools I recommend using for best results.
- Serrated paring knife — My go-to method for pitting all those cherries. (Here are all of the ways you can pit cherries, if you need more detailed instructions!)
- Cherry pitter (optional) — Not necessary, but if you’re in a rush or simply hate pitting cherries one by one you might find it worthwhile to invest in a good cherry pitter.
- Measuring cups — A must for any baking recipe.
- Whisk — For stirring the sauce.
- Citrus juicer — A little lemon juice is used in the filling to brighten things up.
- Heavy-bottomed saucepan — If you use a cheap saucepan with a thin bottom, your pie filling it more likely to scorch or burn.
Cherry Pie Filling Ingredients
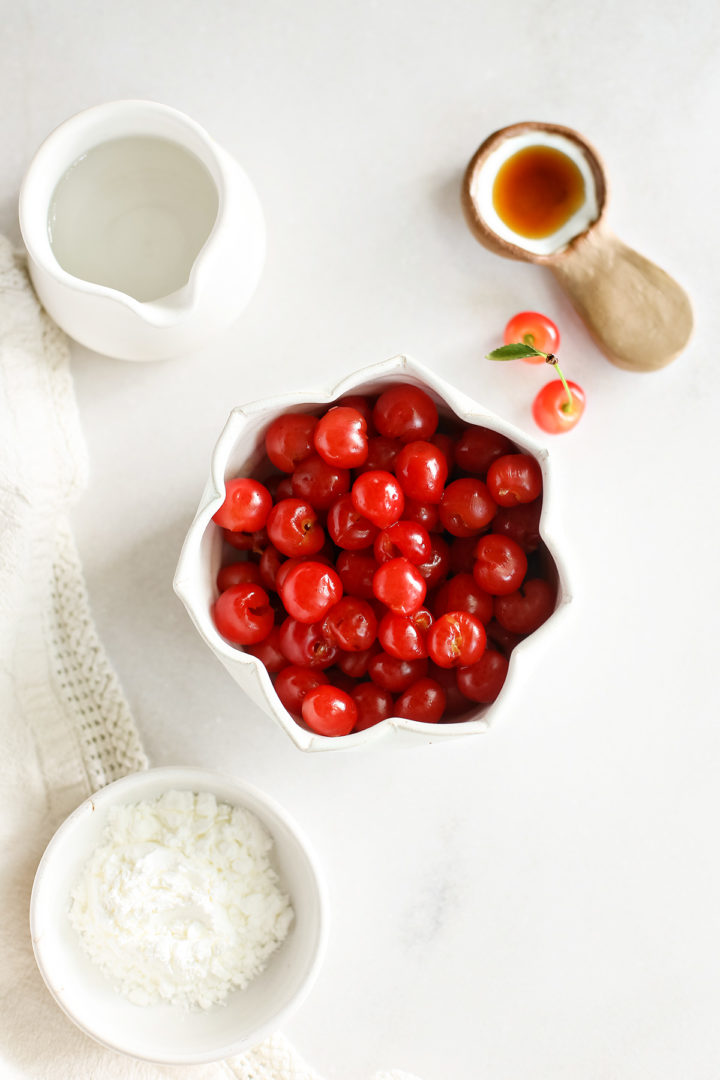
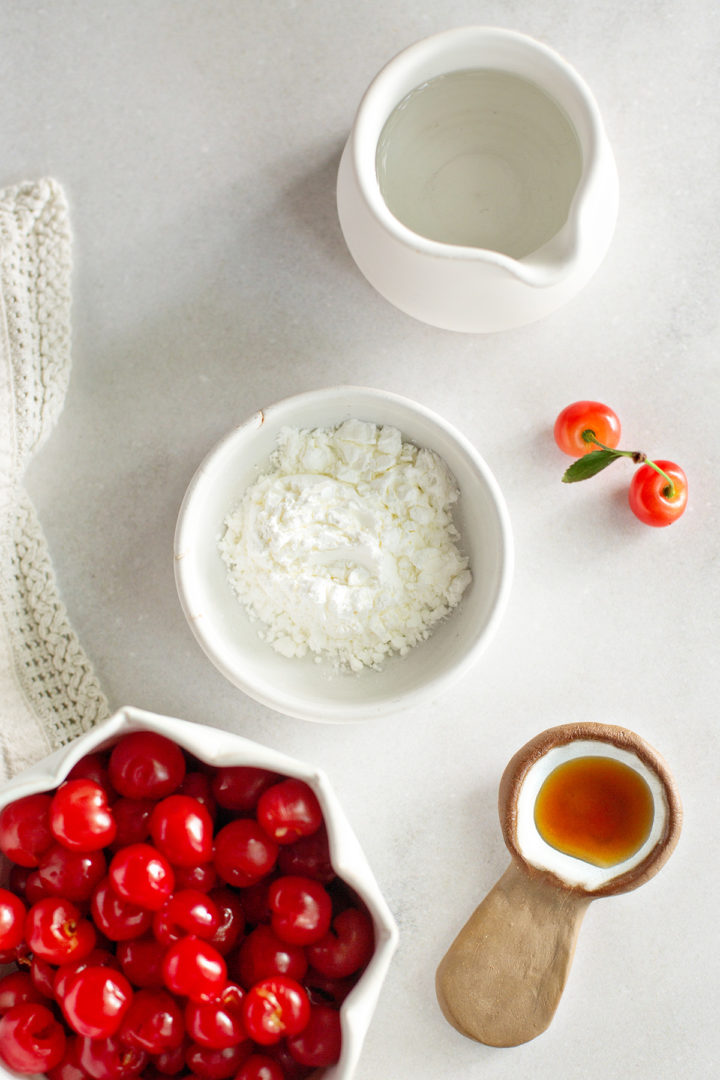
In my experience, the best cherry pie filling is made with minimal ingredients so that the flavor of the fresh cherries can really shine! Gather the following ingredients to make the filling:
- Sugar
- Cornstarch
- Tart cherries
- Water
- Almond extract (may omit if allergic)
- Vanilla extract
- Lemon juice
For the complete ingredient list and detailed instructions to make this homemade cherry pie filling, scroll to the bottom of this post for the FREE printable recipe card.
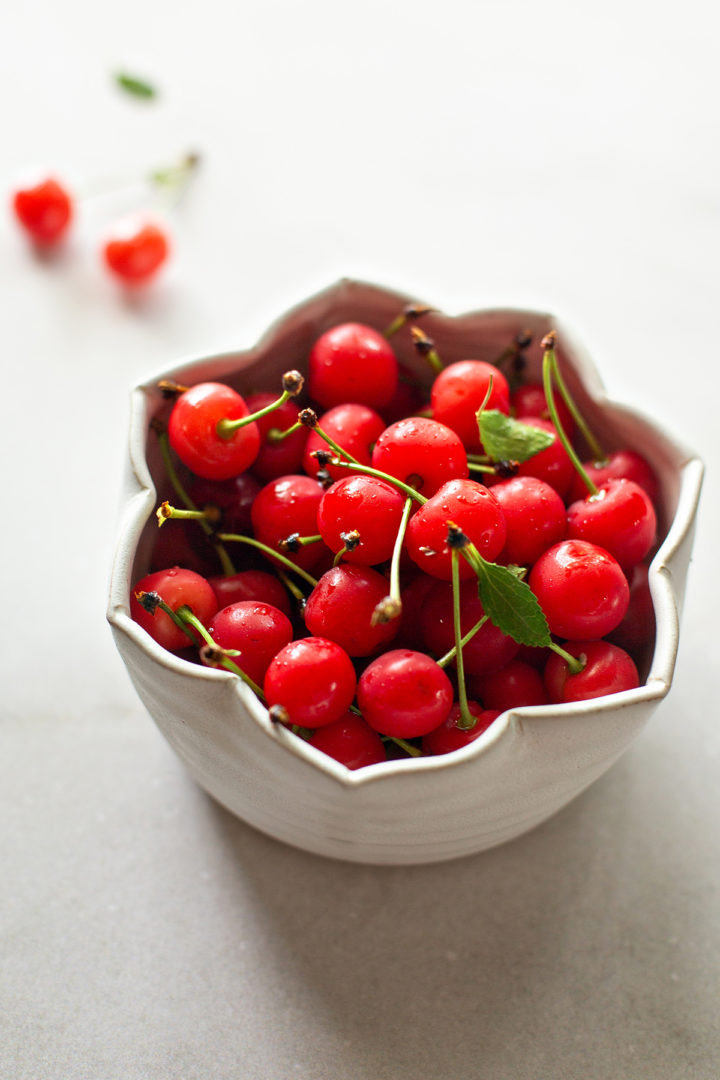
What are the best cherries for cherry pie filling?
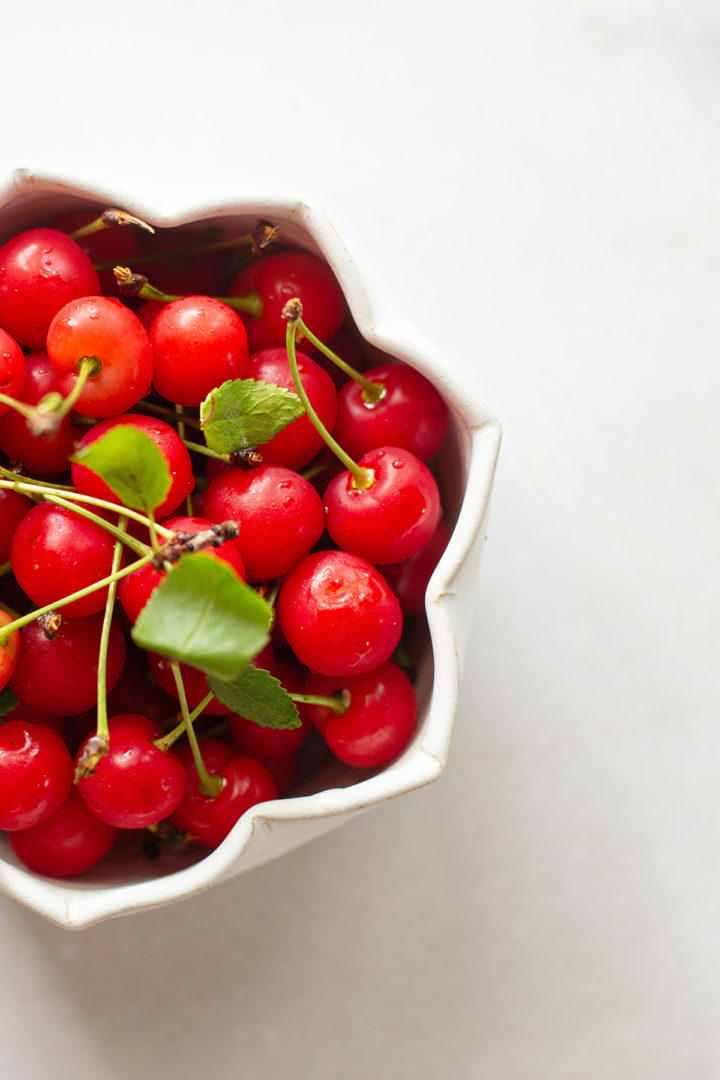
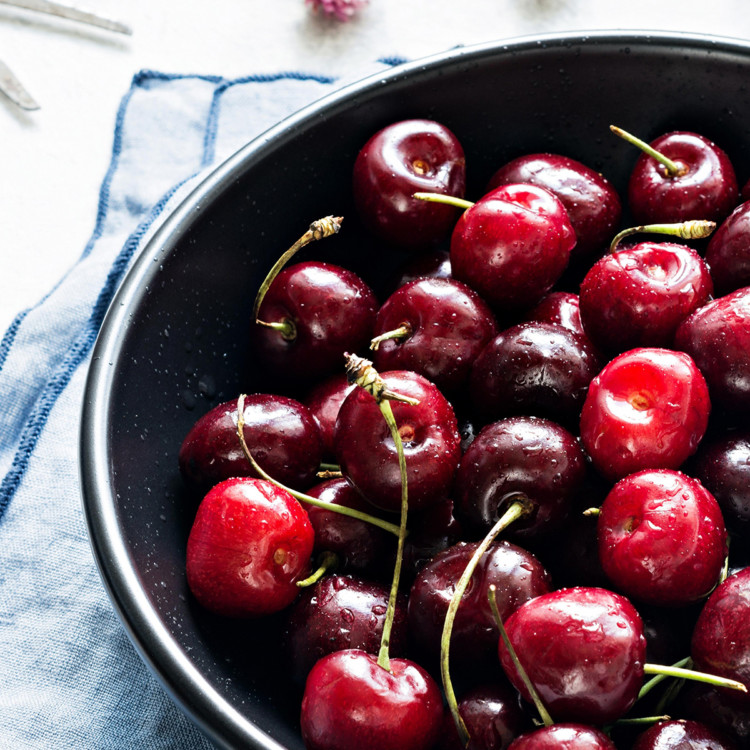
You’ll want to use tart cherries (aka sour cherries) to make the pie filling.
The most common varieties of tart cherries are Montmorency and Morello, but your local farmers market might offer more kinds that aren’t sold in grocery stores.
I do NOT recommend using sweet cherries to make pie filling, otherwise the filling will taste sickly sweet and won’t have as much depth of flavor.
How to Make Cherry Pie Filling
Before you can begin making the cherry filling for pie, you must pit all of those fresh cherries. If you’re unsure how to pit cherries quickly and efficiently, click the post I’ve linked in this sentence for detailed instructions on how to do so.
Depending on how much time you have, you can always pit the cherries the day before you plan on making the pie filling. That way, when you’re ready to make this recipe, you have all of your cherries prepped and ready to go!
Now, let’s review how to make cherry pie filling from scratch:
- Combine the sugar and cornstarch in a large saucepan.
- Slowly whisk in the water and lemon juice.
- Add the cherries, stirring to combine.
- Heat the mixture over medium-high heat. You need to bring it to a boil.
- Once boiling, reduce the heat to low. Continue cooking for about 10 minutes, or until the filling is thick and turns to a clear, dark red color.
- Remove the saucepan from the heat and stir in the vanilla and almond extracts.
The above is simply a quick summary of this cherry pie filling recipe. Check out the full recipe in the free printable recipe card at the bottom of this post for all the detailed instructions.
Tips for Making the Best Cherry Pie Filling
- Use tart cherries — If you use sweet cherries, your filling will be far too sweet.
- Pit the cherries — Trust me, you don’t want cherry pits in your pie filling!
- Cook the filling in a heavy-bottomed saucepan — Thinner saucepans (often cheaper ones) will cause the filling to scorch and burn. You want a heavy-bottomed saucepan that distributes heat evenly so that the filling cooks at an even rate.
- Fresh is best, but frozen cherries work too! I love making cherry pie filling when tart cherries are in season, but frozen cherries will work as well. You don’t need to thaw the cherries before making the filling since everything cooks in the pan together.
- Prep the filling in advance, if desired — Homemade cherry pie filling lasts up to three days in the fridge, so feel free to make a batch a few days before you plan on assembling a cherry pie.
Recipe FAQs
Got questions about how to make this recipe? Here are the answers to a few commonly asked questions. Feel free to leave any other questions in the comments on this post and I’ll respond with answers.
Can I use sweet cherries to make pie filling?
Technically, yes, you may use sweet cherries to make pie filling. However, you’d need to decrease the amount of sugar in the filling to accommodate the sweeter cherries.
I’d start with ⅓ cup sugar in the filling if using sweet cherries, but I only ever make pie filling with tart cherries so I’m not sure if this will have the best results.
How many pounds of cherries are needed for pie filling?
To make enough cherry filling for one 9-inch pie, you’ll need 5 ½ cups pitted cherries. That’s approximately 2 1/2 to 3 pounds of fresh tart cherries.
What can I use instead of cornstarch?
Cornstarch is crucial to making cherry filling. It helps to thicken the filling, and makes it super glossy and clear once cooked.
If you don’t have cornstarch on hand or have an allergy in your family, swap it with one of the following:
- Arrowroot starch — use an equal amount as a substitute.
- All-purpose flour — use twice as much if substituting for cornstarch. This is not my favorite swap, though!
- Potato starch — use an equal amount as a substitute.
Why is my cherry pie filling so thick?
If your cherry filling is too thick for your liking, you either added too much cornstarch or you overcooked it.
Next time, add a little less cornstarch and don’t cook the filling for more than 10 minutes.
Why is my cherry pie filling runny?
If your cherry pie filling is runny, you either didn’t add enough cornstarch to the mixture or you didn’t cook it for long enough.
Also note that the filling will thicken up as it cools! So if your filling has a clear, red syrup and is no longer opaque, it might actually be perfect — it just needs that cooling time to thicken up.
How can I thicken cherry pie filling?
Regarding the cooking time: it’s important that you first bring the cherry mixture to a boil and then reduce the heat to low to let the filling simmer. From that point, 10 minutes (15 max!) should result in the perfect pie filling.
If the cherry filling is still too runny, continue simmering until it’s as thick as desired.
Regarding the cornstarch: I recommend using 4 to 5 tablespoons of cornstarch in the cherry filling. Different varieties of cherries contain differing levels of moisture, which is why I provided a measurement range for the cornstarch.
If you’ve already added 5 tablespoons of cornstarch to the filling and it’s still runny after 10 to 15 minutes of cooking:
- Combine ½ tablespoon of cornstarch with ½ tablespoon of water to make a slurry.
- Then, add that slurry to the pot and cook for an extra few minutes.
- You may continue adding a cornstarch slurry to the pot in small increments until the filling is thickened to your liking. (I say small increments because cornstarch is very potent, and if you add too much your filling will turn out like cement!)
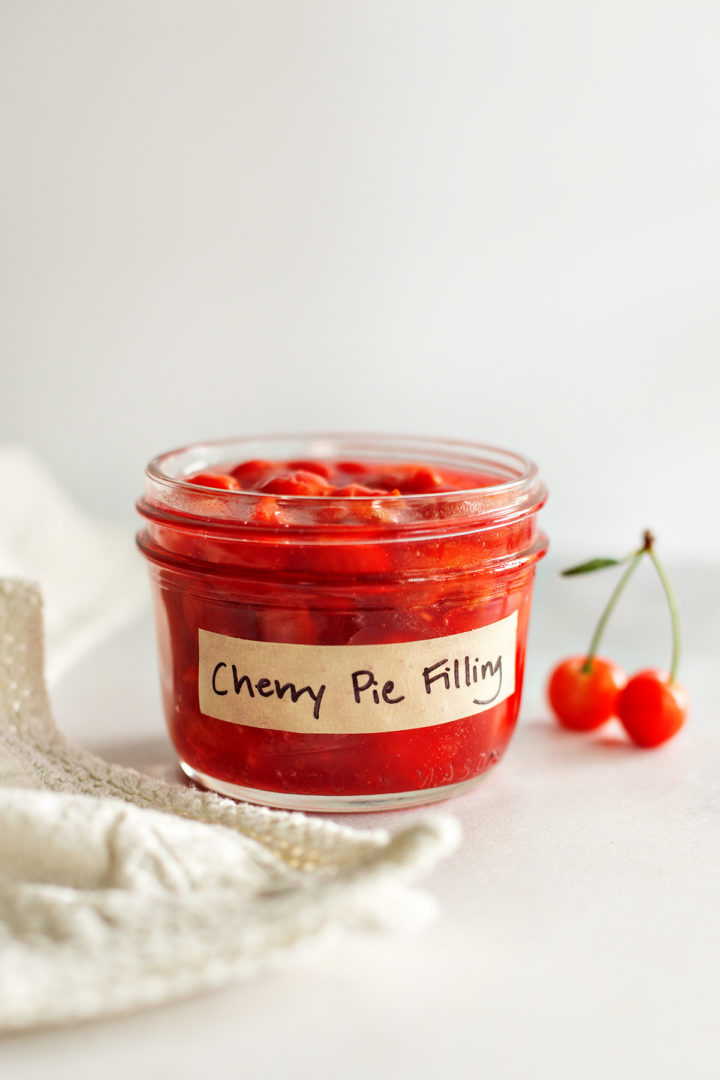
Can you use frozen cherries in pie filling?
Yes, you can certainly make cherry pie filling with frozen cherries! However, you may need to increase the cornstarch in the recipe since frozen fruit typically releases more moisture than fresh.
Do you need to thaw frozen cherries before making the filling?
No! Just add a few extra minutes to the cook time to account for the frozen cherries.
How many cups of cherry pie filling does this recipe make?
This recipe yields [NEED TO ADD]
How many cups of cherry pie filling are needed to make a 9-inch cherry pie?
[NEED TO ADD]
Storage Instructions
Does cherry pie filling need to be refrigerated?
Yes! Once the cherry filling has cooled to room temperature, it needs to be stored in an airtight container in the fridge.
Can cherry pie filling be frozen?
Yes! Let the filling cool to room temperature, then seal in freezer-safe containers or freezer bags.
When ready to use, defrost the filling in the fridge overnight. I recommend enjoying within 2 months for best results.
How long does cherry pie filling last?
It will last up to three days in the fridge and up to 2 months in the freezer.
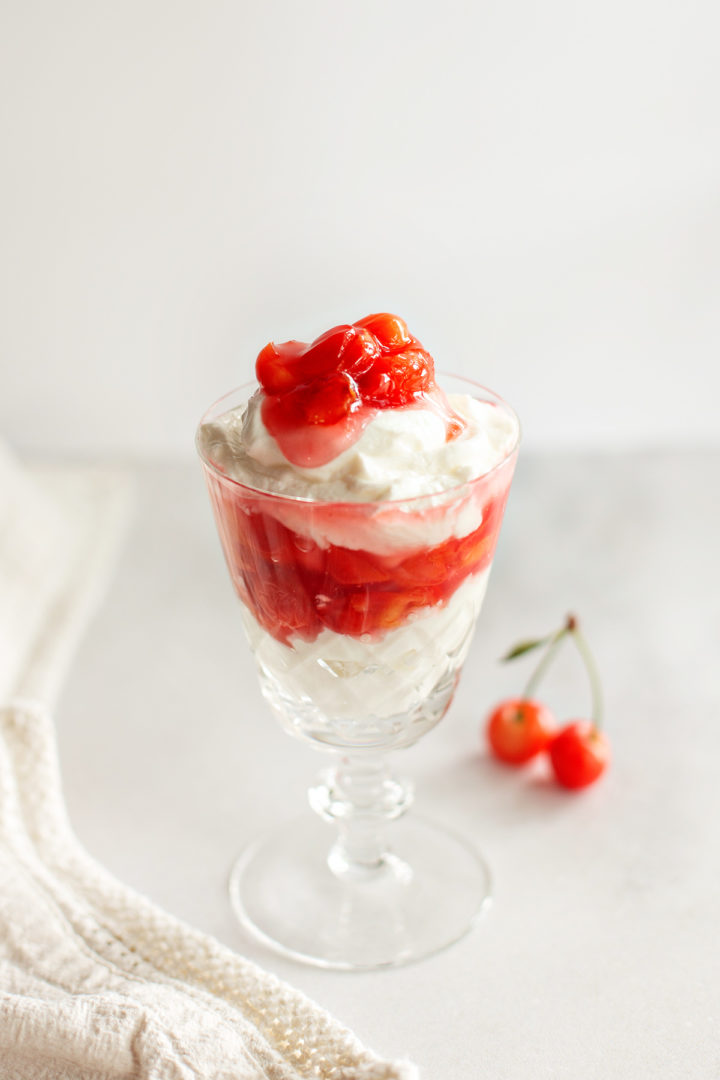
Ways to Use Cherry Pie Filling
Using the cherry filling to make a pie is the most obvious use for this recipe, but there are actually so many more ways to enjoy it!
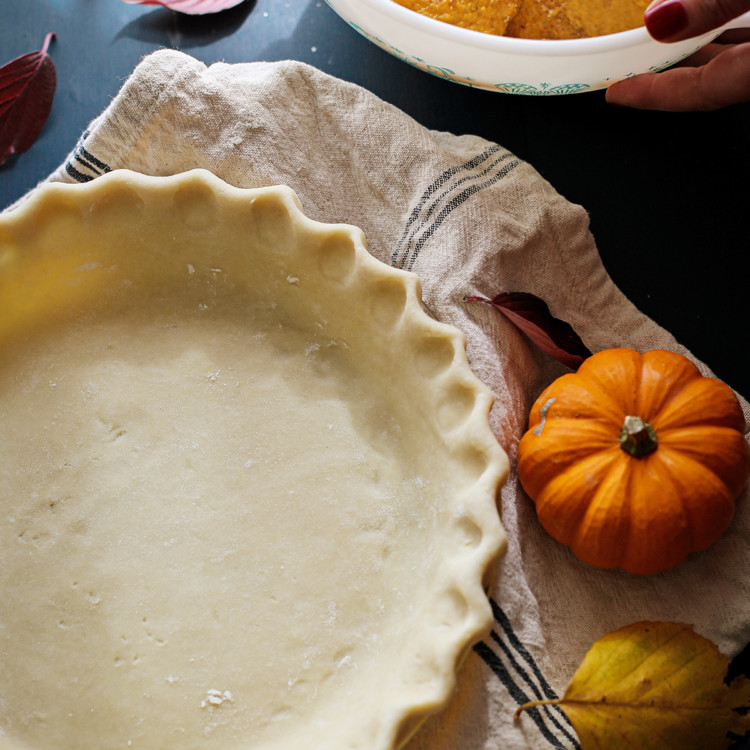
- Spoon into an all-butter pie crust to make a cherry pie
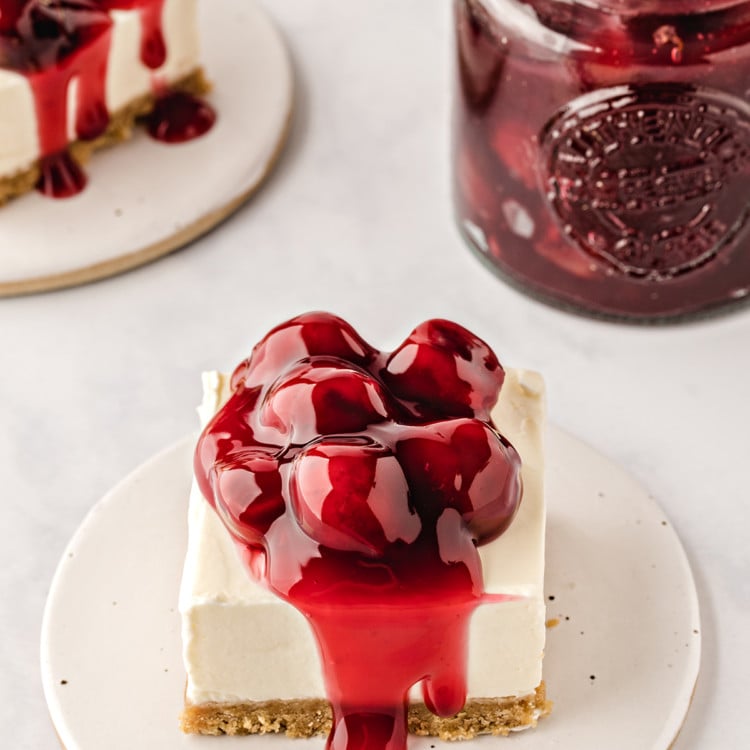
- Use as a topping for no-bake cheesecake bars
- Use as a topping for pavlova
- Stir into your oatmeal
- Spoon over Greek yogurt and sprinkle with granola
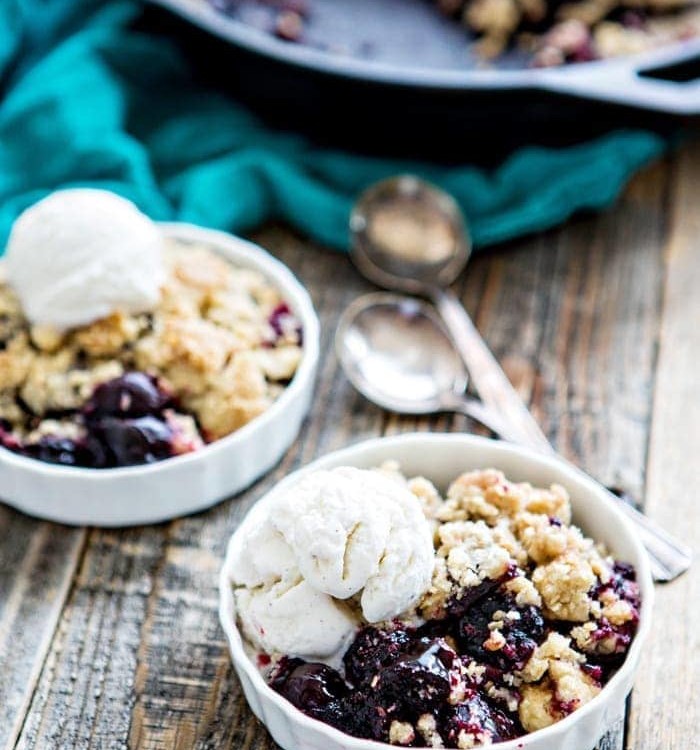
- Use as a filling for cherry crisp (here’s my favorite fruit crisp topping)
- Use it to make a tart cherry cobbler (here’s a sour cream biscuit cobbler topping or a classic cobbler topping)
- Use as a filling for hand pies
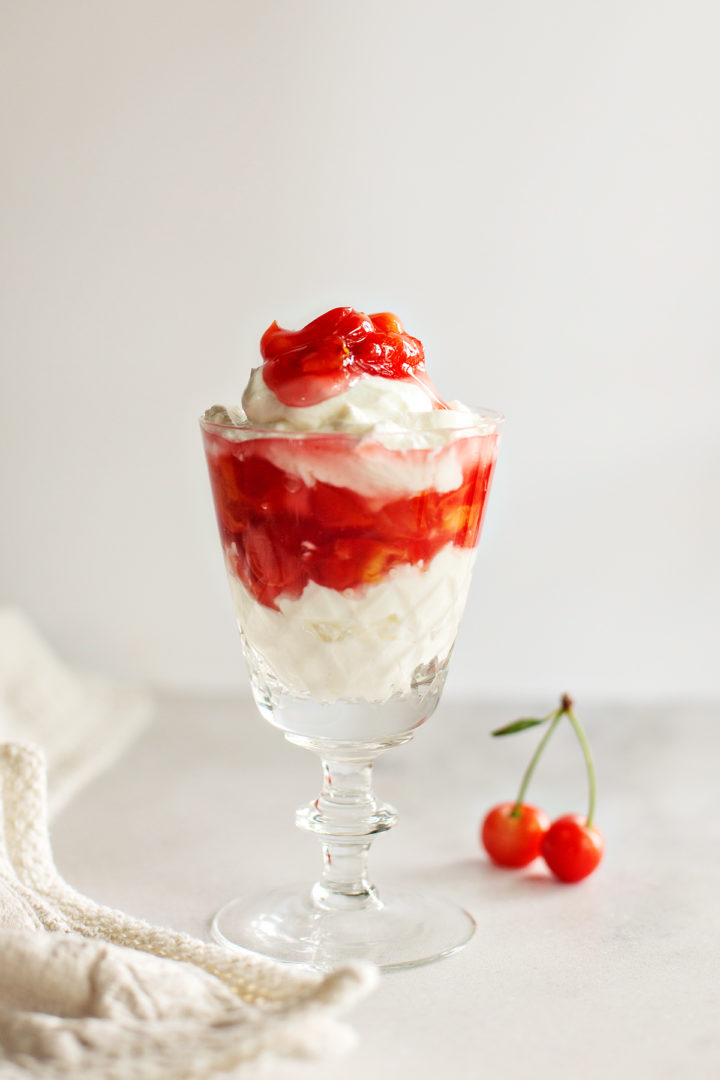
- Layer with whipped cream for a simple dessert
Try This Recipe at Home!
Next time you’re craving cherry pie, give this easy cherry pie filling recipe a try!
Did you think this was the best cherry filling? Leave a comment below and give it a review for others to see what you thought.
On Instagram? Share your photo and tag me with @goodlifeeats and #goodlifeeatsrecipes. I’d love to see a photo of your pie filling!
More Cherry Desserts You’ll Love:
No-Bake Cherry Cheesecake Bars are made with a buttery graham cracker crust, creamy cheesecake filling, and cherry pie topping! It’s a quick and easy no-bake dessert that can be made the night before.
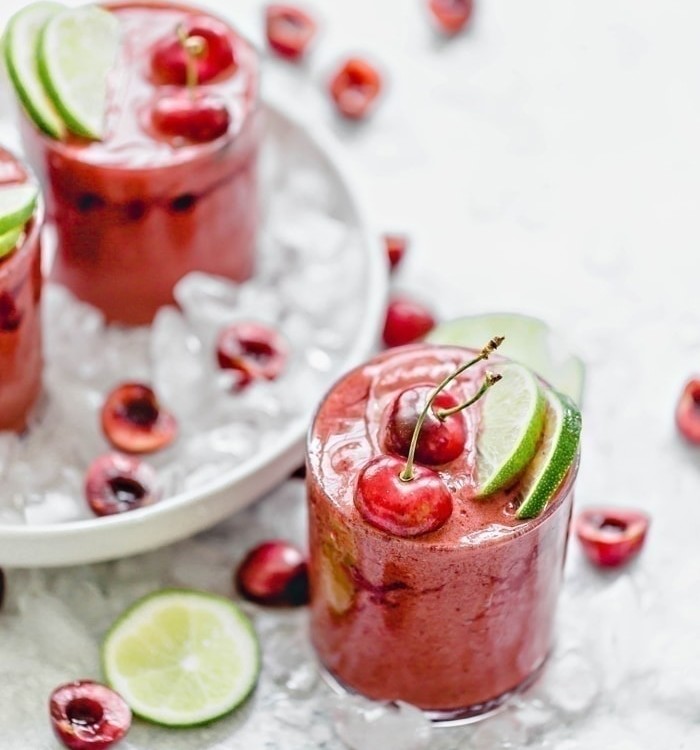
Cherry Limeade Slushies are perfect for summer and they’re super easy to make! Plus, I love that this slushie recipe is made with real fruit!
This Black Cherry Pomegranate Cobbler will remind you of summer camp cherry pie dump cake without the canned pie filling and box mixes. It features sweet black cherries with a hint of pomegranate and a generous helping of crunchy, golden brown, buttery cobbler topping.
These Chocolate Cherry Blossom Cookies have chopped maraschino cherries in the dough and are topped with a Hershey’s Kiss while they’re still warm.
Stay Inspired in the Kitchen!
Want more delicious recipes, kitchen tips, and meal inspiration? Sign up for the Good Life Eats Newsletter and get:
✔ Tried-and-true recipes—from quick weeknight meals to special occasion favorites.
✔ Seasonal meal ideas—helping you make the most of fresh, in-season ingredients.
✔ Time-saving kitchen tips—boosting your confidence and creativity in the kitchen.
Cherry Pie Filling
The perfect balance of sweet and tart, Homemade Cherry Pie Filling takes less than 20 minutes to prepare! Use it to make pie, spoon it over cheesecake or ice cream, or add it to your favorite dump cake recipe!
Ingredients
- 5 1/2 cups Tart Cherries, pitted
- 1/2 cup Water
- 2 tablespoons Fresh Lemon Juice
- ¾ - 1 cup Granulated Sugar, according to preference
- 4 - 5 tablespoons Cornstarch
- ½ teaspoon Vanilla Extract
- ⅛ teaspoon Almond Extract
Instructions
- Combine sugar and cornstarch in a pot large enough to accommodate all of the cherries. Whisk until combined. Slowly whisk in the water and fresh lemon juice.
- Then, add the cherries, stirring to combine. Heat the mixture to a boil over medium-high heat.
- Once boiling, reduce the heat to low. Continue cooking, stirring every few minutes, for about 10 minutes. The filling will be done when the liquid is thick and turns to a clear, dark red color, and is no longer opaque.
- Remove from heat, stir in the vanilla and almond extracts. Let cool to room temperature before storing or using to bake a pie with.
Notes
This recipe yields enough for one 9-inch cherry pie.
Recommended Products
As an Amazon Associate and member of other affiliate programs, I earn from qualifying purchases.
Nutrition Information:
Yield: 8 Serving Size: 1Amount Per Serving: Calories: 138Total Fat: 0gSaturated Fat: 0gTrans Fat: 0gUnsaturated Fat: 0gCholesterol: 0mgSodium: 4mgCarbohydrates: 34gFiber: 1gSugar: 26gProtein: 1g
GoodLifeEats.com offers recipe nutritional information as a courtesy. This provided information is an estimate only. This information comes from online calculators. Although GoodLifeEats.com makes every effort to provide accurate information, these figures are only estimates.




Leave a Comment