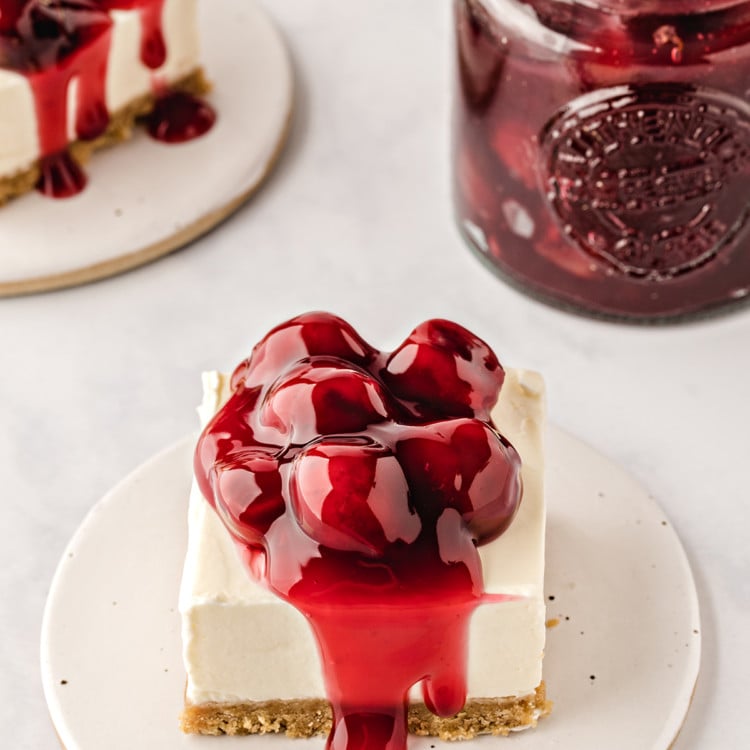
No-Bake Cherry Cheesecake Bars
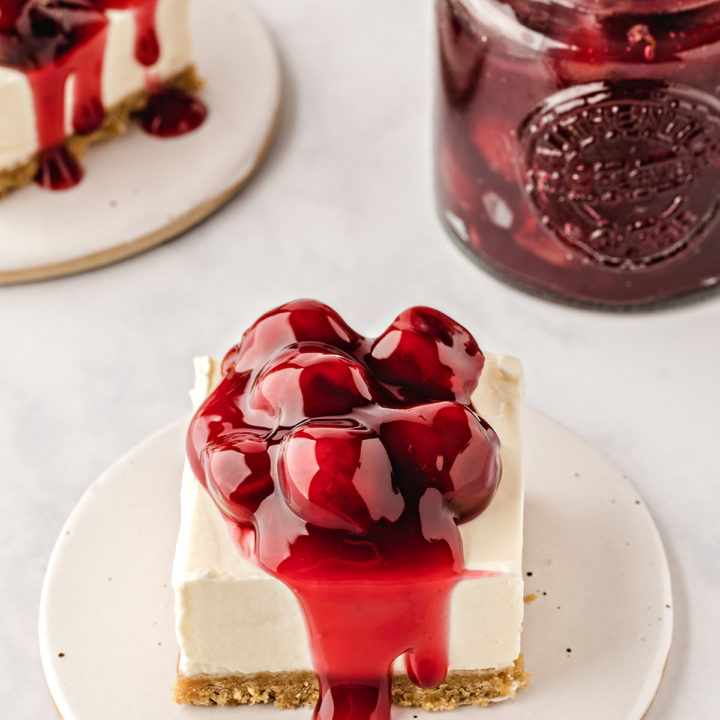
No-Bake Cherry Cheesecake Bars are made with a buttery graham cracker crust, creamy cheesecake filling, and cherry pie topping! It’s a quick and easy no-bake dessert that can be made the night before.
Making This No-Bake Cheesecake Bar Recipe
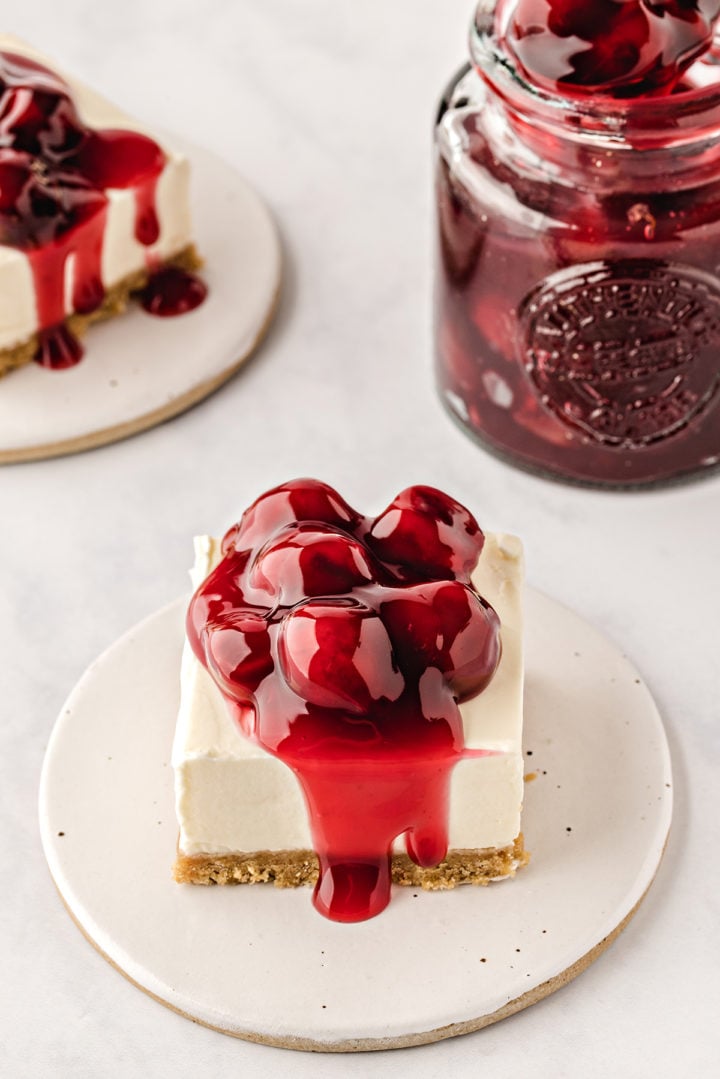
Looking for an easy but impressive no-bake dessert to bring to your next potluck or barbecue? Make these no-bake cherry cheesecake bars!
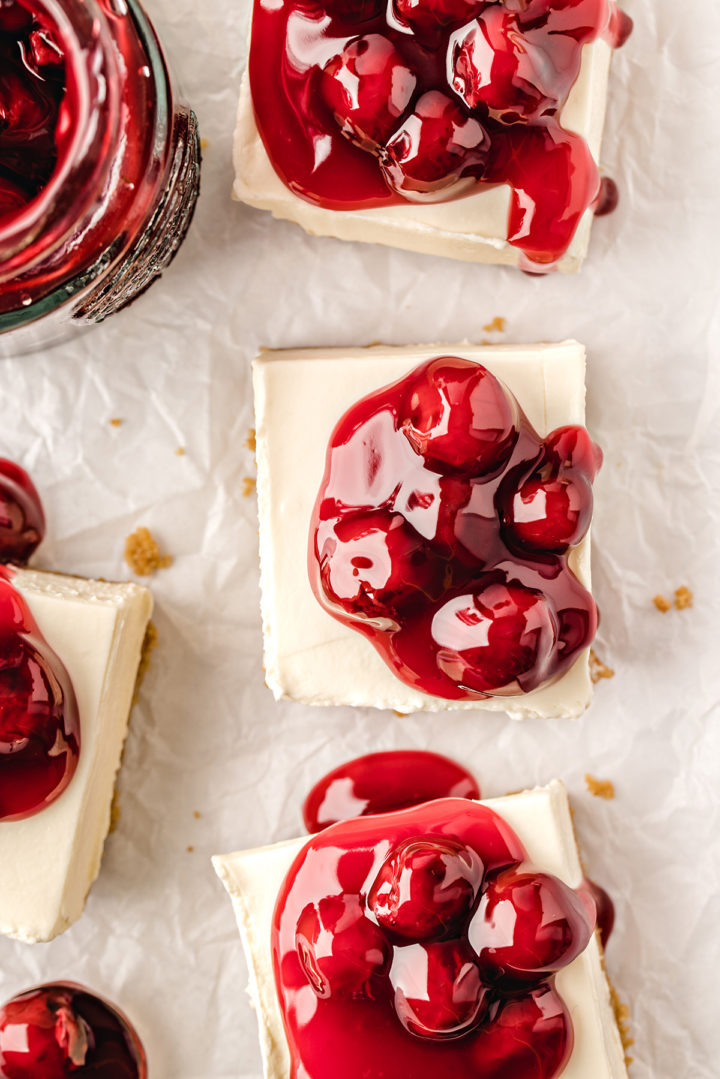
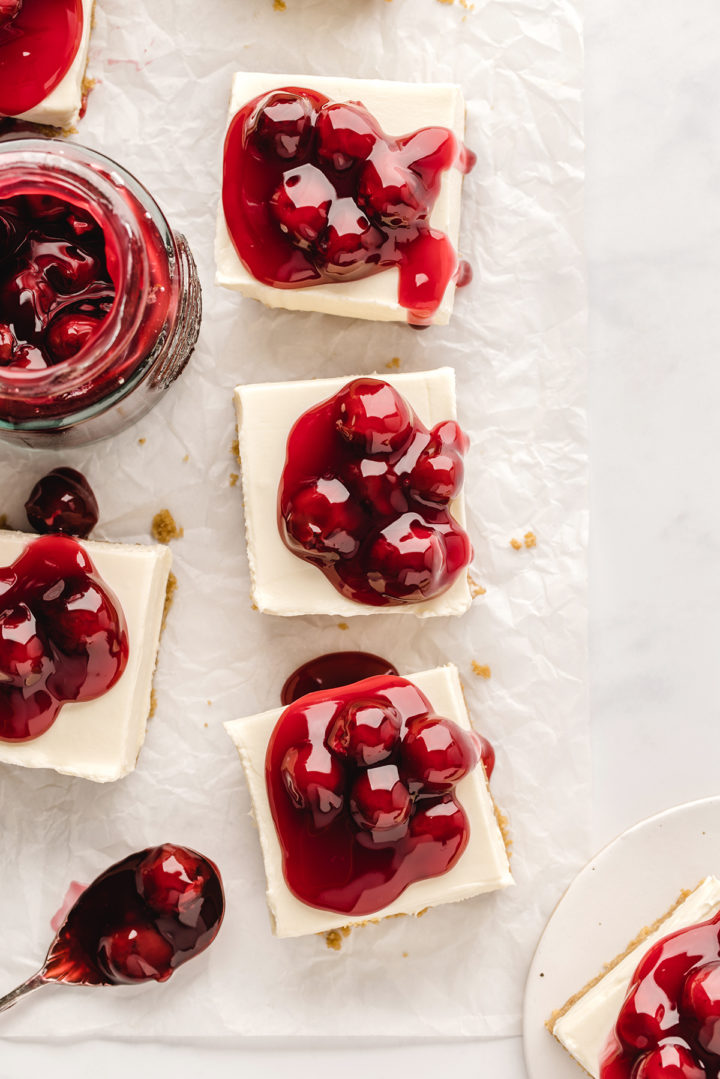
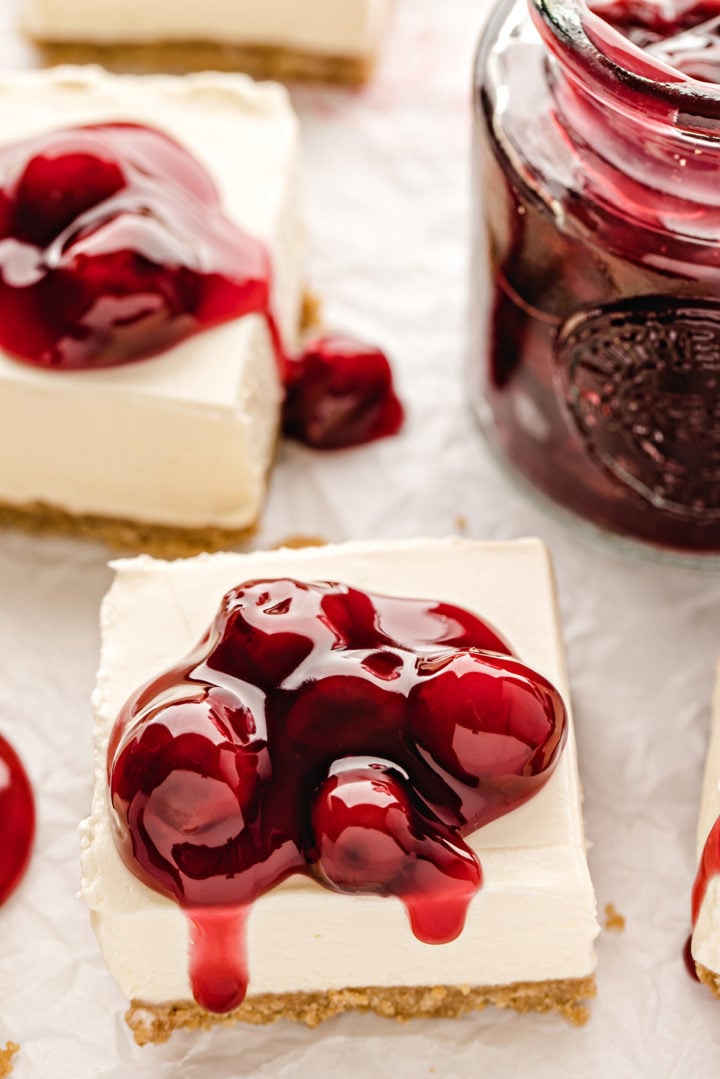
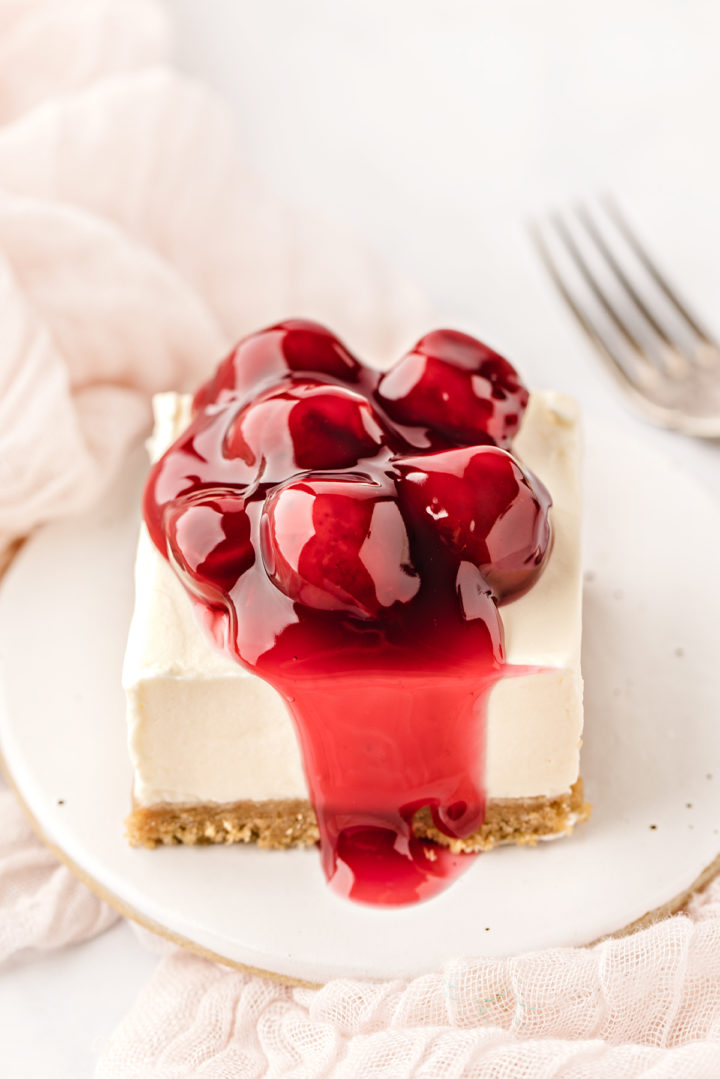
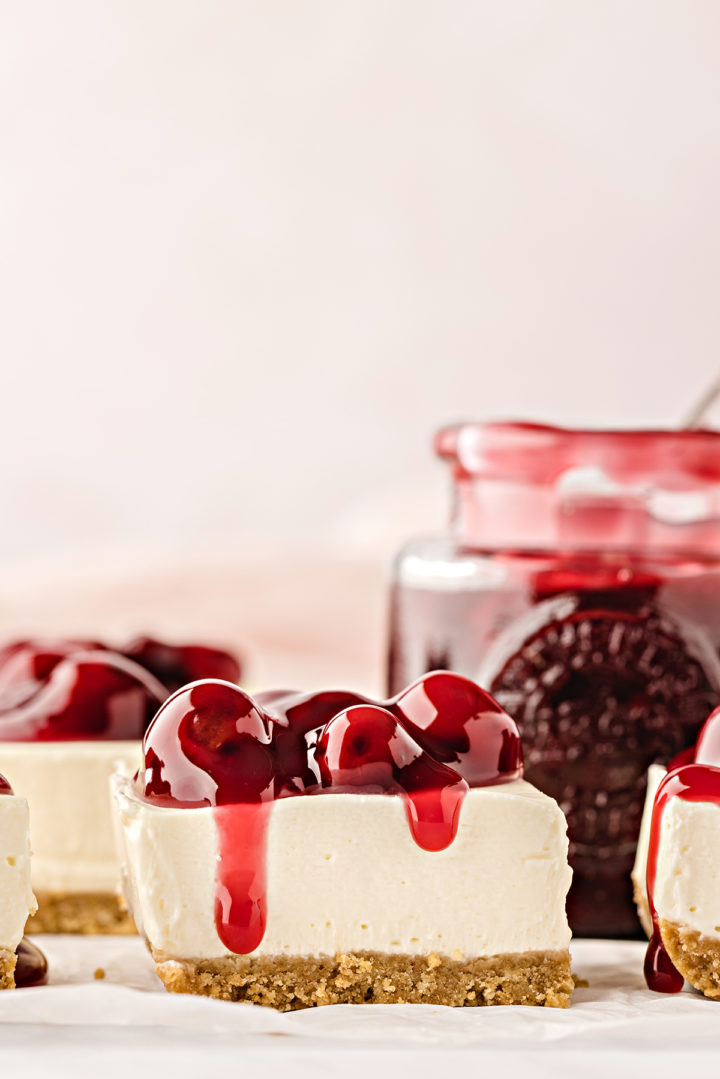
The buttery graham cracker crust is the perfect base to the irresistibly creamy cheesecake with its sweet cherry topping. The cherry syrup drizzles lusciously down the sides, making this a feast for the eyes (and the stomach!).
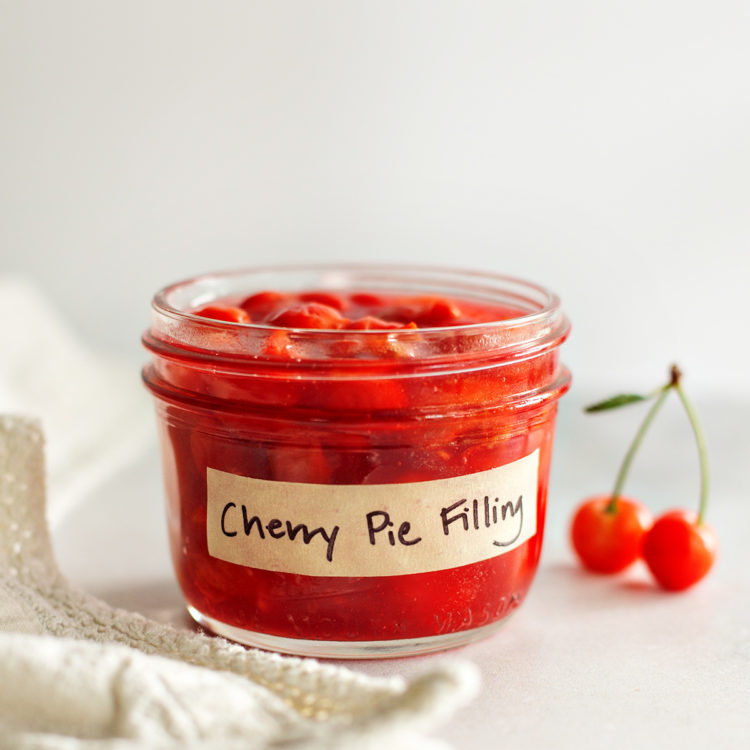
I made this particular dessert with cherry pie filling from a can, but you can also make the topping from scratch in about 15 minutes.
If you’ve never made no-bake cheesecake bars before, know that they do not have the same texture as a baked cheesecake.
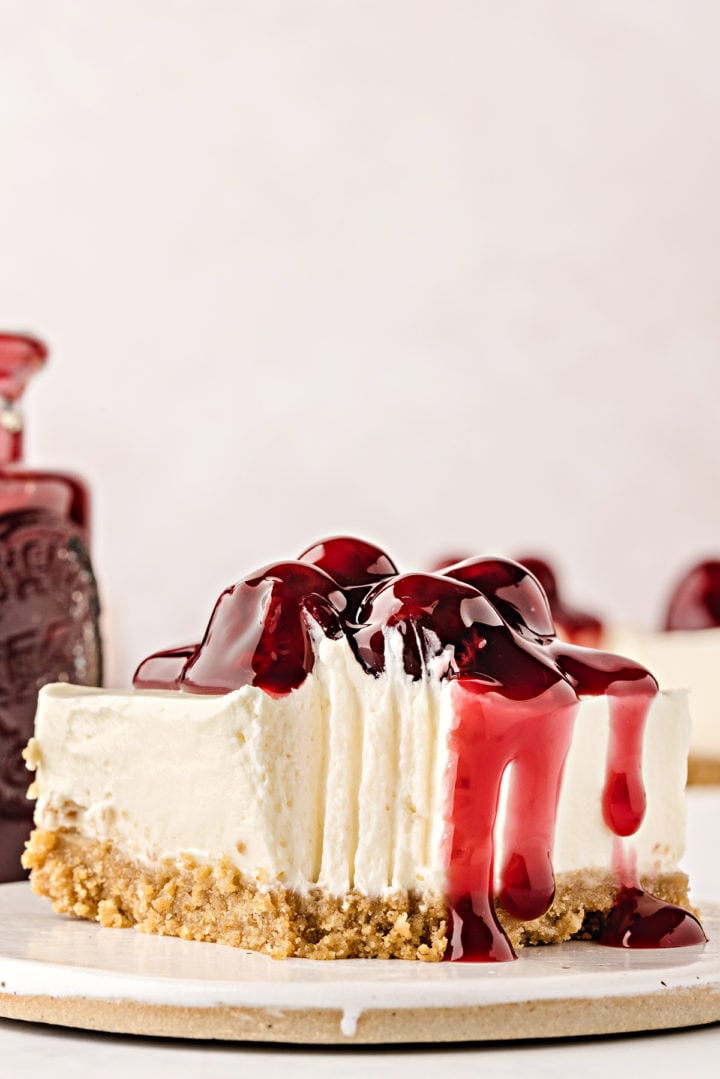
They will still have a slight jiggle, but set firm enough that they don’t run when removed from the pan. The bars have a texture akin to a well set mousse — perfect for warm summer days!
Tip: Have an abundance of cherries to use up? Make sure you know how to pit cherries and how to freeze them for future use!
Tools Needed to Make This Recipe
The cheesecake bars with cherry topping are very easy to make and don’t require any special tools. Gather the following before preparing the recipe:
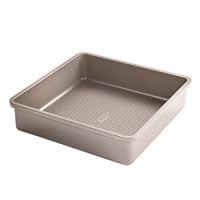
- 8×8-Inch Baking Dish — If you double the recipe, you’ll need a 9×13-inch pan. Glass and metal will both work since this is a no-bake dessert.
- Mixing Bowl — I prefer using a mixing bowl and a whisk to make the cheesecake filling.
- Electric Mixer — A stand mixer or handheld electric mixer will work. Either will make quick work of preparing the whipped cream.
- Measuring Cups and Spoons — A must for any baking recipe!
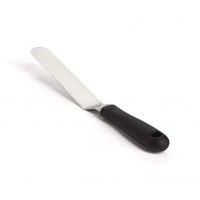
- Offset Spatula — Ideal for evenly smoothing the filling into the graham cracker crust.
Ingredients in Cherry Cheesecake Bars
This is technically an “almost homemade” cherry cheesecake bar recipe. I opted to make the dessert with canned cherry pie filling because, quite frankly, sometimes I don’t have enough time to make the pie filling from scratch!
However, you can absolutely make your own cherry pie filling if you have the time and cherries are in season. Homemade cherry pie filling takes about 15 minutes to prepare and can also be made in advance.
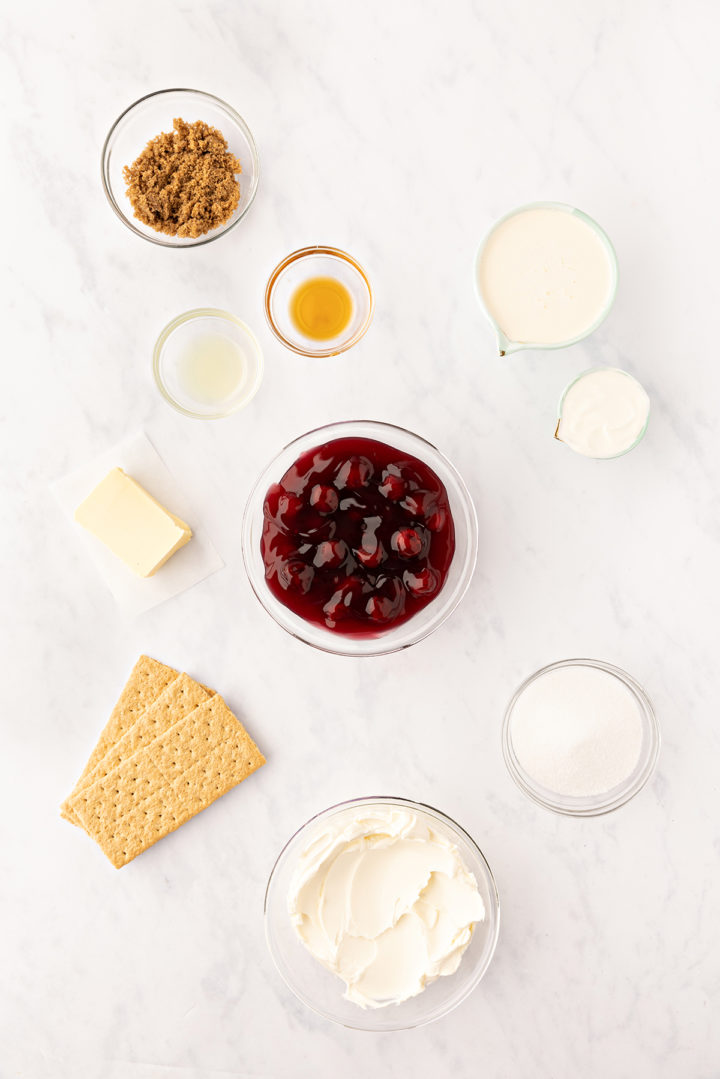
Now, let’s quickly review the ingredients you’ll need to make the cheesecake bars:
- Graham cracker crumbs
- Brown sugar
- Unsalted butter
- Cream cheese
- Granulated sugar
- Sour cream
- Vanilla extract
- Lemon juice
- Heavy whipping cream
- Cherry pie filling (canned or homemade)
For the complete ingredient list and detailed instructions, scroll to the bottom of this post for the FREE printable recipe card.
How to Make Cherry Cheesecake Bars
The hardest part of this cheesecake bar recipe is waiting for the filling to set! The prep work for these cherry cheesecake bars takes around 15 minutes, but you then have to let them chill in the fridge for at LEAST 6 hours to firm up (overnight is even better though).
Below is an overview of the recipe steps:
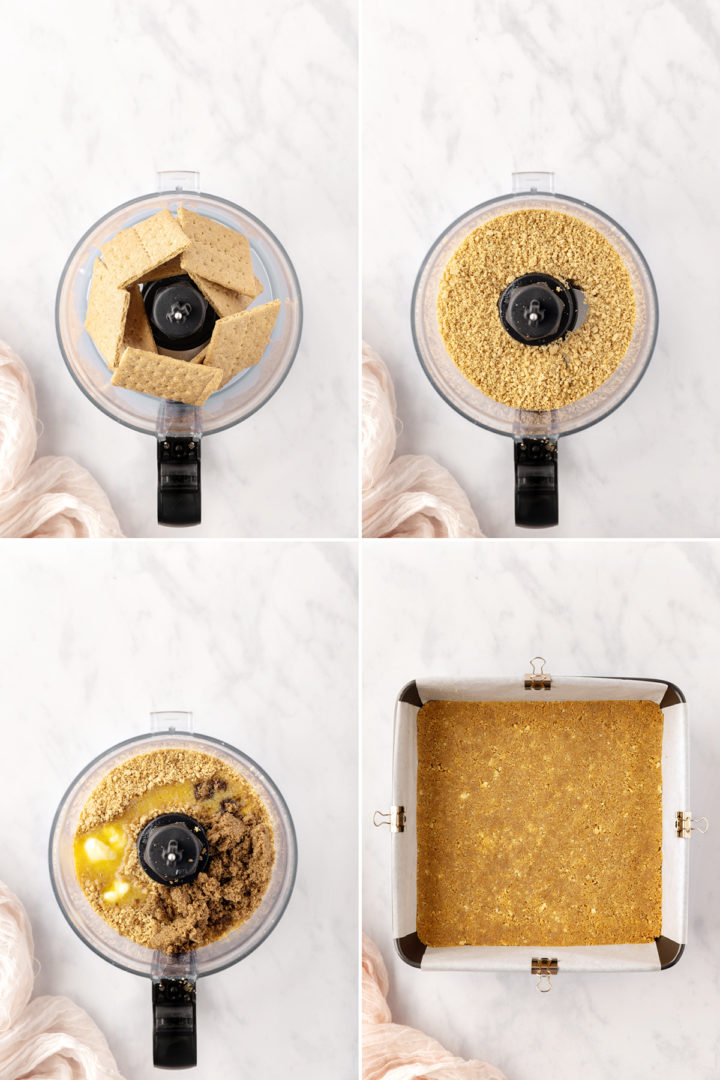
Make the Graham Cracker Crust
- Put the graham crackers into a food processor and pulse until you have a fine crumb.
- Add the brown sugar and melted butter and pulse again until the consistency looks like damp sand.
- Pour the crumbs into a parchment paper-lined 8×8-inch baking dish and press into an even layer. Set aside.
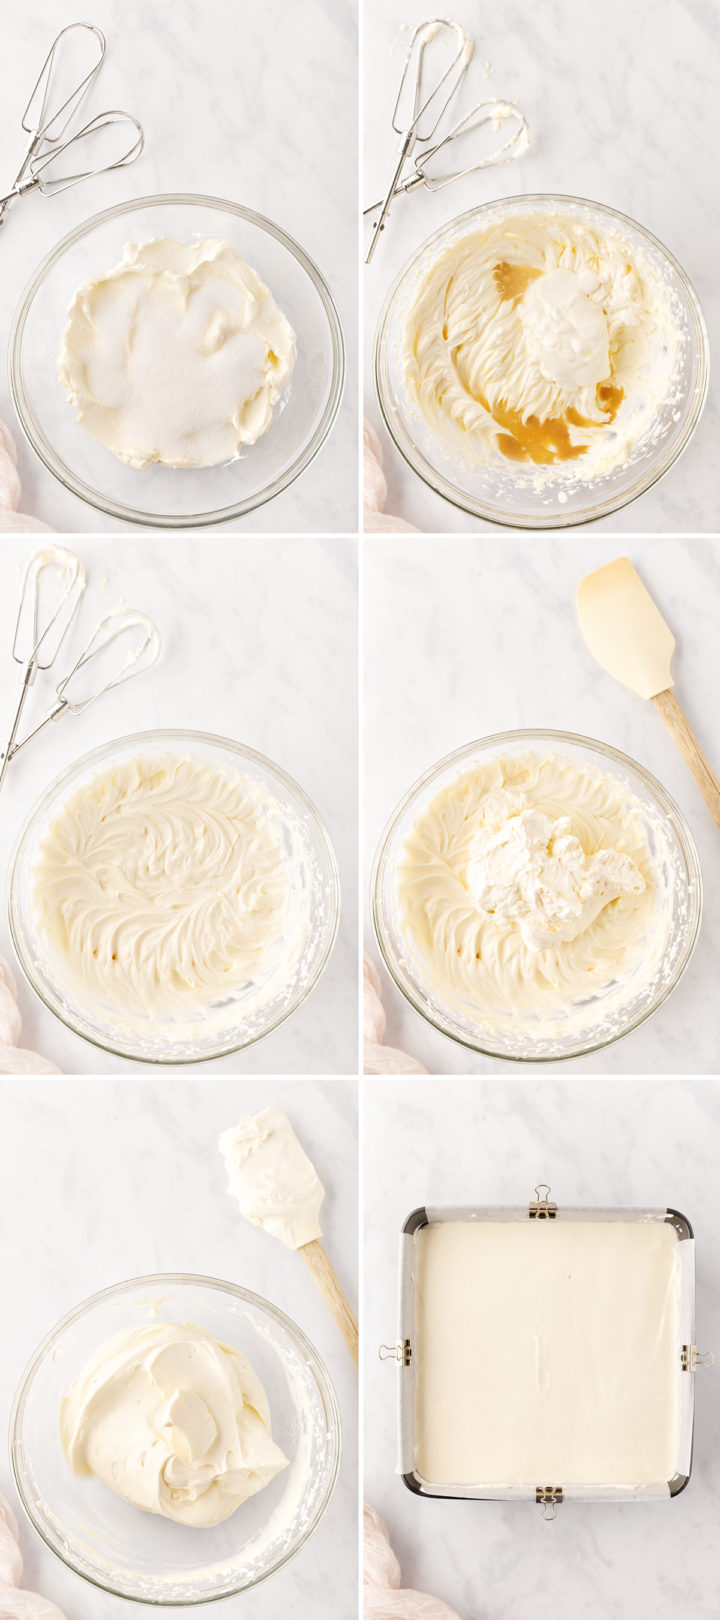
Prepare the Cheesecake Filling
- Prepare the cheesecake filling: In a large mixing bowl, beat the cream cheese and sugar until smooth. Add the sour cream, vanilla, and lemon juice and briefly beat again until combined.
- In a separate bowl, whip the heavy cream to very stiff peaks. I like to use a handheld electric mixer to make this easier!
- Add the whipped cream to the cream cheese mixture and use a spatula to fold very gently by hand.
Chill the Cheesecake Bars
- Turn the cheesecake filling into the prepared crust.
- Pop the bars into the fridge for at least 6 hours to firm up.
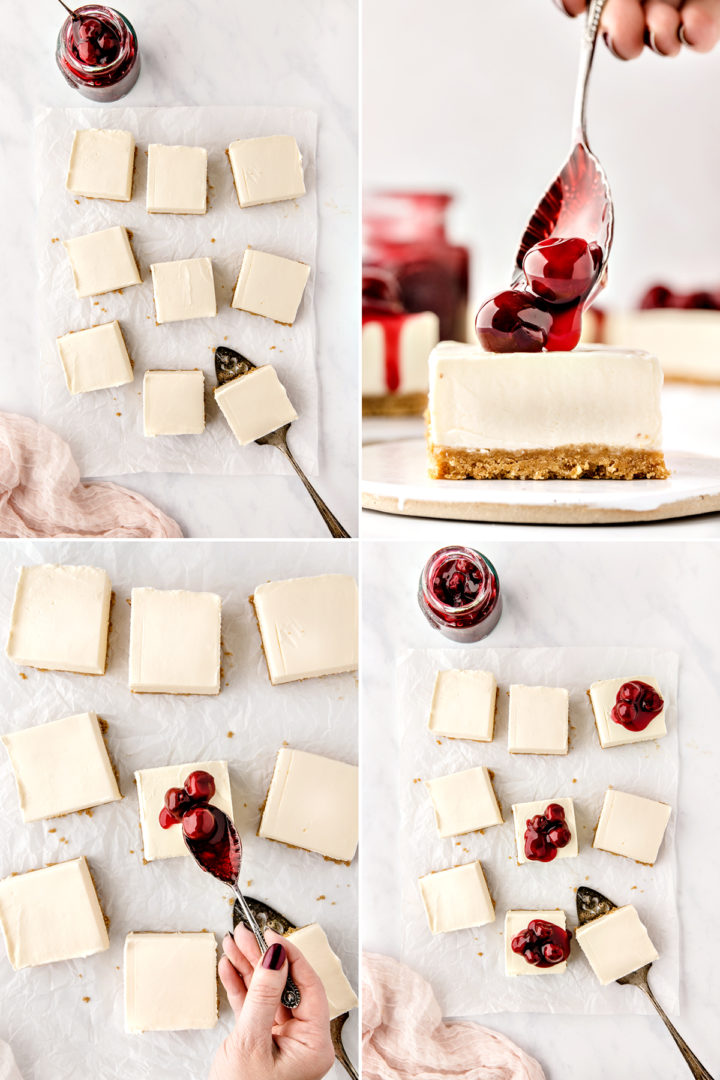
Add Cherry Topping and Serve
- When the cheesecake bars have set, remove from the pan and place it on a chopping board.
- Slice into 9 equal squares.
- Spoon cherry pie filling on top of each square and serve.
The above is simply a quick summary of this recipe. Check out the full recipe in the free printable recipe card at the bottom of this post for all the detailed instructions.
Tips for the Best Cheesecake Bars
- Refrigerate the bars for at least 6 hours. However, overnight is even better! This gives the cheesecake filling the best chance to completely set up and will improve the flavor.
- Cover tightly with plastic wrap before chilling. You don’t want the filling to dry out or absorb any fridge smells!
- Bring the cream cheese to room temperature first. That way you won’t have to worry about any lumps in the no-bake cheesecake bar filling.
- Use full-fat, brick-style cream cheese. Otherwise the cheesecake bars won’t set.
- Whip the heavy cream to stiff peaks. You want to incorporate lots of air into the heavy cream so that the filling sets properly and also so the chilled bars are the correct texture.
- Fold the whipped cream gently into the filling. A rubber spatula works perfectly for this! Be careful not to knock the air out of the whipped cream you just made, otherwise the bars will be dense.
FAQs About This Recipe
Got questions about how to make this recipe? Here are the answers to a few commonly asked questions. Feel free to leave any other questions in the comments on this post and I’ll respond with answers.
Can I use a larger pan?
I used an 8×8-inch baking pan to make the cheesecake bars. You can certainly use a 9- or even 10-inch square baking dish, noting that your cheesecake bars won’t be quite as thick.
Can I double the recipe?
Yes, simply double the ingredients and use a 9×13-inch pan.
The bars will take slightly longer to set up due to the larger pan, so plan for a minimum of 8 hour chilling time for best results.
Can I use a different fruit pie filling?
Absolutely! I made this dessert with cherry pie filling, but you may use another canned fruit pie filling if desired.
Or, skip the pie filling entirely and top the no-bake cheesecake bars with fresh fruit or berries.
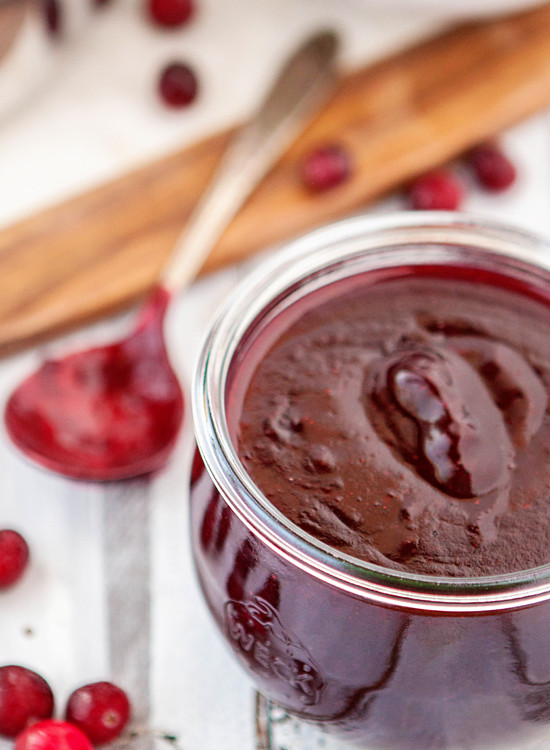
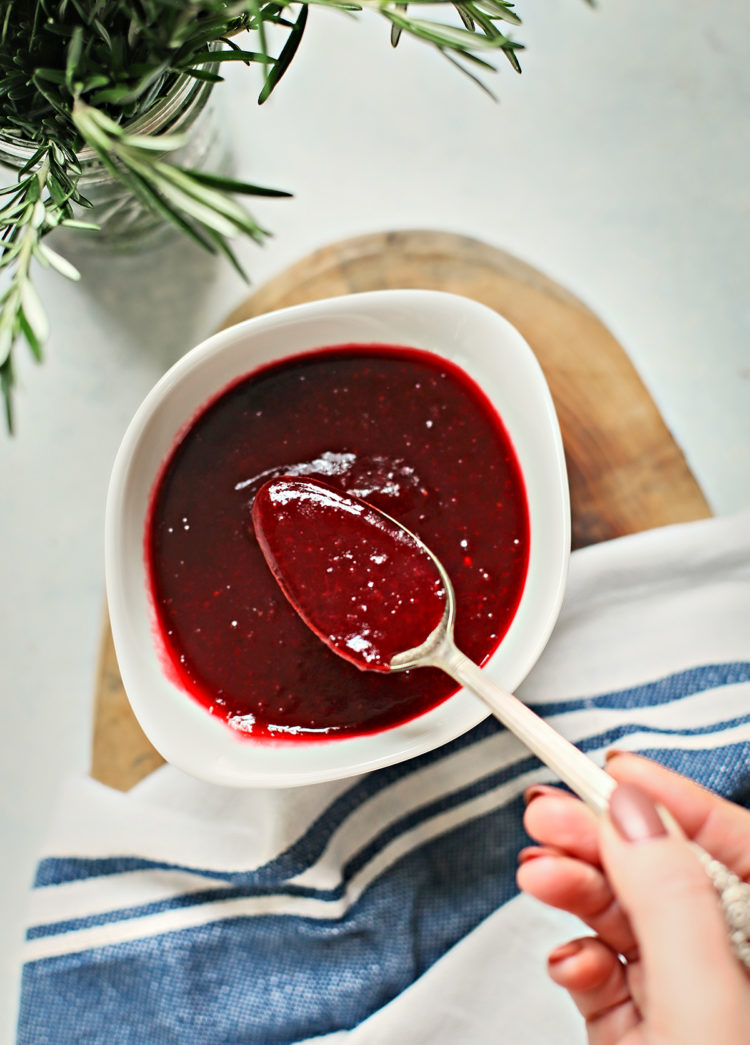
You can even top the bars with strawberry sauce, cranberry sauce, cranberry relish, and blueberry sauce!
What can I substitute for graham crackers?
We love these homemade cherry cheesecake bars with a graham cracker crust, but if you’re all out or live in a country that doesn’t sell graham crackers, you can always use Nilla Wafers, plain digestive biscuits, or store-bought crispy gingersnaps.
Basically, you want a slightly sweet, crispy cookie with no mix-ins that you can grind into a fine crumb.
What does lemon juice do for cheesecake filling?
The star flavor of these bars is the cherry pie filling — the lemon juice in the cheesecake filling doesn’t make the recipe taste even remotely like lemon!
The lemon juice simply brings out the “brightness” in the flavors and makes the entire dessert pop.
Can the cheesecake bars be made gluten-free?
Absolutely! Just swap the graham crackers for gluten-free graham crackers.
Can I make this recipe dairy free?
I have not tested this as a dairy-free dessert, so I can’t say for sure.
If I were to experiment, I would test different dairy-free alternatives for cream cheese, sour cream, and a dairy-free whipped cream.
You’ll also need to make sure the graham crackers are dairy-free and use an alternative for the butter.
Do No-Bake Cheesecake Bars Need to Be Refrigerated?
Yes! Store the bars in the fridge, covered tightly with plastic wrap. The bars will last up to five days.
Can Cheesecake Bars Be Frozen?
Yes! Flash-freeze the bars on a parchment paper-lined baking tray until firm (about 1 hour), then transfer to a freezer bag, label, and freeze.
For best results, freeze the bars WITHOUT the cherry topping. They will last up to one month.
Try This Cherry Dessert Recipe!
Next time you’re looking for a make-ahead dessert that requires no baking, give this easy recipe for cherry cheesecake bars a try!
Did you think they were the best ever? Leave a comment below and give it a review for others to see what you thought of this recipe.
On Instagram? Share your photo and tag me with @goodlifeeats and #goodlifeeatsrecipes. I’d love to see a photo of your cheesecake bars with cherry topping!
More No-Bake Cheesecake Recipes:
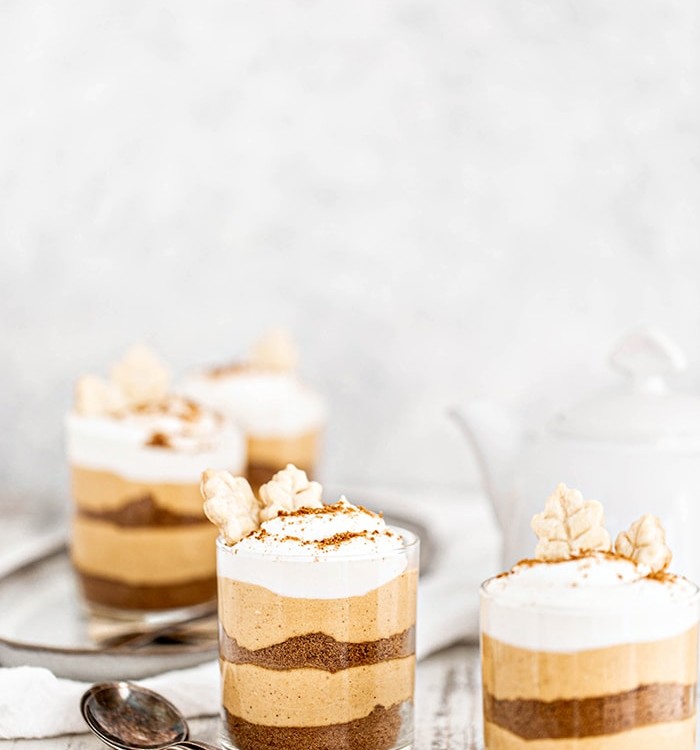
These No-Bake Layered Pumpkin Cheesecake Jars are so good and so easy! They feature yummy layers of gingersnap crust and no bake pumpkin cheesecake filling.
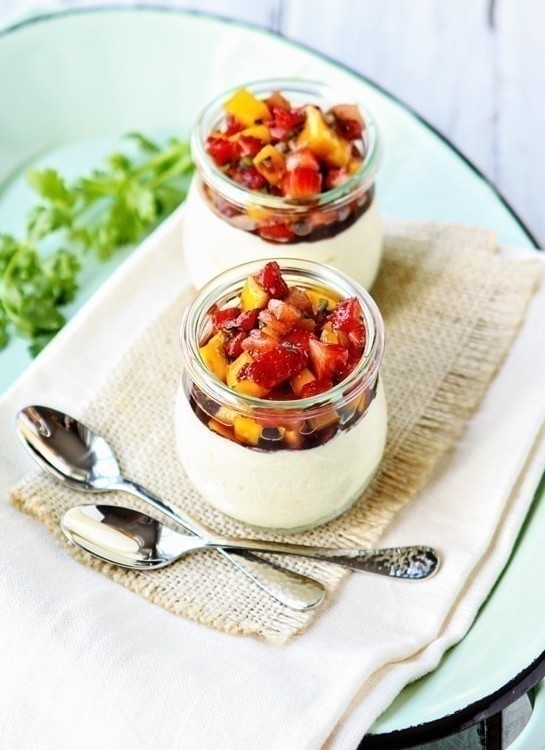
These No-Bake Mango Lime Cheesecake Cups are an easy summertime dessert that provide a fun new take on cheesecake! Perfect for picnics and BBQs!
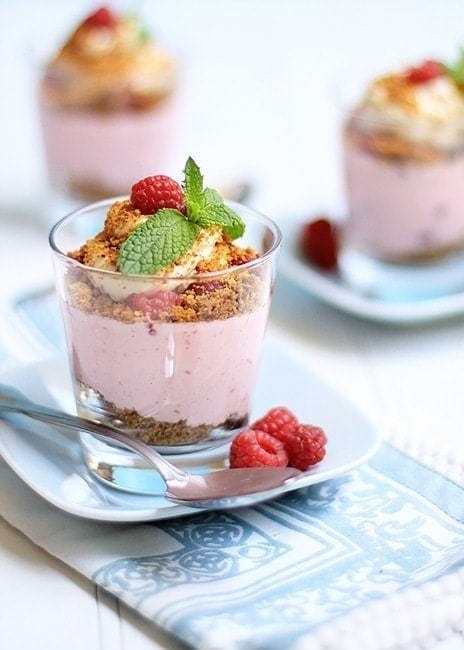
These mini No-Bake Raspberry Cheesecake Pots are the perfect cute summertime desserts. They take just 20 minutes to prep, then chill until ready to serve!
Stay Inspired in the Kitchen!
Want more delicious recipes, kitchen tips, and meal inspiration? Sign up for the Good Life Eats Newsletter and get:
✔ Tried-and-true recipes—from quick weeknight meals to special occasion favorites.
✔ Seasonal meal ideas—helping you make the most of fresh, in-season ingredients.
✔ Time-saving kitchen tips—boosting your confidence and creativity in the kitchen.
No-Bake Cherry Cheesecake Bars
No-Bake Cherry Cheesecake Bars are made with a buttery graham cracker crust, creamy cheesecake filling, and cherry pie topping! It’s a quick and easy no-bake dessert that can be made the night before.
Ingredients
For the Graham Cracker Crust
- 1.5 cups graham cracker Crumbs (that’s 12 full sheets Graham Crackers)
- 2 tablespoon brown sugar
- 6 tablespoon unsalted butter, melted
For the Cheesecake Filling & Cherry Topping
- 2-8 ounce blocks full fat cream cheese, at room temp
- 1/2 cup granulated sugar
- 1/4 cup sour cream
- 1 teaspoon vanilla extract
- 2 teaspoons lemon juice
- 1 cup heavy whipping cream
- 21 ounces cherry pie filling (canned or homemade)
Instructions
Making the Graham Cracker Crust
- Line an 8-inch square pan with parchment paper leaving some paper hanging over the edges to help you lift the cheesecake out of the pan later.
- Put the Graham Cracker sheets into a food processor and pulse until you have a fine crumb. Alternatively place them in a ziplock bag and bash them with a rolling pin.
- Add the brown sugar and melted butter and pulse again until the consistency looks like damp sand.
- Pour the crumbs into the prepared cake pan. Use the back of a spoon to tightly press the crumbs across the bottom of the pan into an even layer then set aside.
Preparing the Cheesecake Filling
- Put the cream cheese and sugar into a large mixing bowl then beat together until smooth and creamy.
- Add the sour cream, vanilla and lemon juice and briefly beat again until combined.
- In a separate bowl whip the heavy cream to very stiff peaks.
- Add the whipped cream to the cream cheese mixture and use a spatula to fold everything together very gently by hand.
Chilling the Cheesecake Bars
- Transfer the cheesecake filling on top of the Graham Cracker crust, use an offset palette knife or similar to smooth the top.
- Cover with plastic wrap and put in the refrigerator to set for at least 6 hours but preferably overnight.
Garnishing and Serving
- When the cheesecake has set, use the overhang of parchment paper to remove it from the pan and place it on a chopping board.
- Slice into 9 equal squares.
- Spoon cherry pie filling on top of each cut square.
- Serve immediately and enjoy!
Recommended Products
As an Amazon Associate and member of other affiliate programs, I earn from qualifying purchases.
Nutrition Information:
Yield: 9 Serving Size: 1Amount Per Serving: Calories: 537Total Fat: 37gSaturated Fat: 22gTrans Fat: 0gUnsaturated Fat: 12gCholesterol: 105mgSodium: 246mgCarbohydrates: 47gFiber: 1gSugar: 20gProtein: 5g
GoodLifeEats.com offers recipe nutritional information as a courtesy. This provided information is an estimate only. This information comes from online calculators. Although GoodLifeEats.com makes every effort to provide accurate information, these figures are only estimates.

Leave a Comment