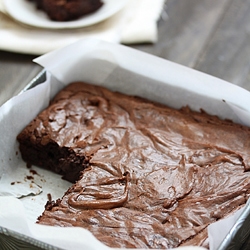
Kitchen Tip: Lining Pans with Parchment
It’s also great if the pan is vintage (like this one) and you’re not sure if you should be baking on it. The inside has a bit of rust, but it’s a super pretty presentation. There are probably other reasons, but those are the situations I find myself in most often. So here we go…
How to Line a Baking Pan with Parchment:
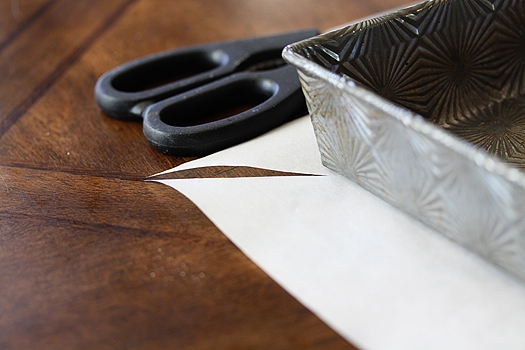
First, roll out your parchment paper. Place the pan on top and cut out a square (or rectangle…obviously a circle would have a different method) that is about 2 inches larger all around the edges.
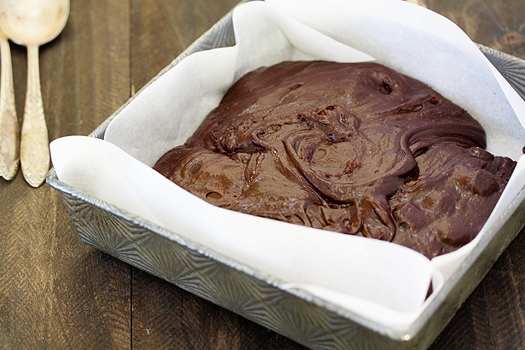
Next, cut a two inch slit on each of the four edges of the parchment. This will help the parchment fold neatly inside the pan. I think it helps with the end result of what you’re baking actually maintain neater edges.
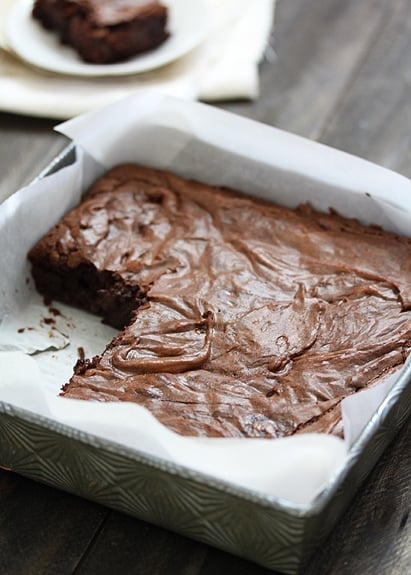
Bake per your recipe instructions and then let your final results cool if need be. Then, you can either cut a piece or two out of the pan (look – no sticking!) or lift the entire mass out at once. It’s great to be able to lift it out all at once if you need to cut everything in perfectly even servings, or want to do something like cut with cookie cutters. Viola! Works for me!

Jeff says
Even better, soak the parchment paper in water, squeeze out all the water and wipe off any remaining moisture with a towel. The paper will now form to just about any shape!
Deb says
I always use parchment when making cookies but only recently started using it when making bars or brownies. Not only do they come out of the pan easier, but I find the edges don’t get over baked or hard like they did before!
Here’s a tip I got watching Martha Stewart — use metal clips (binder clips) to keep the parchment in place in before pouring the batter into the prepared pan. Works like a charm! In my case, I remove the clips before baking the bars
but as long as you’re using metal clips, you can leave them on the pan while baking.
Tickled Red says
LOL…I need to buy stock in parchment paper from doing this so much 🙂 Great tips for using with the vintage pan!